
Thread Catcher Tutorial
/
For too long, my sewing room floor has looked like this. There's always a pile of scraps and threads on the floor next to my serger, and of course, the mess doesn't stay there...it gets tied up in my rolling chair wheels or tracked through the house by my little ones. I know, I know, how hard is it to pull a trash can next to me while I sew??? Not hard, and I do that sometimes, but I still miss the mark half the time and have a pile on the floor regardless.
Well, I've finally decided it's time to clean up my act. I've enlisted my husband to help, not because I can't do this all on my own, but because he spent his entire day swinging in the hammock in the backyard drinking his precious homebrew, and it's about time he does a little something today to earn his keep. Don't worry, I just fed him a great pot roast dinner to help soak up some of that beer...can't be using power tools while tipsy, can we?
Serger Thread Catcher Tutorial
Here's what you'll need to complete this project:
- 1 piece of lauan plywood 1/8- 1/4 inch thick cut to size.
- 2 scraps of material (one to cover the base and one to make the catch bag)
- E6000 glue or some other really great adhesive
- Heat N bond
- Sewing machine and thread
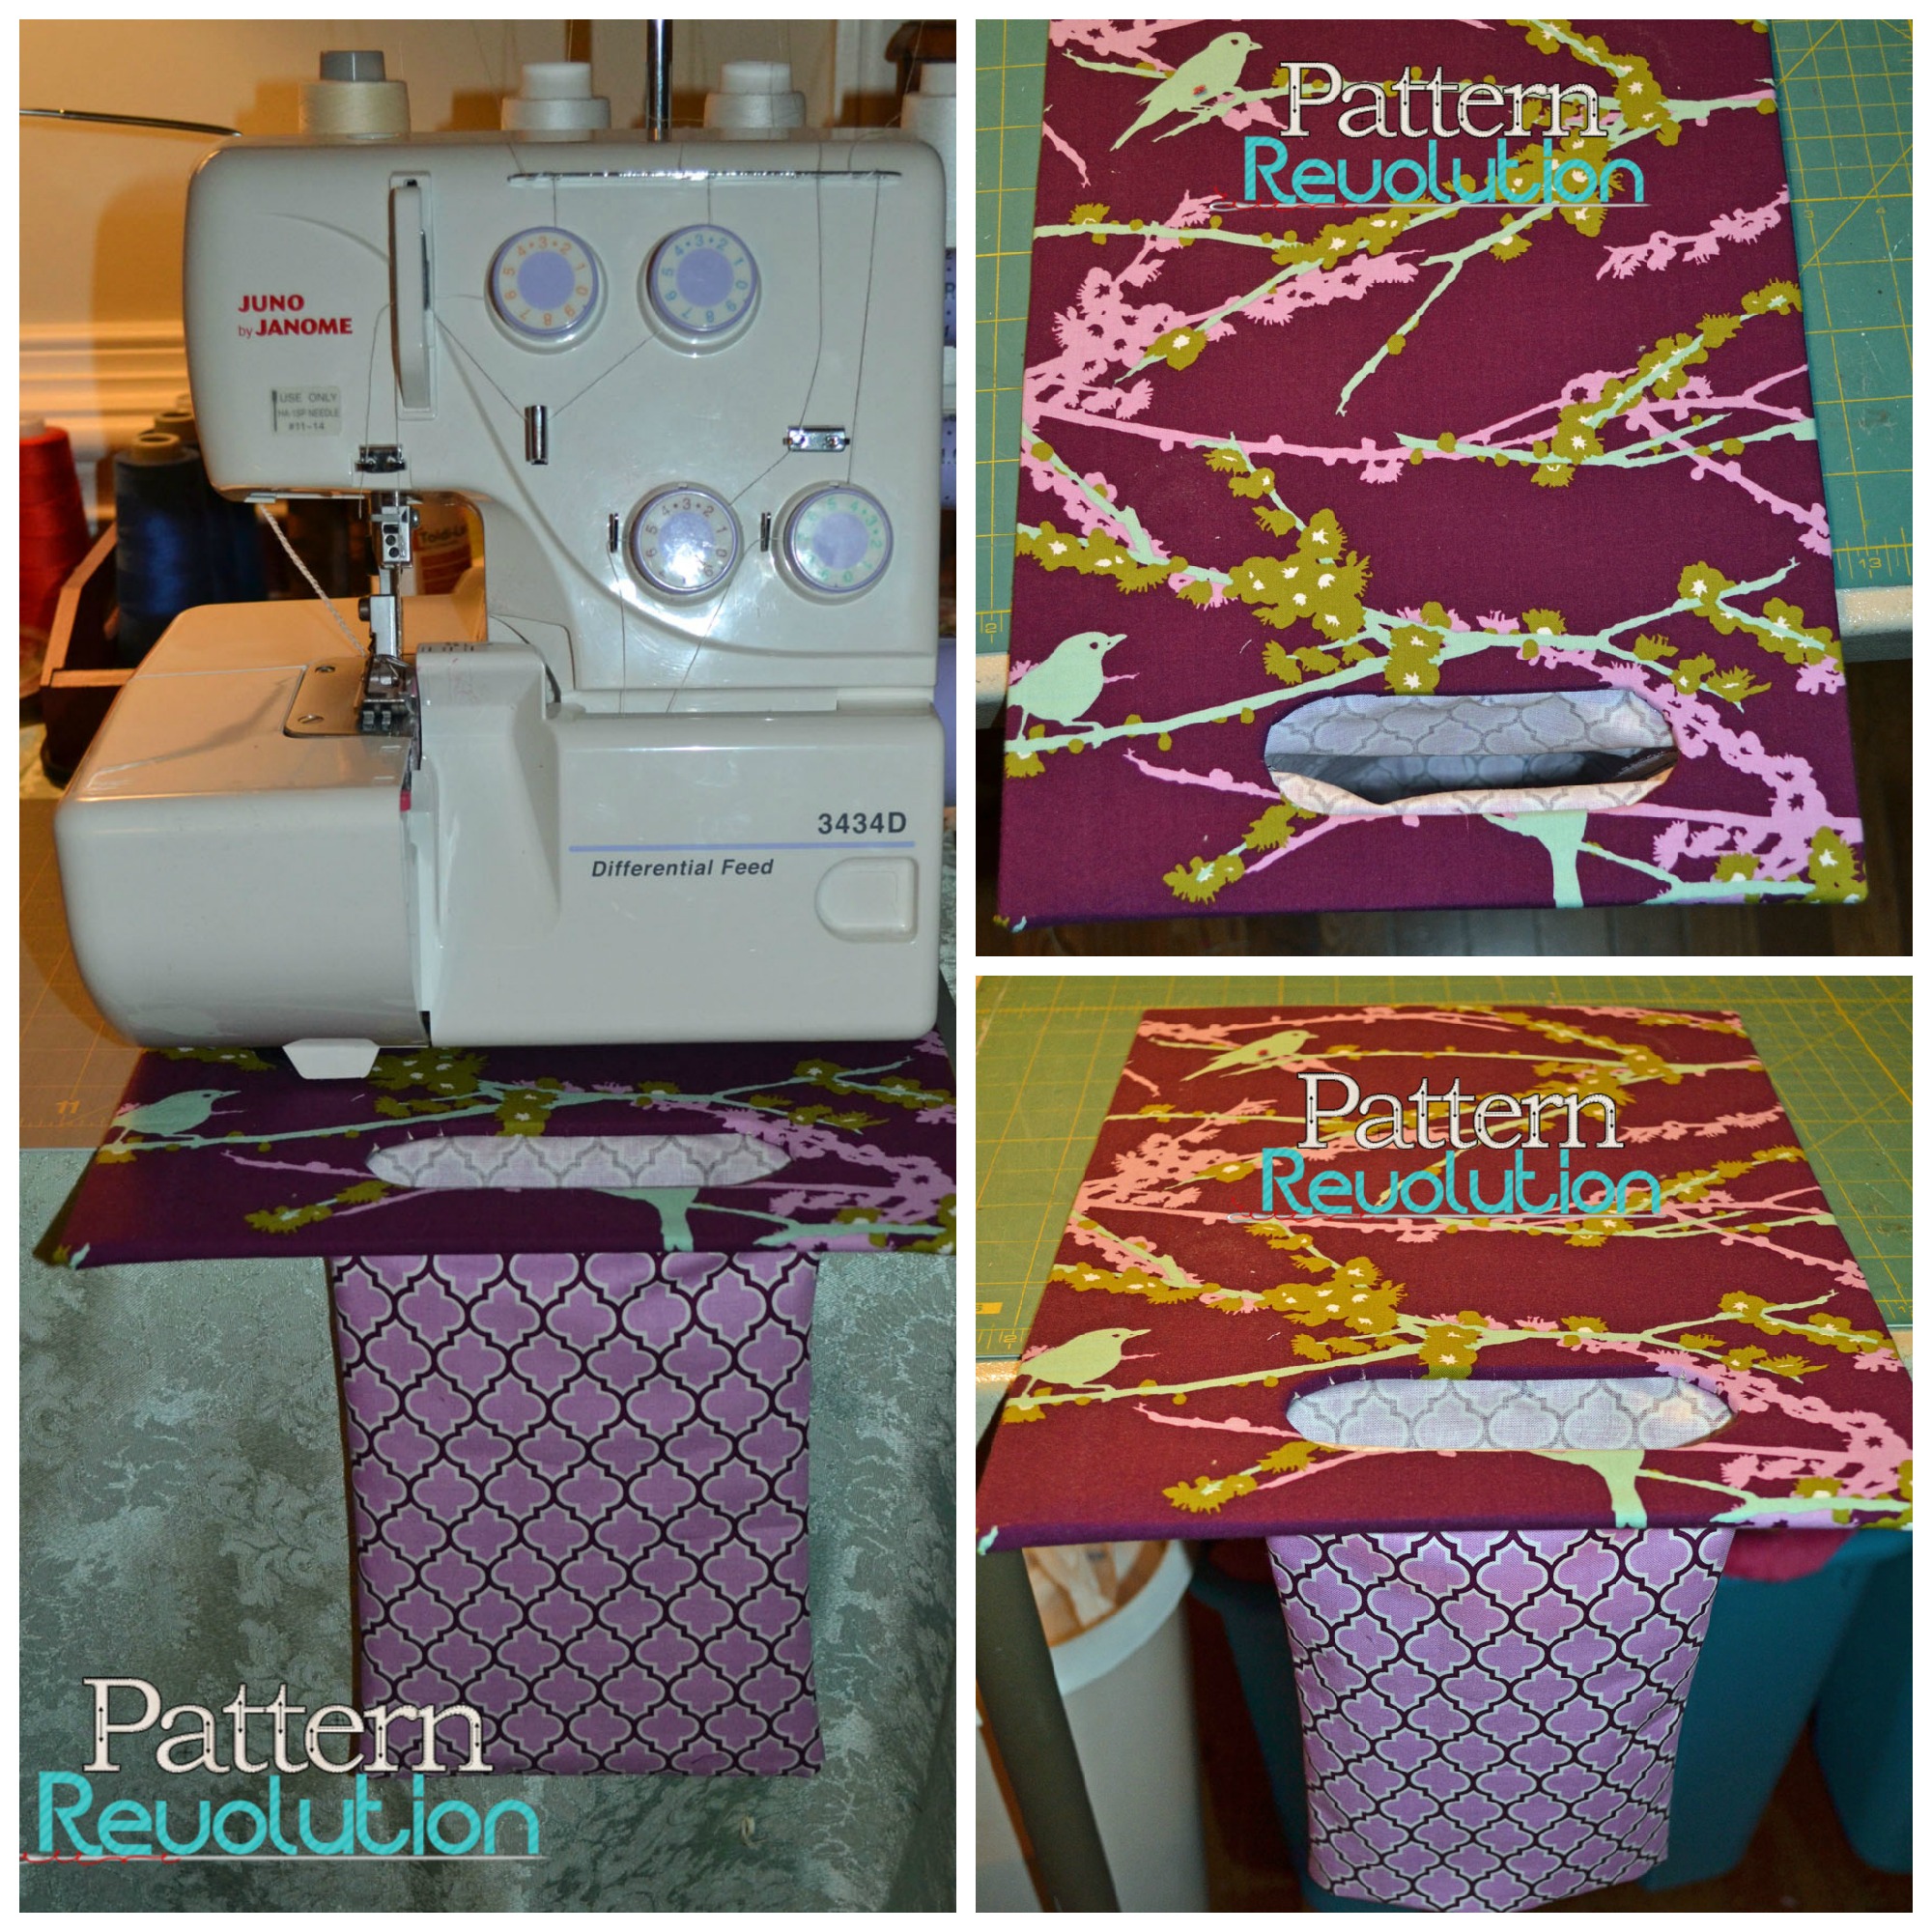
The first thing you need to do is measure the base of your serger.
Mine measures 10" x 10". I want my base to be 10" X 13". Yours should be the base of your serger X the base + 3".

Measure your base and cut to fit.
Next you need to mark the hole placement.
My hole is 1" in from the edge, 5" wide and 2" deep. It is 1" off center to the right.

Trace your hole, round the corners. Use a drill to make a hole big enough to get a jigsaw in, then use the jigsaw to cut out your hole.
Tell your husband he can go back to the hammock.

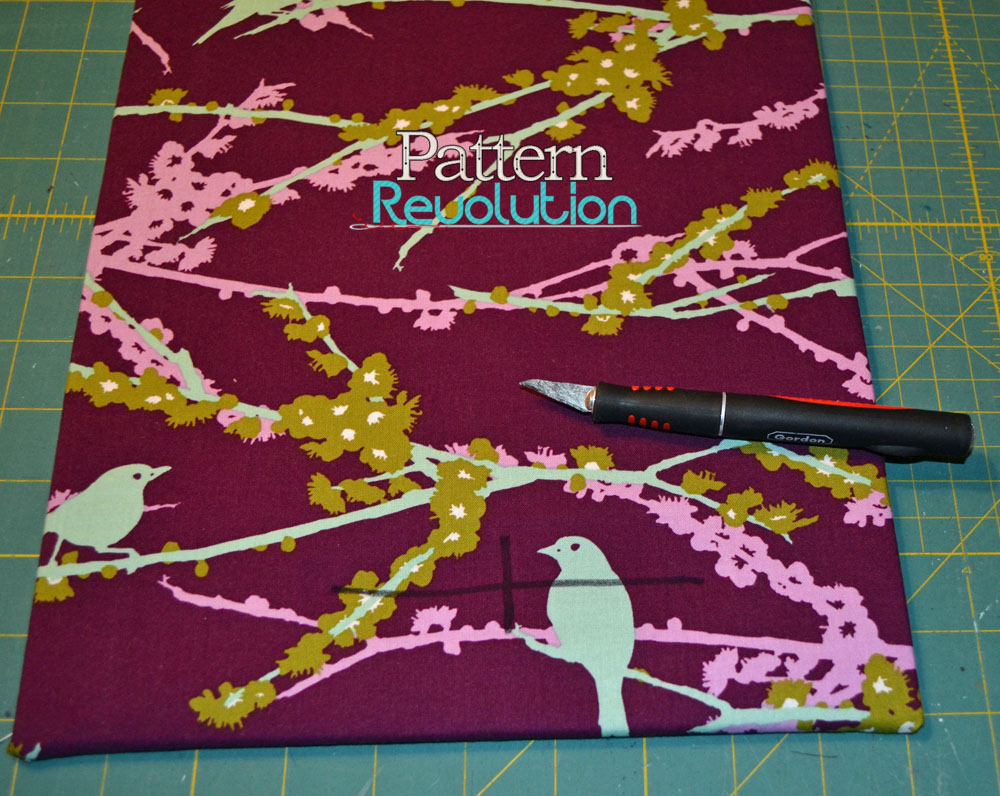
Now it's time to get your fabric ready. I cut my fabric 3" wider than my base all the way around, so mine is 13" x 16". Cut yours 3" bigger than your base dimensions.

Now it's time to whip out one of my favorite products of all time-- Heat N Bond. Cut your Heat N Bond to the same dimensions as your fabric.

Iron the Heat N Bond to the wrong side of your fabric. I put craft paper down over my ironing board to protect it.

Peel the paper backing off and place the fabric over your base.

Pull the long sides tight and tape in place temporarily.

Iron the fabric to the top of the base to secure.

Trim a mitre into the 4 corners to reduce bulk. Then fold the bottom up.

Iron to secure, then repeat with the top flap, be sure to miss the tape on the sides. Remove the tape and Iron the long sides in place.
Mark the width and height of your hole and use an excto knife to cut through the fabric.

Trim any fabric on the backside that is covering the hole. Make several small snips all the way around and pull the fabric towards the back.
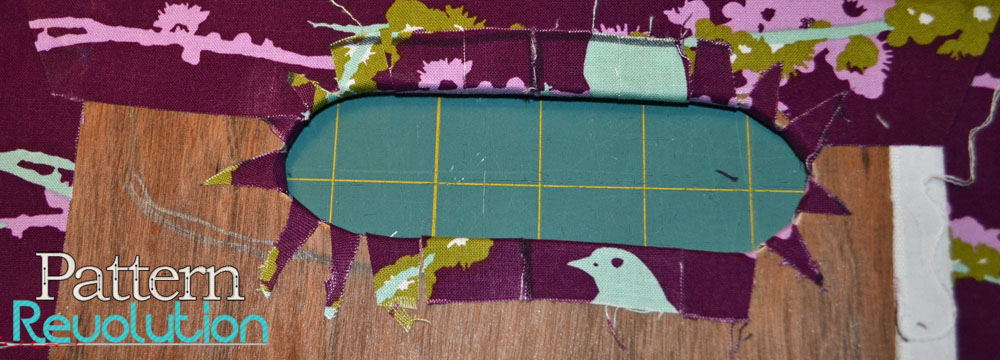
Pull each snippet tight toward the back and iron in place.
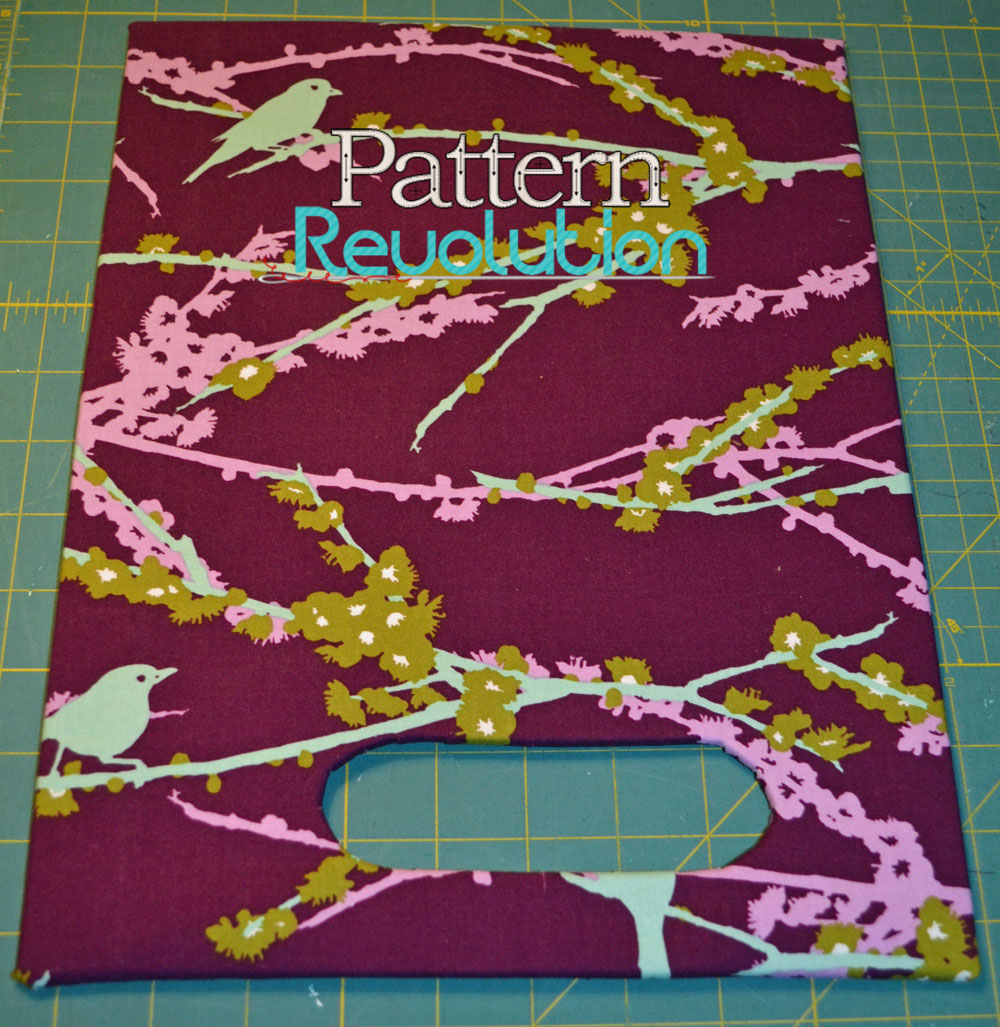
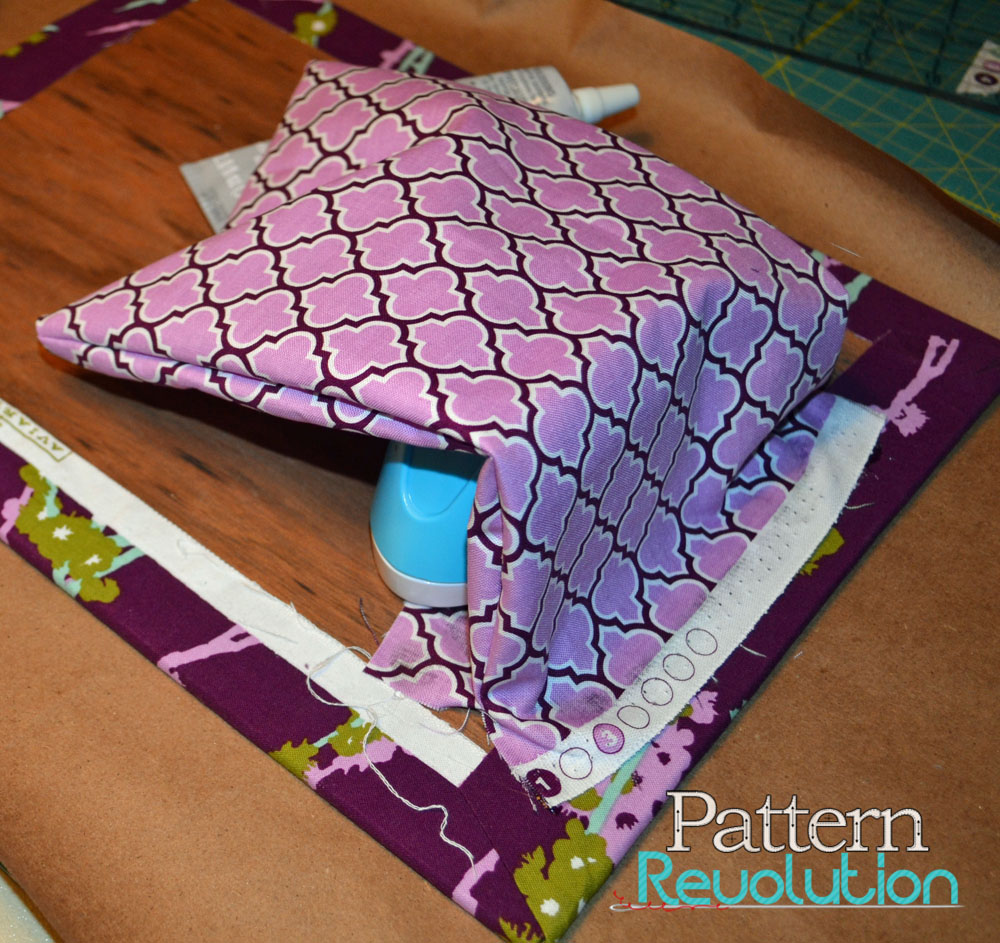
Now you should have something like this. Next, take your second fabric scrap. Cut it to 24" X 6". Fold the right sides together matching up the short sides.

The fold will be the bottom of your bag. Sew up the sides stopping 2" from the top, be sure to backstich at beginning and end.

Get out you E6000, turn your bag right side out and open the bag at the side seams.

Put your adhesive all the way around your hole. First place the top lip of the bag over the adhesive and smooth the fabric, then open and place the bottom lip over the bottom portion of the hole.
Leave it to dry. Go join your husband in the hammock, but only if it's sturdy enough for two. Come back in the morning and this is what you'll have:
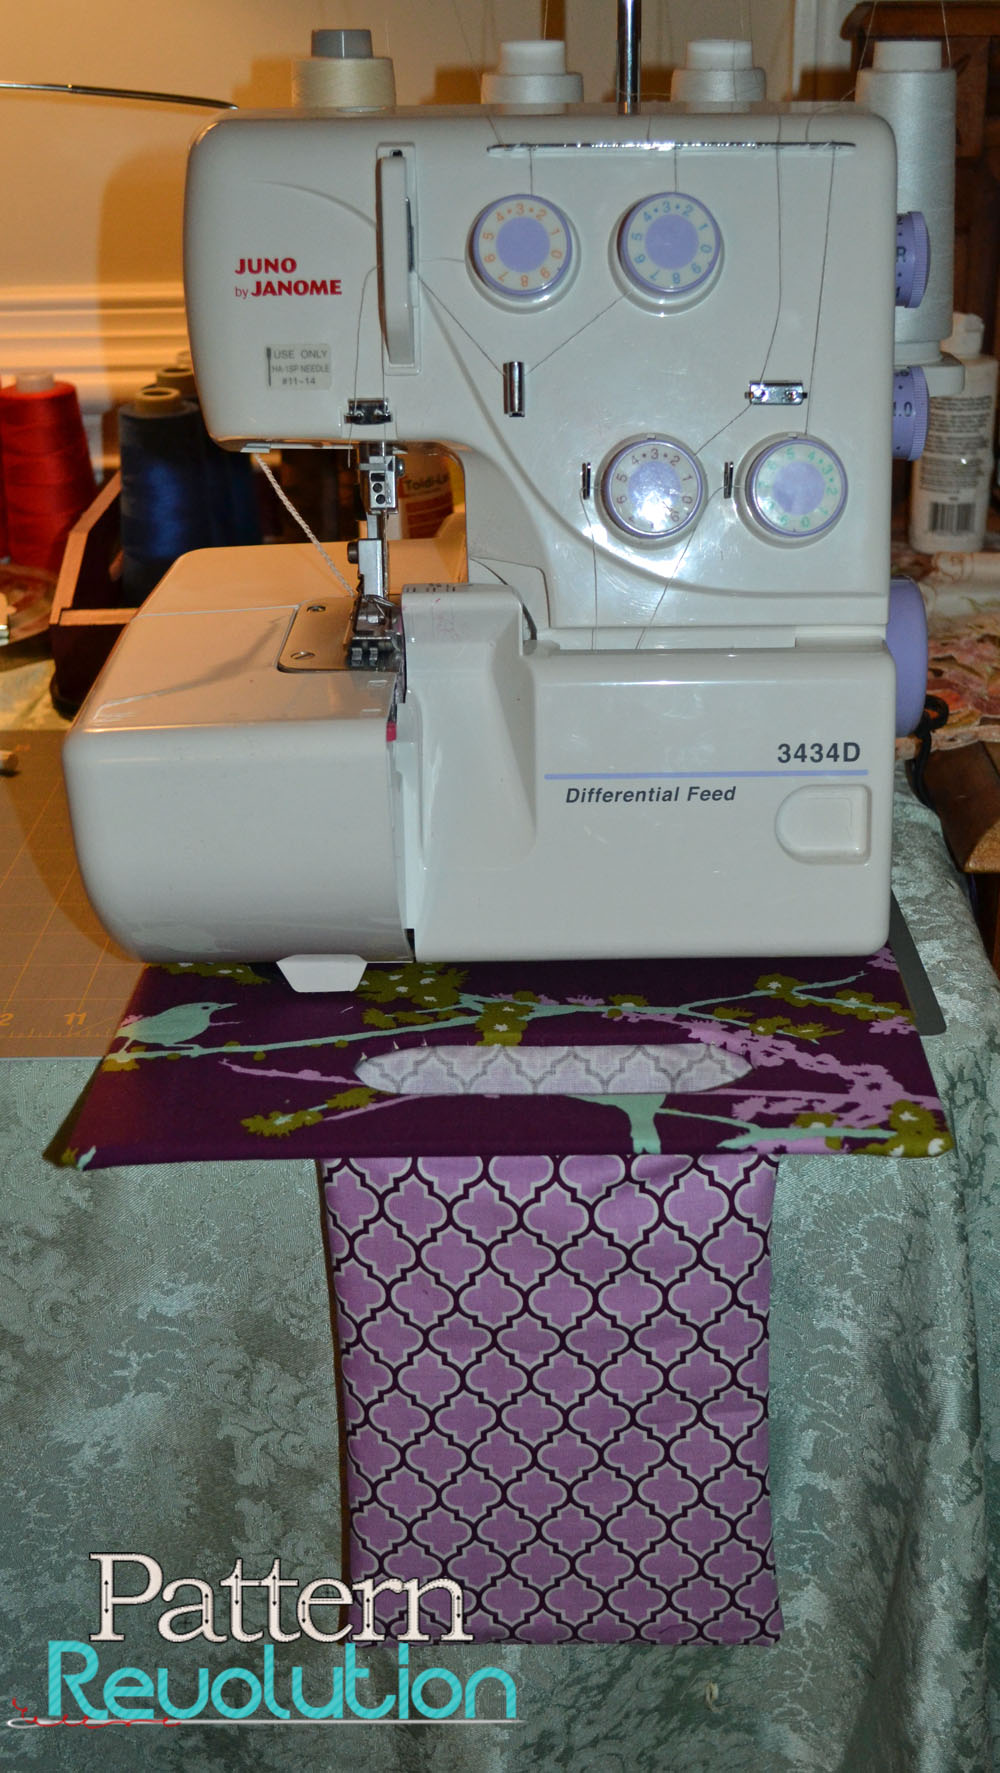
One totally awesome thread catcher!
Enjoy, and happy sewing!
Robin


