
The Fiddlehead Dress Tutorial
/Stretch those pattern dollars for Back to school by taking your favorite top and transforming it into a back to school Dress. Today Crystal share a great tutorial for a Fiddlehead Dress!!! The Fiddlehead top is on sale right now for $6, so make it as both a top and dress this year for back to school!
-----------------------
Hello, Pattern Revolution readers! It is Crystal, from Stitched by Crystal, here today to share a tutorial for putting a fun spin and a staple pattern for your girls!

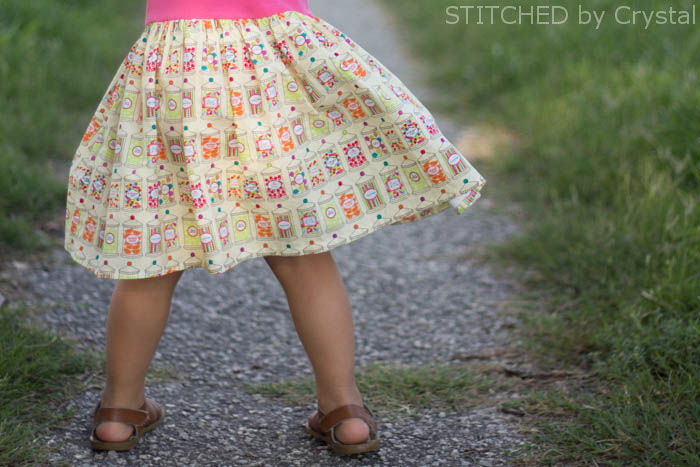
The Fiddlehead top pattern by LilyGiggle is an adorable knit top with a cute flutter sleeve. This pattern was just screaming to be turned into a fun flutter sleeve summer dress! But, the pattern has options for 3⁄4 and long sleeves too, so this dress would be a great option for fall and back to school too!

You can check out our review of the Fiddlehead pattern HERE, but I will tell you it is great! I did the sleeveless version, since it is HOT here, and used the tips in the pattern for adding the lettuce edge on the flutters with my serger. Then I added a full, twirly skirt from this woven candy fabric my daughter chose.

Want to make a Fiddlehead dress? Great! Let me show you how....

You will need:
● The Fiddlehead top pattern by LilyGiggle
● Knit fabric for the fiddlehead top.
● 1 1.5 yards for woven fabric for the skirt.
● Basic sewing supplies
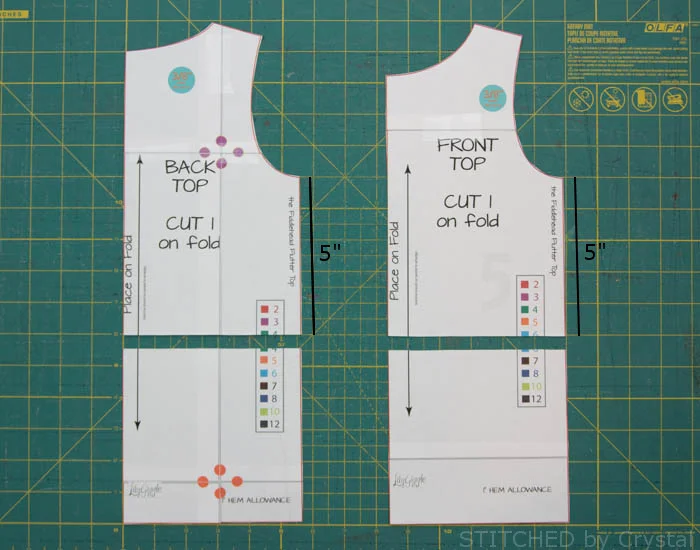
Start by assembling your PDF pattern. Decide how long you want your top. Measure down from the armpit the same distance on both the front and back pattern pieces and trim your pattern straight across. I did the size 2 and trimmed my pattern 5” below the armpit, the top hits below my daughter’s natural waist. But, you could choose to do a shorter top for an empire waist, or cut it a bit longer for a cute drop waist dress!
Assemble your Fiddlehead top according to the pattern instructions, but don’t hem the bottom. With the top laid flat, measure straight across the bottom of the top, this number will determine the width of your skirt.

To determine the width of your skirt, multiply the width of your top x 2.5. For example, my top was about 10.5” wide. I cut my skirt 26.25” wide.
10.5” x 2.5 = 26.25”,
Next determine the length of your skirt. You can refer to the chart below for approximate measurements from armpit to hem, but you can measure your child by measuring from under their arm to where you would like the finished dress to hit with your measuring tape. Take the finished length measurement and subtract the length you cut your top to in the first step. Then add 2” for hem and seam allowances.
For example, I wanted a 16” finished dress length
16” – 5” (from step 1) + 2” = 13”,
I cut my skirt 13” long
Cut 2 skirt pieces with the length and width you just determined.

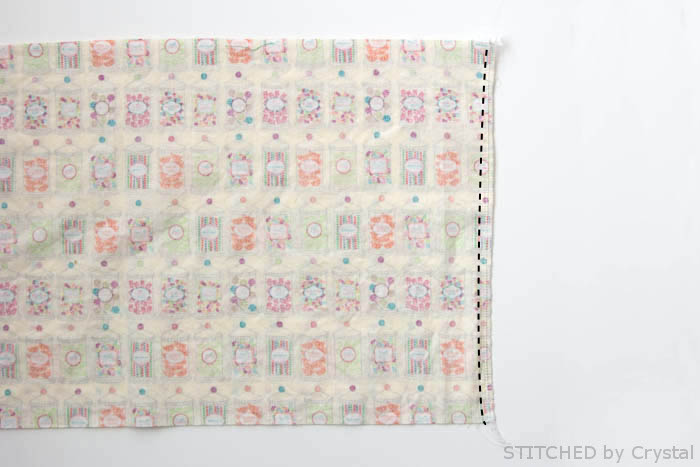
Sew your skirt pieces together along the short sides, finish the seams with a serger or zig zag stitch.
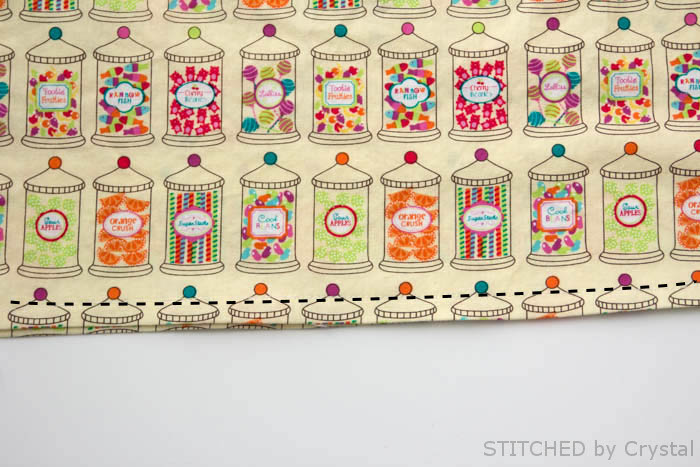
Hem the bottom of your skirt by folding the raw edge up 1⁄2” towards the wrong side, then another 1⁄2” towards the wrong side and sewing along the folded edge.
Sew two rows of gathering stitches along the top, one 3/8” from the edge and a second 5/8” from the edge. Gather the skirt so it is the same width as your top.

With your skirt inside out and your top right side out, tuck your top down inside your skirt, lining up the raw edges of the skirt and top and lining them up the side seams.

Sew your skirt to your top with a 1⁄2” seam allowance. Remove the visible gathering stitch. Try not to stretch the top as you are sewing, if it gets a little stretched while sewing, try ironing with some steam to help it shrink back up.

And you are done! Want more Fiddlehead dress inspiration? Check out this sew along Lilygiggle did earlier this month!


