Natalie Top Review
/It makes me smile every time I get an email in my inbox from a new indie designer. And I really get excited when I see really cute, wearable designs. That's definitely the case with newcomer Nicole, owner of Liola Patterns. You're going to want to check out her site to see her growing collection of modern, clean cut designs that are sure to become closet staples. Here are Becca and Crystal with their views on her pattern the Natalie Top.
I have been looking for MONTHS for *the* classic woman's shirt. You know the one I mean - the no-button work blouse - slightly fitted, very sophisticated, pair-it-with-skinnies-and-call-it-a-day kind of wardrobe piece. I searched and searched and couldn't find a thing.
...and then I saw the Loila Patterns' Natalie Top up for review! HORRAY!
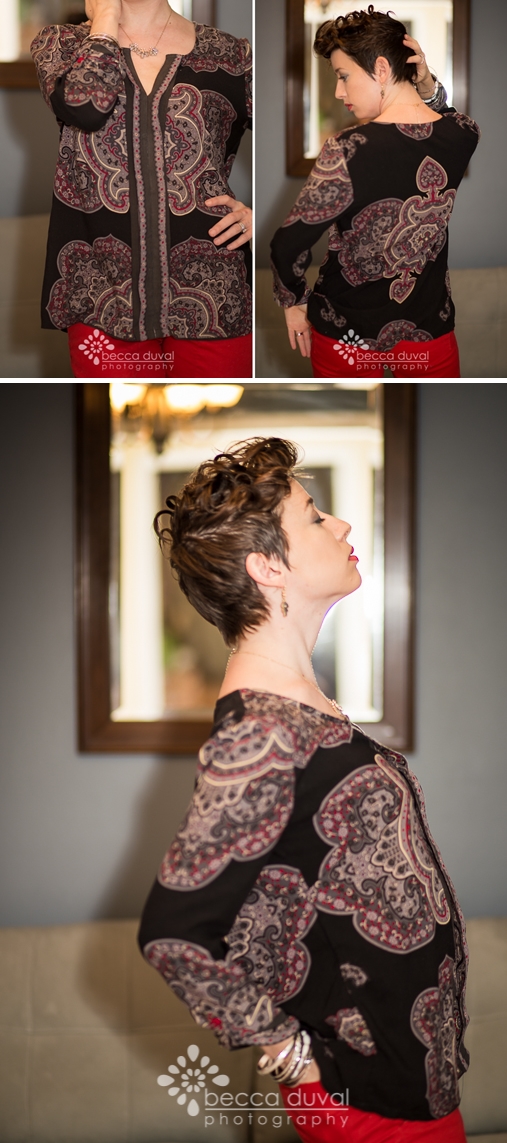
I print, cut, and stitched it in an evening, and I was in loooooove! I used this $2/yard RedTag paisley panel for mine, and did a little click-of-the-heels happy dance when I managed to squeeze the whole thing in two panels. Hellooooo $4 shirt! It was perfectly drapey, too, perfect for this design.
Here's what I came up with:

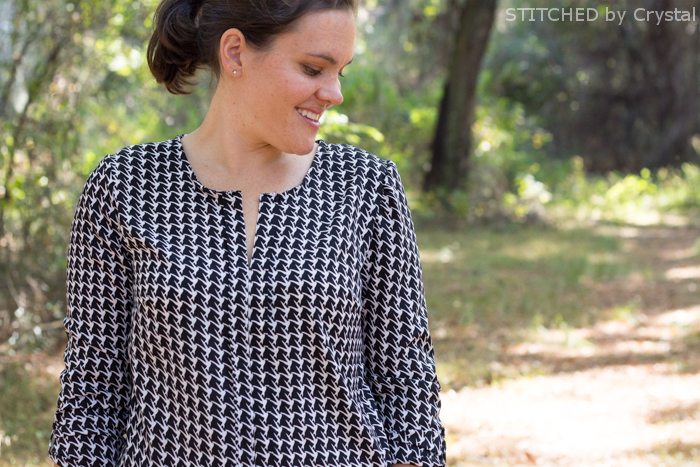
The pattern includes darts to shape the lady curves, folded faux placket down the front center for a fun extra detail, and a button-tab sleeve for a full or 3/4 length sleeve. Perfect for working mommas out there, looking to fill gaps in their professional attire, and for those of us who get slimed in peanut butter at every meal but wish to pretend our lives are slightly more glamorous ;)
It was super simple to follow - but not my first dart-bodice, gathered-sleeve, button-tab, bias-bound-neckline experience(s?). Beginners should allow some time to learn these tricks (they're fun, I promise!). I chose my size based on measurements and the fit is PERFECT!
Pattern includes:
- Sizes XS-XL
- 11 pages of illustrated instructions
- 20 printed pages of pattern pieces
- optional front pocket (omitted here) and button tab
- Measurement and fabric requirement charts
It's a fabulous wardrobe staple you should seriously consider adding to your pattern library! Happy sewing :) - Becca


- Size XS-XL
- Easy to follow instructions and clear illustrations for each step.
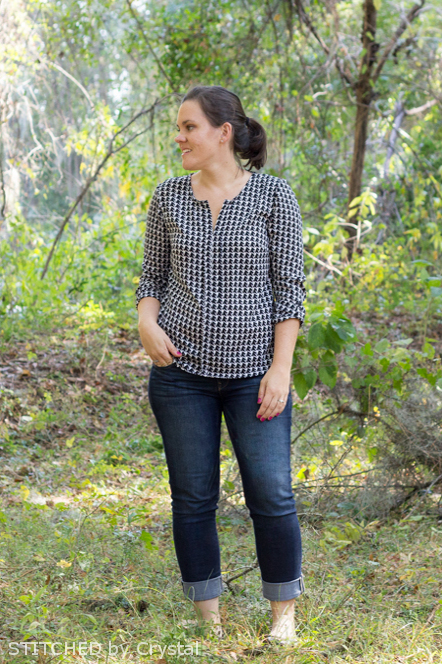
- Loose fitting pullover top, so no buttons or closures to sew!
- Darts on the bust for tailored look
- Options for chest pocket and sleeve tabs
- All measurements are given in metric and imperial measurements
- The pattern includes a size chart and fabric requirements chart
- The professionally drafted pattern was easy to print and assemble
- There is a cutting layout included
- Tons of great tips for every step from printing to sewing
- The pattern doesn’t has any pictures of finished tops, but you can find lots of inspiration on the Liola Designs website