Lucy Star Doll Dress by Snazzie Drawers
/
I will admit that I am a newbie to the 'Doll' scene. I had never sewn a doll or piece of doll clothing until I started working on the components of this post. And yet somehow I have become completely hooked, I am sure my technique leaves something to be desired...but hey, for my first projects, I'm pretty dang impressed and I think my baby girl is going to LOVE her Christmas Presents.

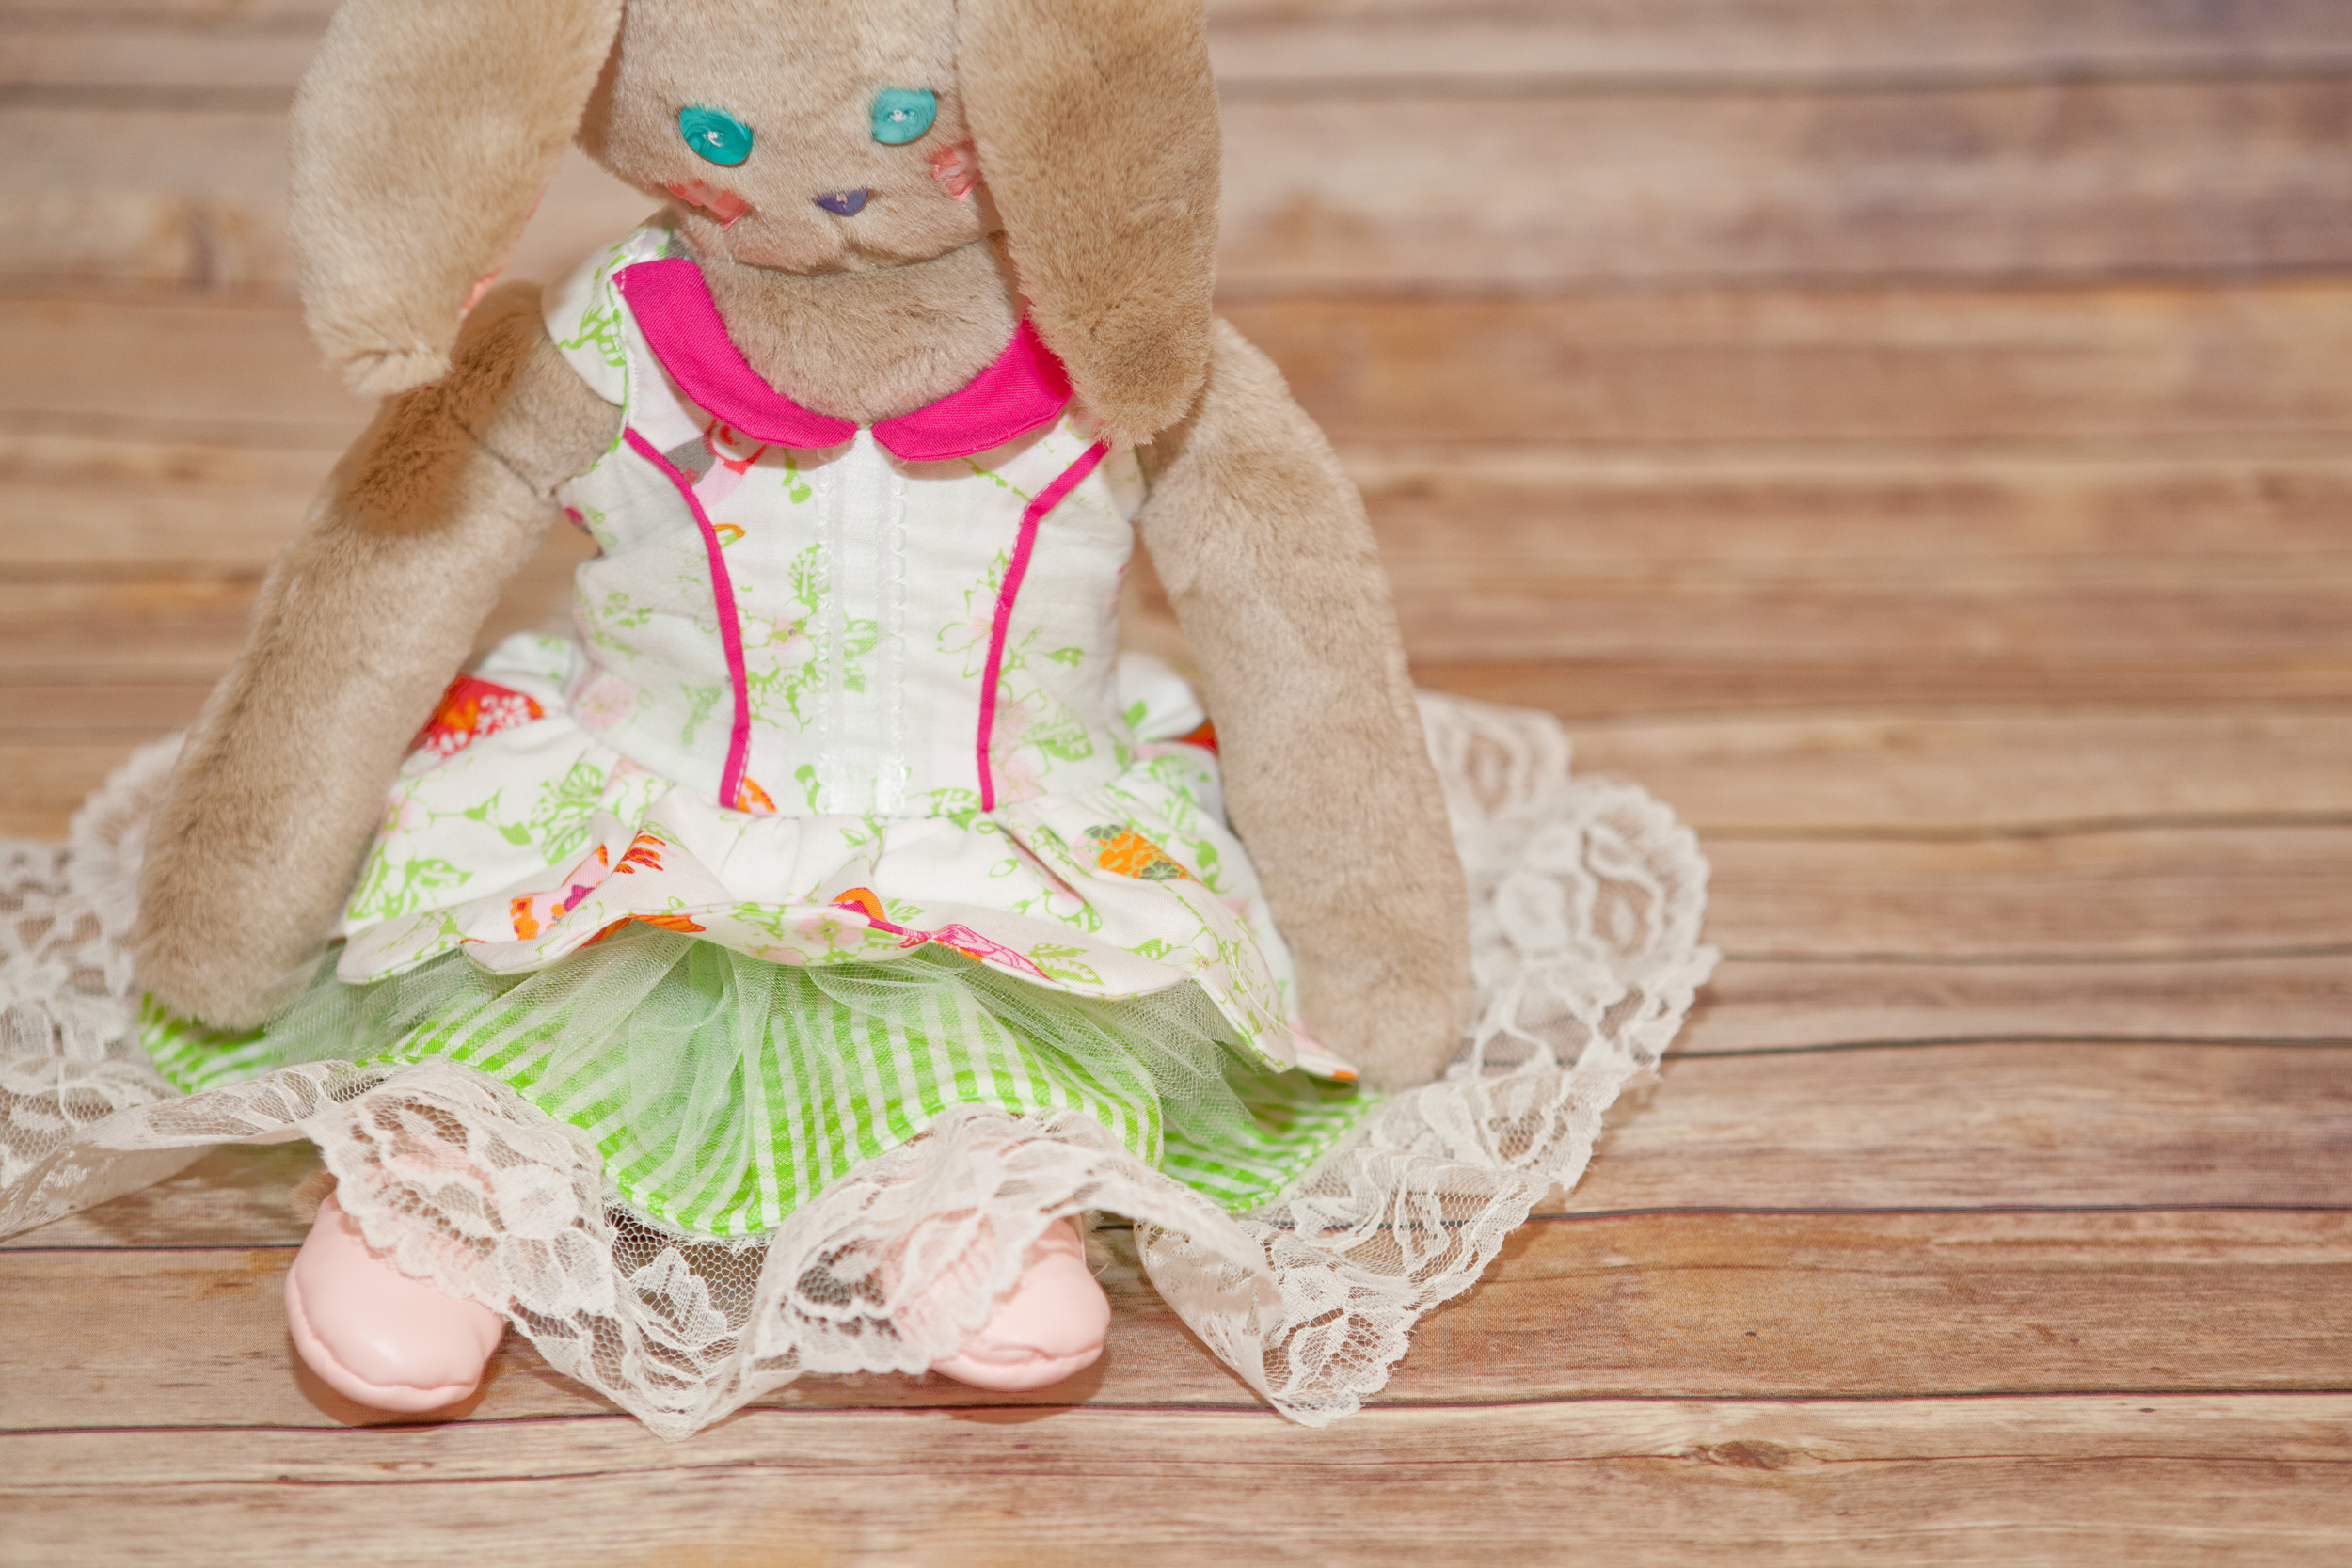
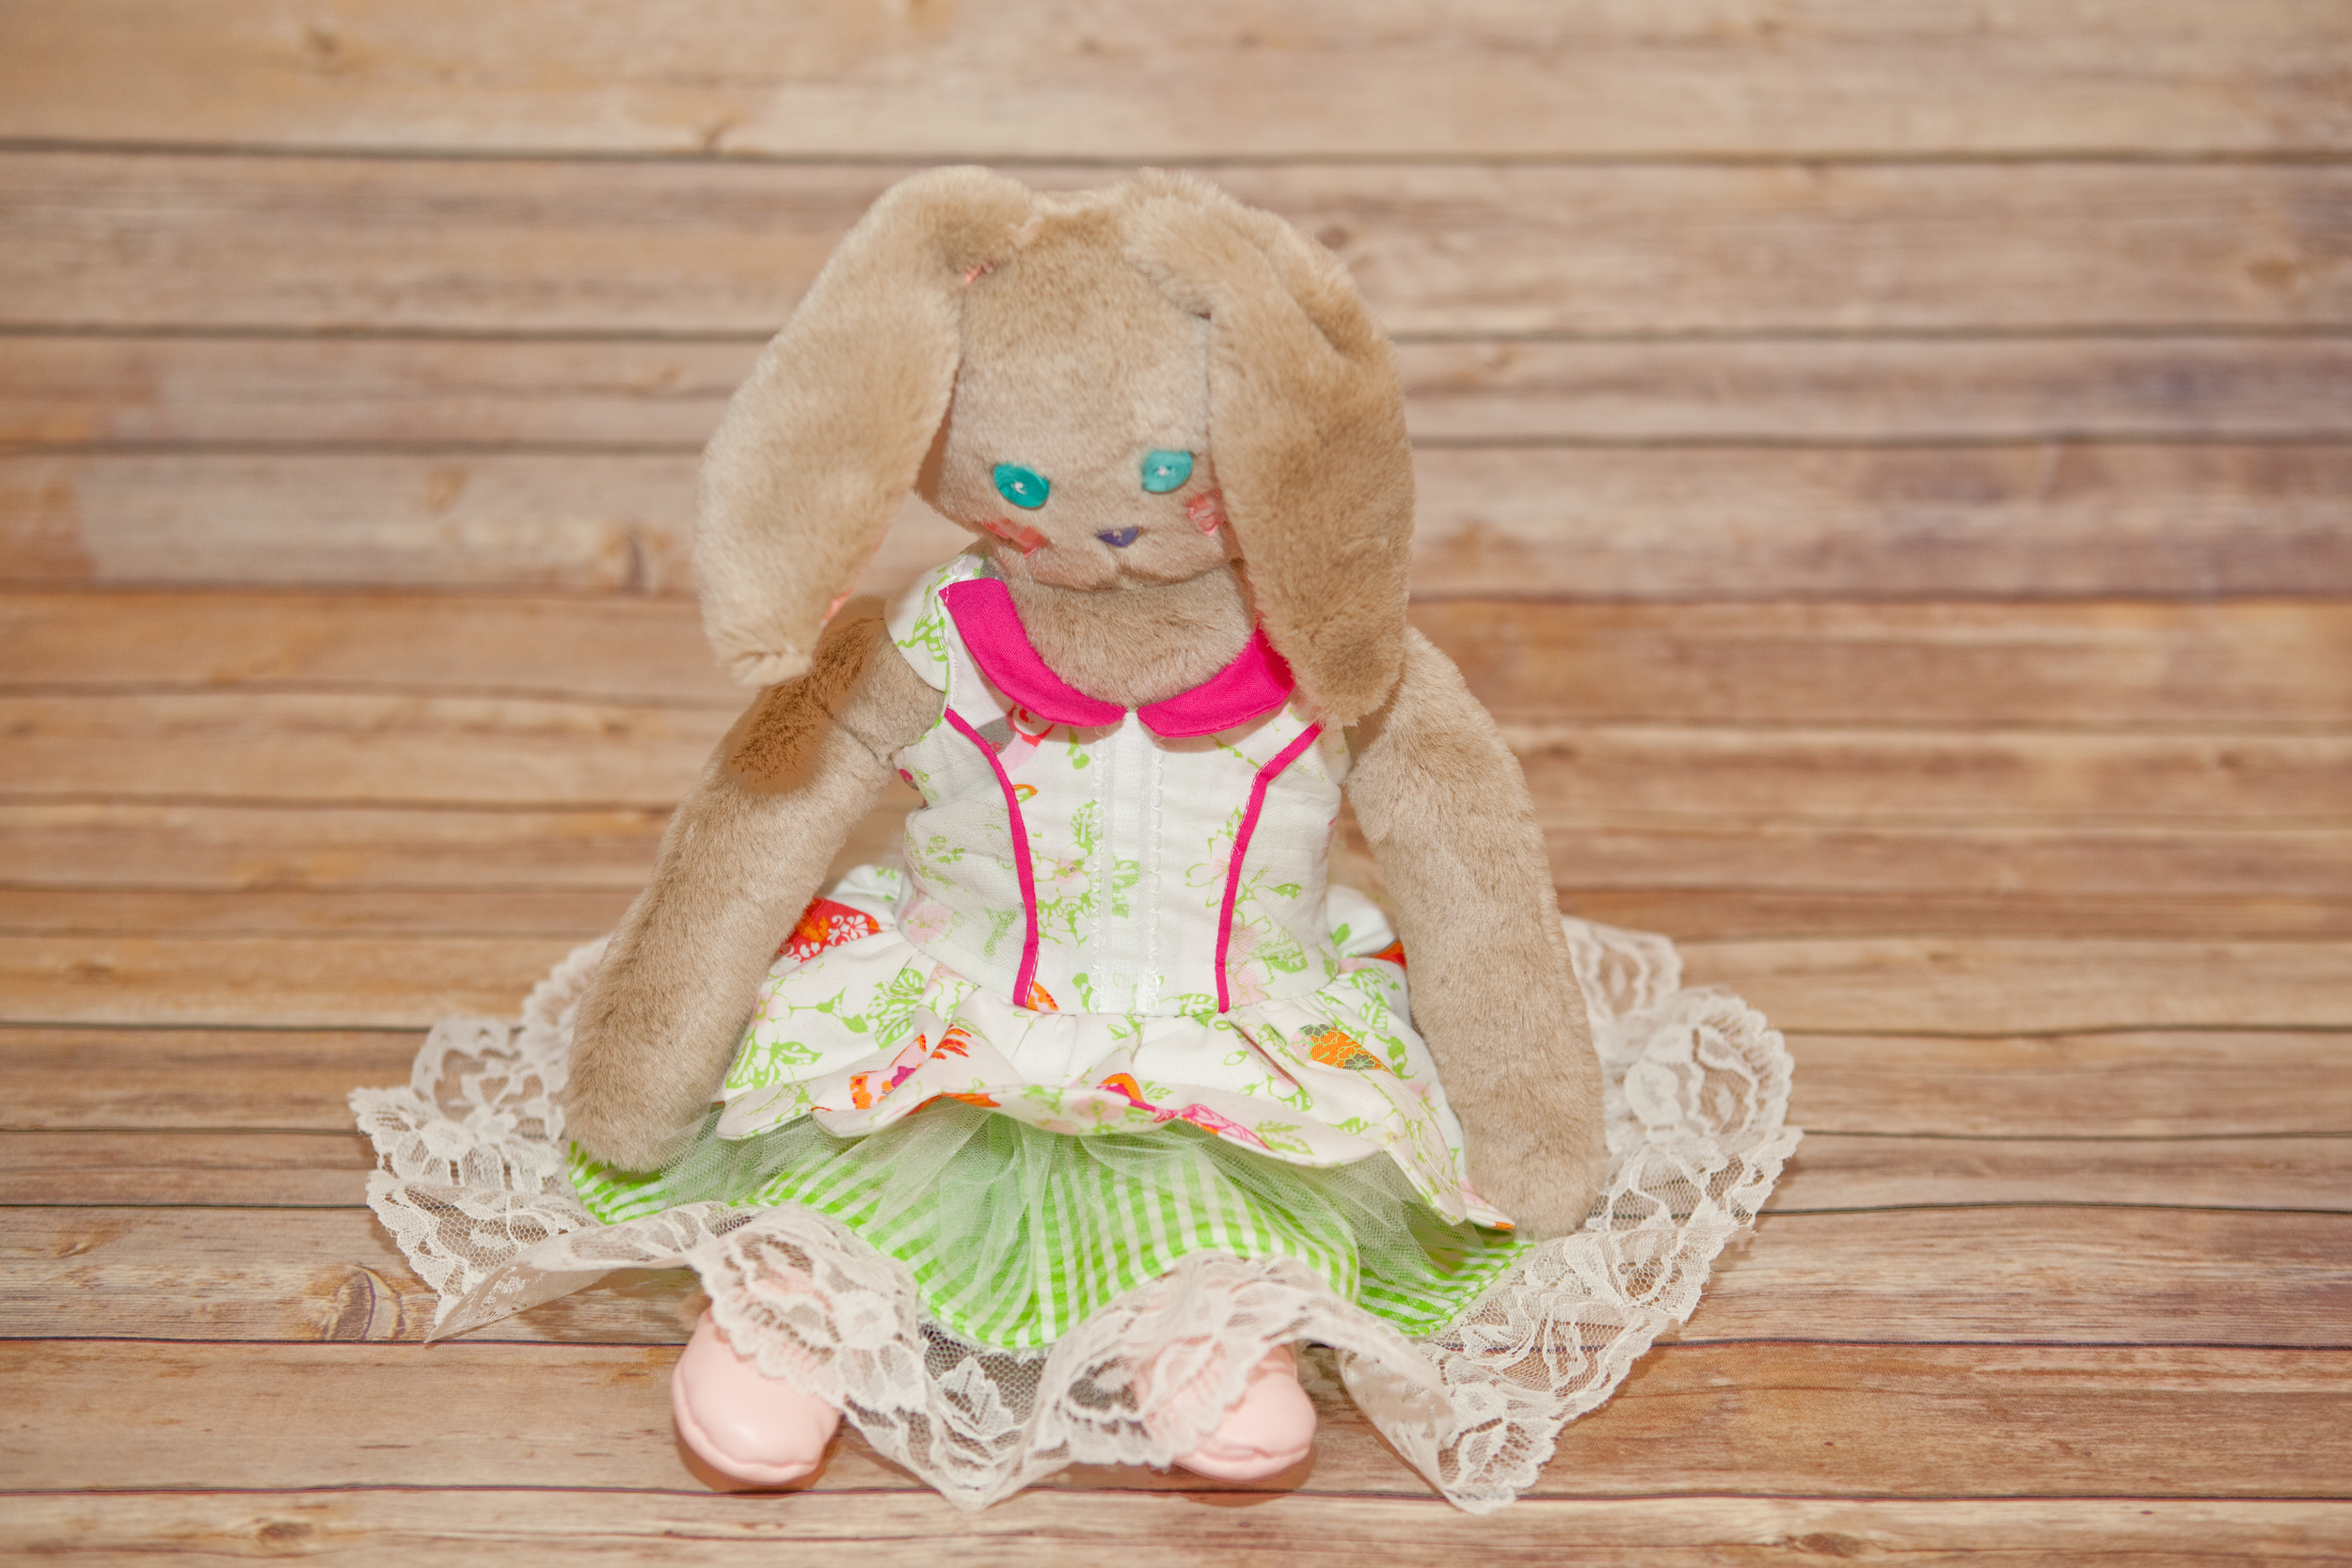
both of these dresses fit perfectly on the My Childhood Treasures Rachel Rabbit - which I made for this project since we don't have an 18 inch doll.
Now.... most people might try a simple project or two when they try out something new for the first time. I, dear readers, am not most people. So for my very first ever piece of doll clothing, I jumped in with both feet on the Lucy Star Dress from Snazzie Drawers. Piping, shirring, three layers of skirt, gathered overlays, oh my! But seriously, If I can pull this off - so can you!!!!

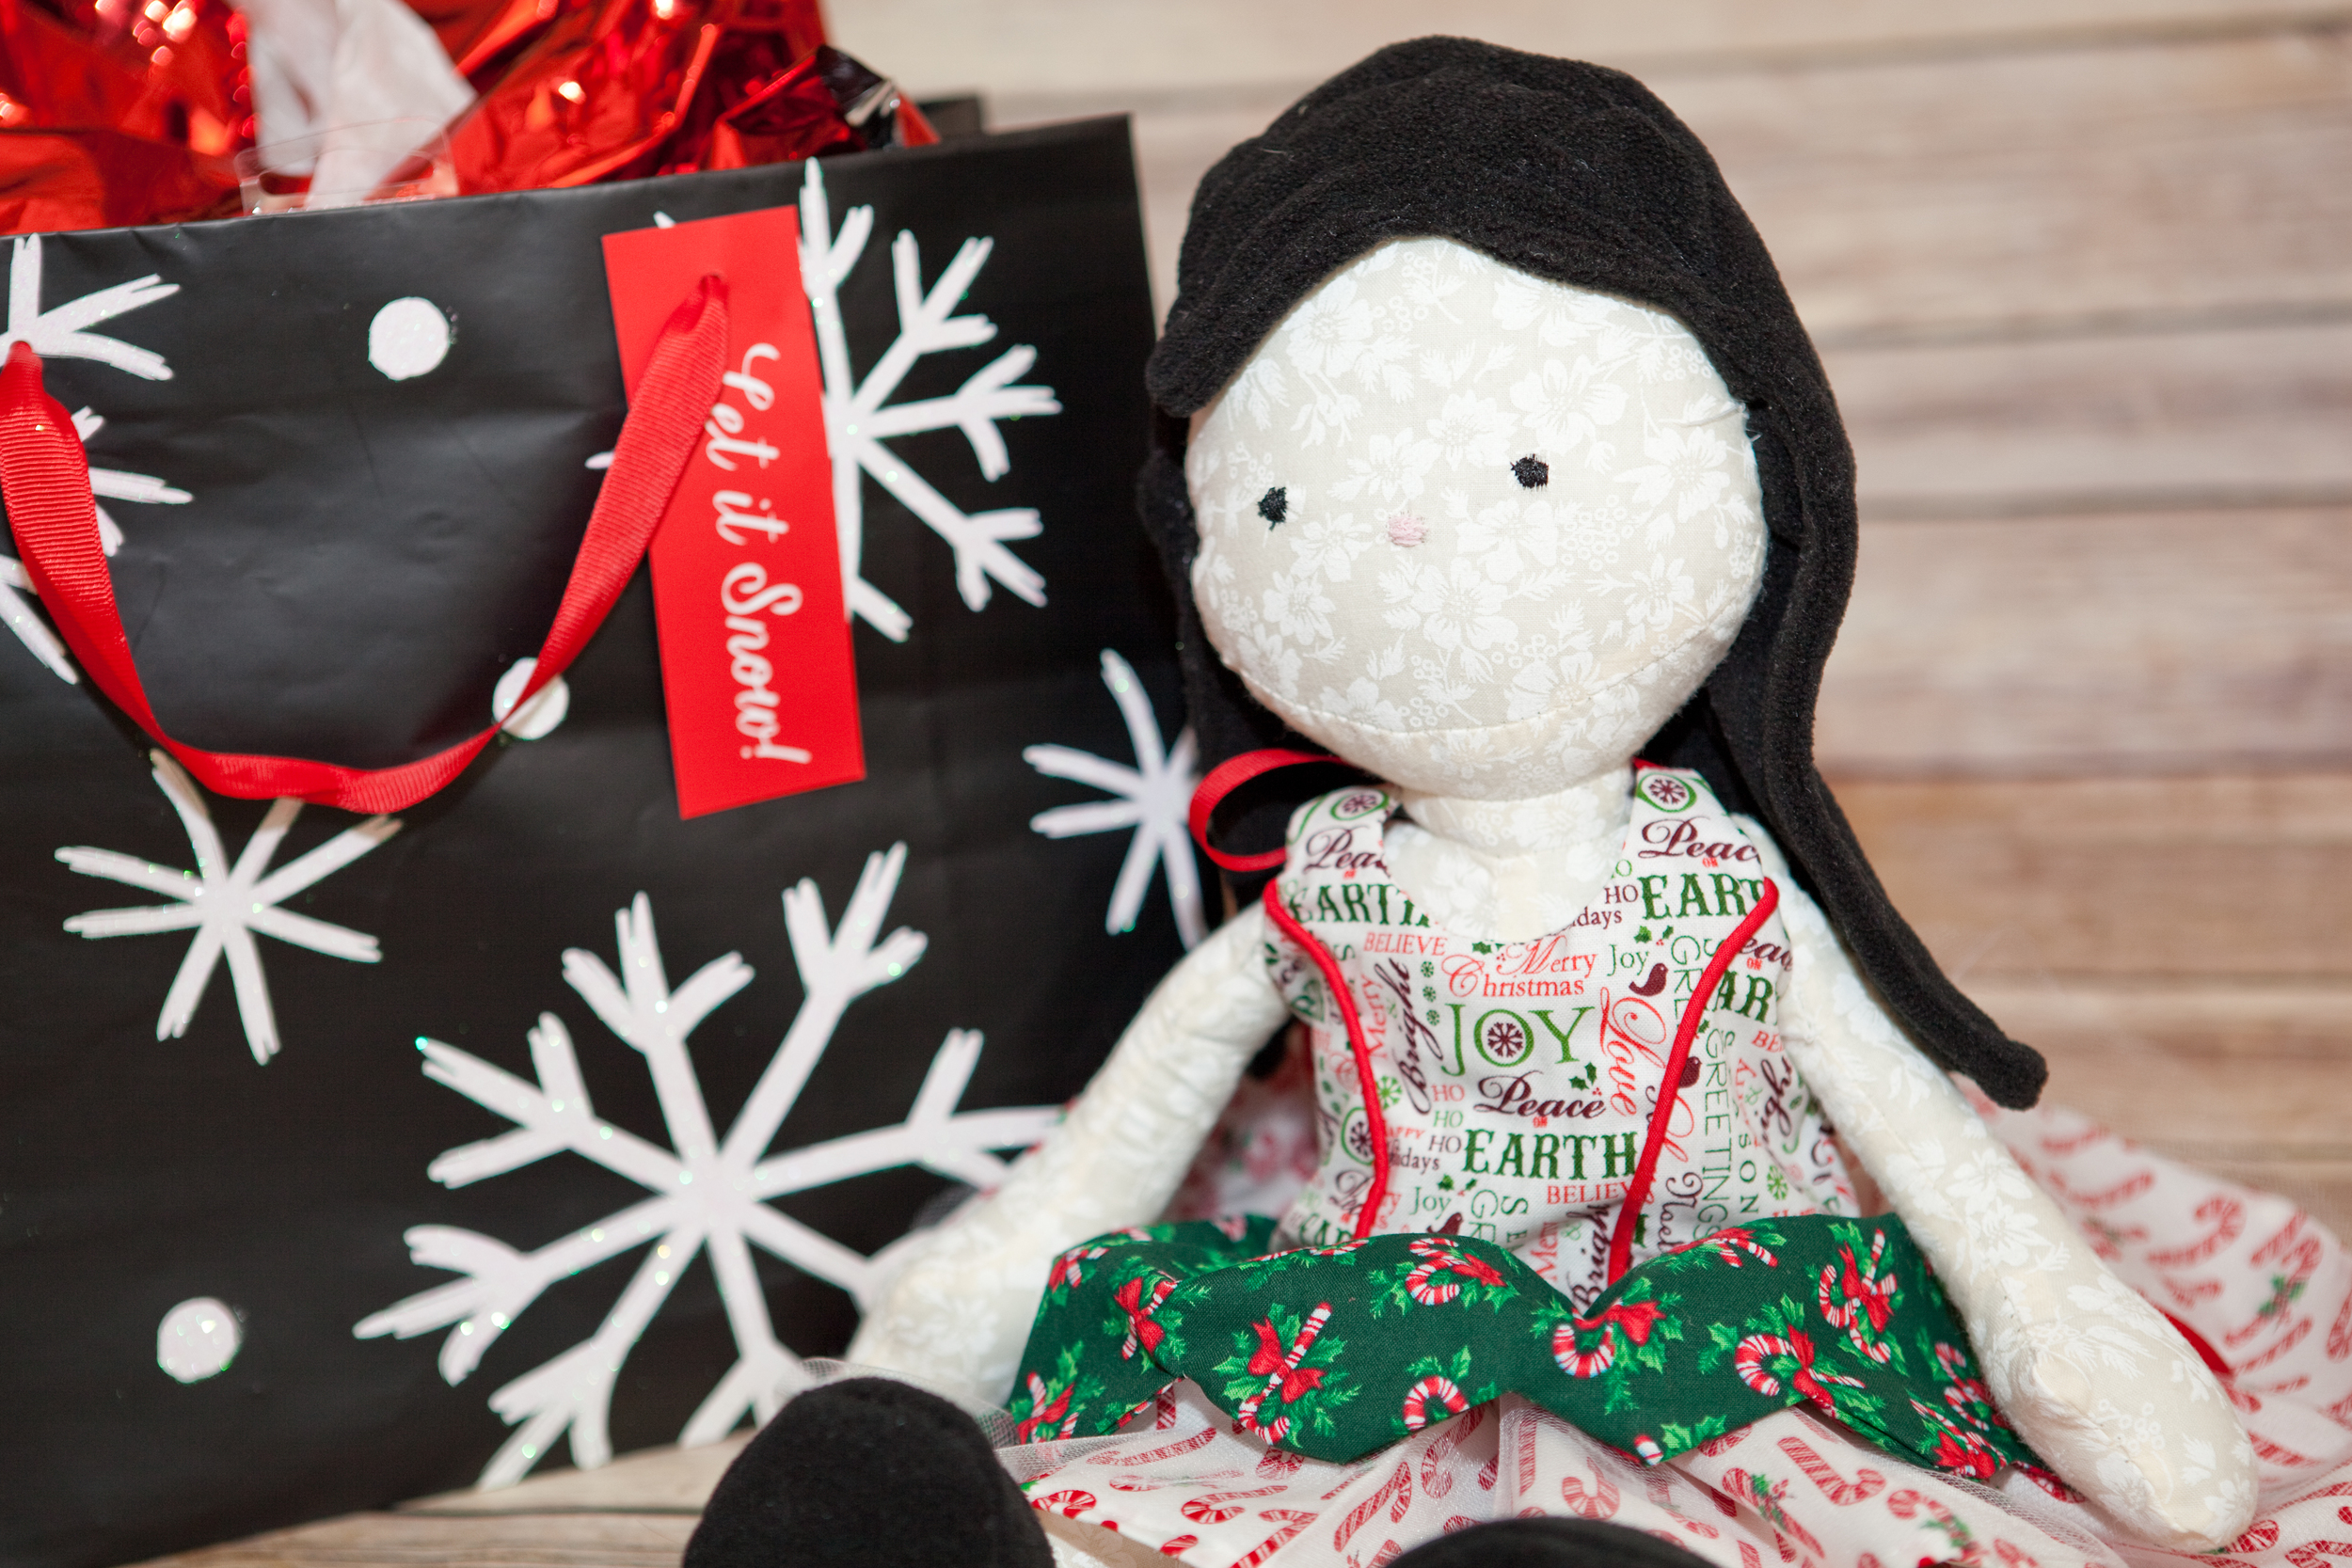
I made two versions of this dress. The first is the Christmas version. For this dress, I simplified the pattern down to the base bones. No extra trim, no collar, no gathered overlays. I kept the piping becasue I think it so beautifully shows the lines of the bodice. By doing a simple version of the dress, I was able to focus on the construction and get a feel for sewing something in miniature.

I also made this Delightful Doll from Nimblephish. She is honestly a bit too small for the 18 inch doll patterns, but I still really liked how cute this Christmas dress looks on her!


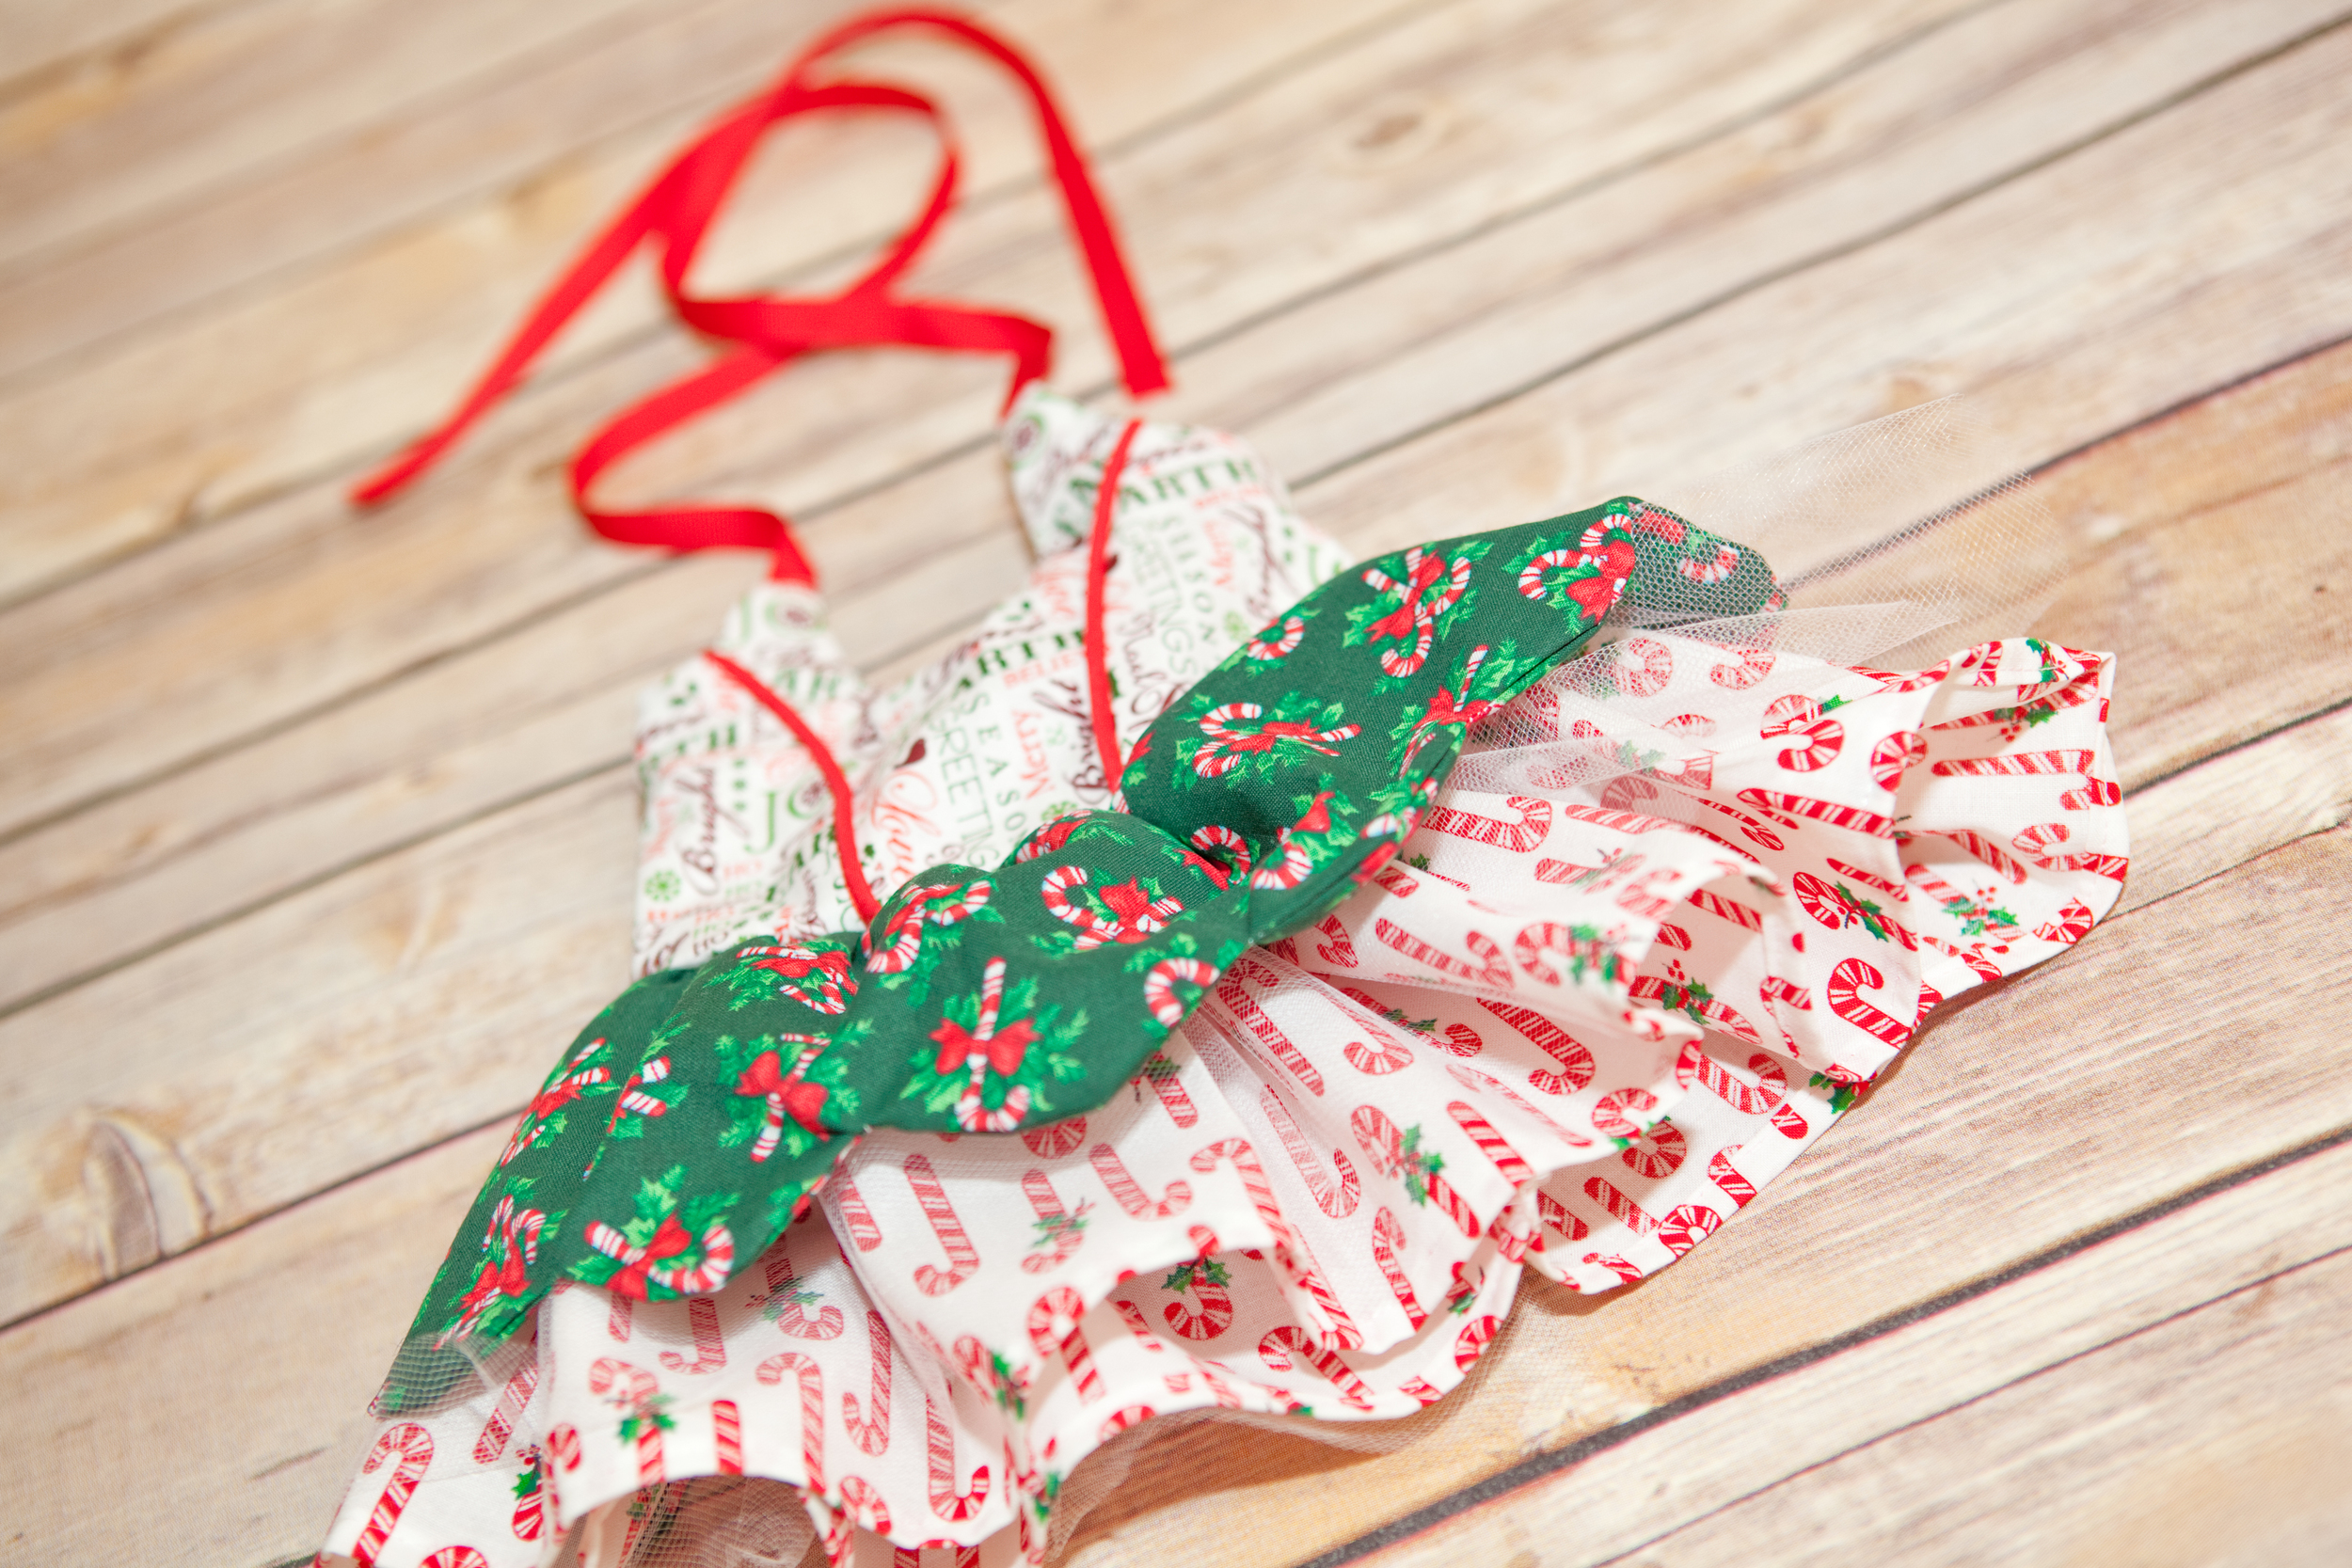
For both of my dresses, I made two main changes. First was to replace the shirred back with an elastic gathered back. My machine hates shirring, so this was a simple swap that achieves the same look and function. The next was to make the scalloped overlay act more as an apron going from back princess seam to back princess seam. I like a slightly fuller skirt, so this allowed me to get a bit more gather.

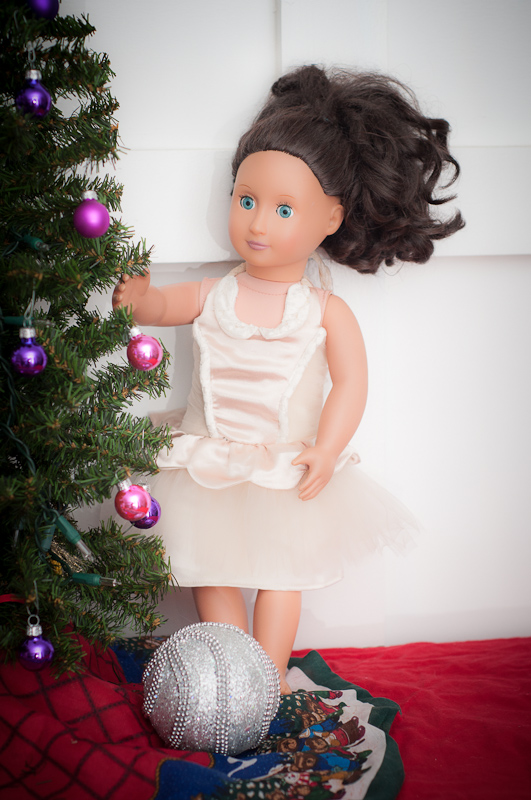
After my basic dress, I decided to go whole hog and let the bells and whistles fly. Adding the extras didn't actually add any time to my sewing since I was already familiar with the pattern construction. I was a little nervous about the gathered overlay on the side bodice pieces, but the process was actually very simple! I would say that the dress took me about 2 hours to make from cut to finish, which for something this elaborate isn't bad - but for a piece of doll clothing is a bit of an extravagance.... but what better time for extravagance than CHRISTMAS!!!!!!


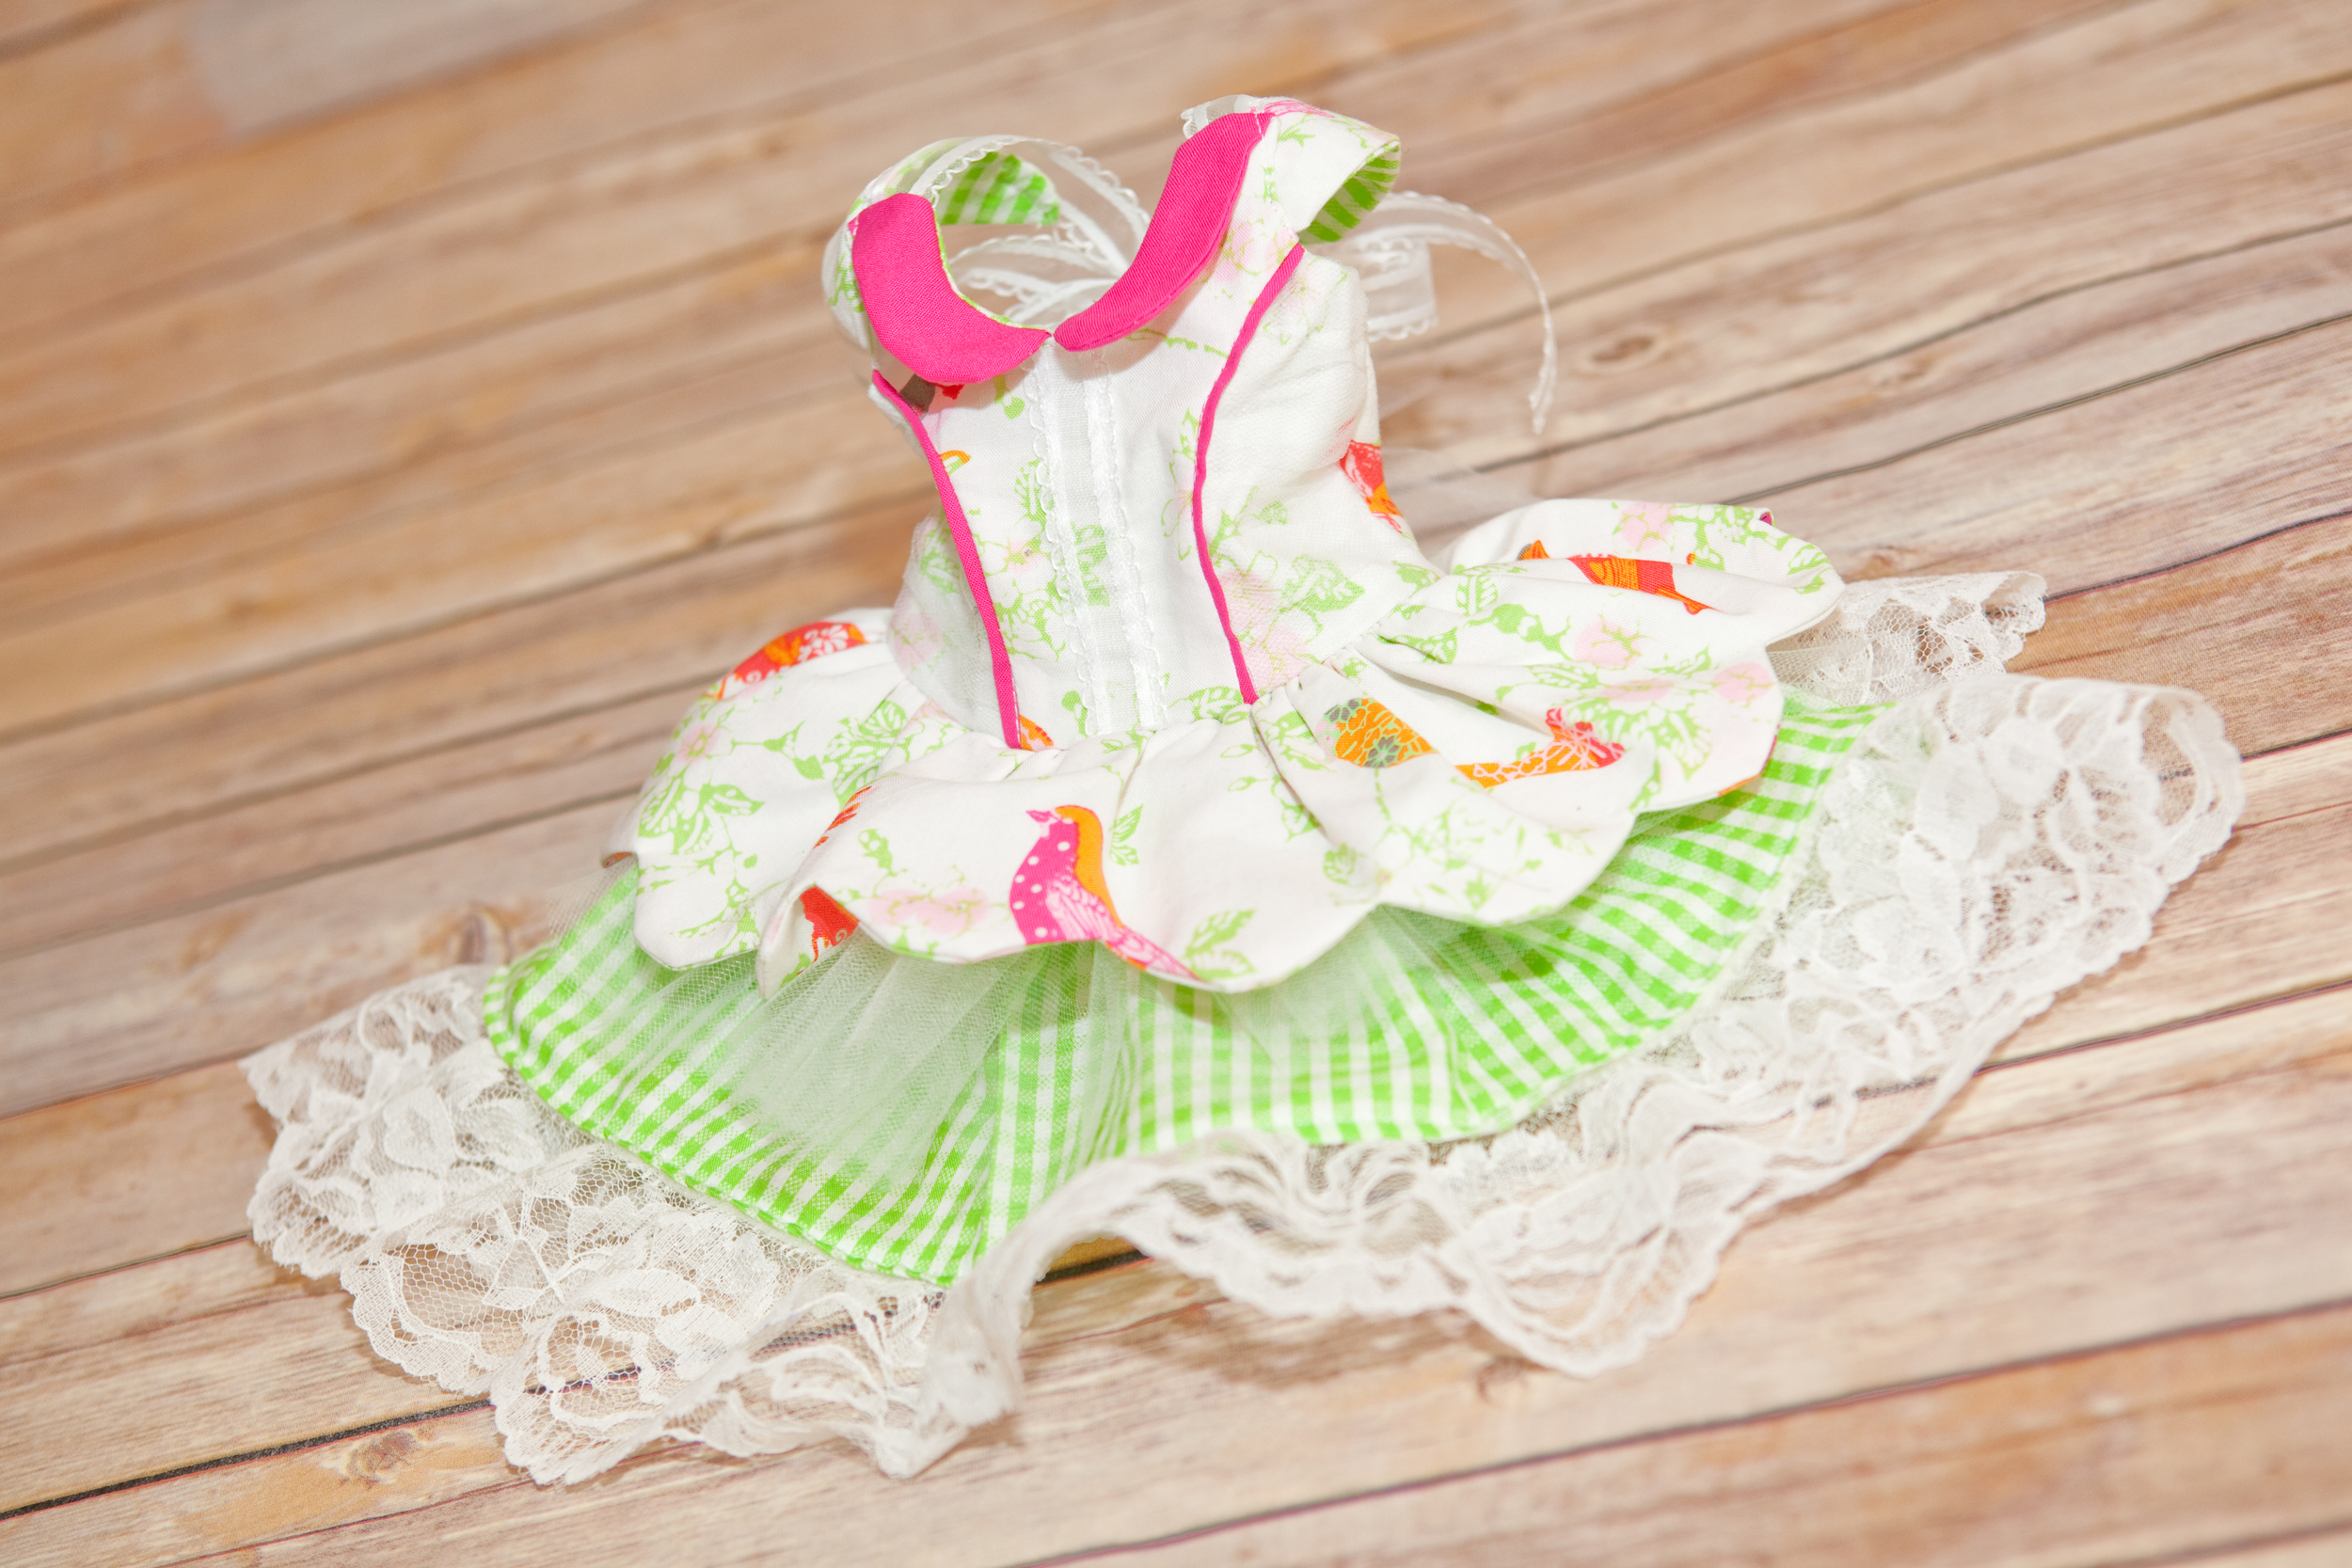

The pieces fit together beautifully. The printed pattern pieces fit on one page and then the remainder of the pieces are rectangles to cut that are organized on a very efficient chart. Combine that with well written instructions and step by step pictures, and you will be whipping up your very own Lucy Star dress in no time at all. AND, if you like this doll version, you are going to love the girl's dress that is in testing now.
----------------------
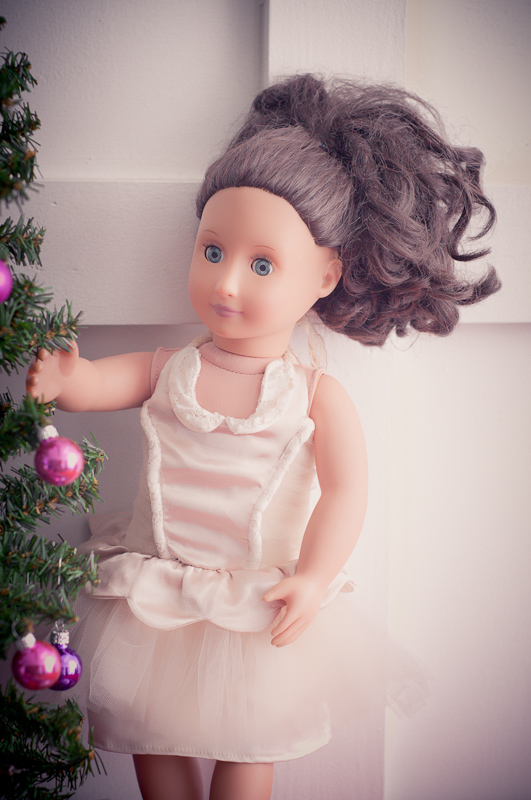
Lisa whipped up a gorgeous cream version too, and she actually has an 18 inch doll to show it off on.