
Halloween Extravaganza Day 3: The Wonderful World of Disney
/Disney Costumes are always popular with kids - they know the movies, they know the characters, they want to be that princess... or scampering mouse. The great thing with these movies, is that characters often have more than one memorable costume - sure there is that ball gown that you can find in every costume shop, but with a little imagination and ingenuity; you cans till capture your child's favorite movie characters and not look exactly the same as 20 other kids trick or treating in your neighborhood.
Today we'll show you a few of our Disney inspired creations, and there will be plenty more coming as the week goes on! Here are Carrie and Nicole to share Cinderella in Rags and Guss Guss, Ariel on land, and Briar Rose.
Make sure to link up all your costume creations for a chance to win some very cool prizes in our Halloween Extravaganza!!!
-------------------------------------------

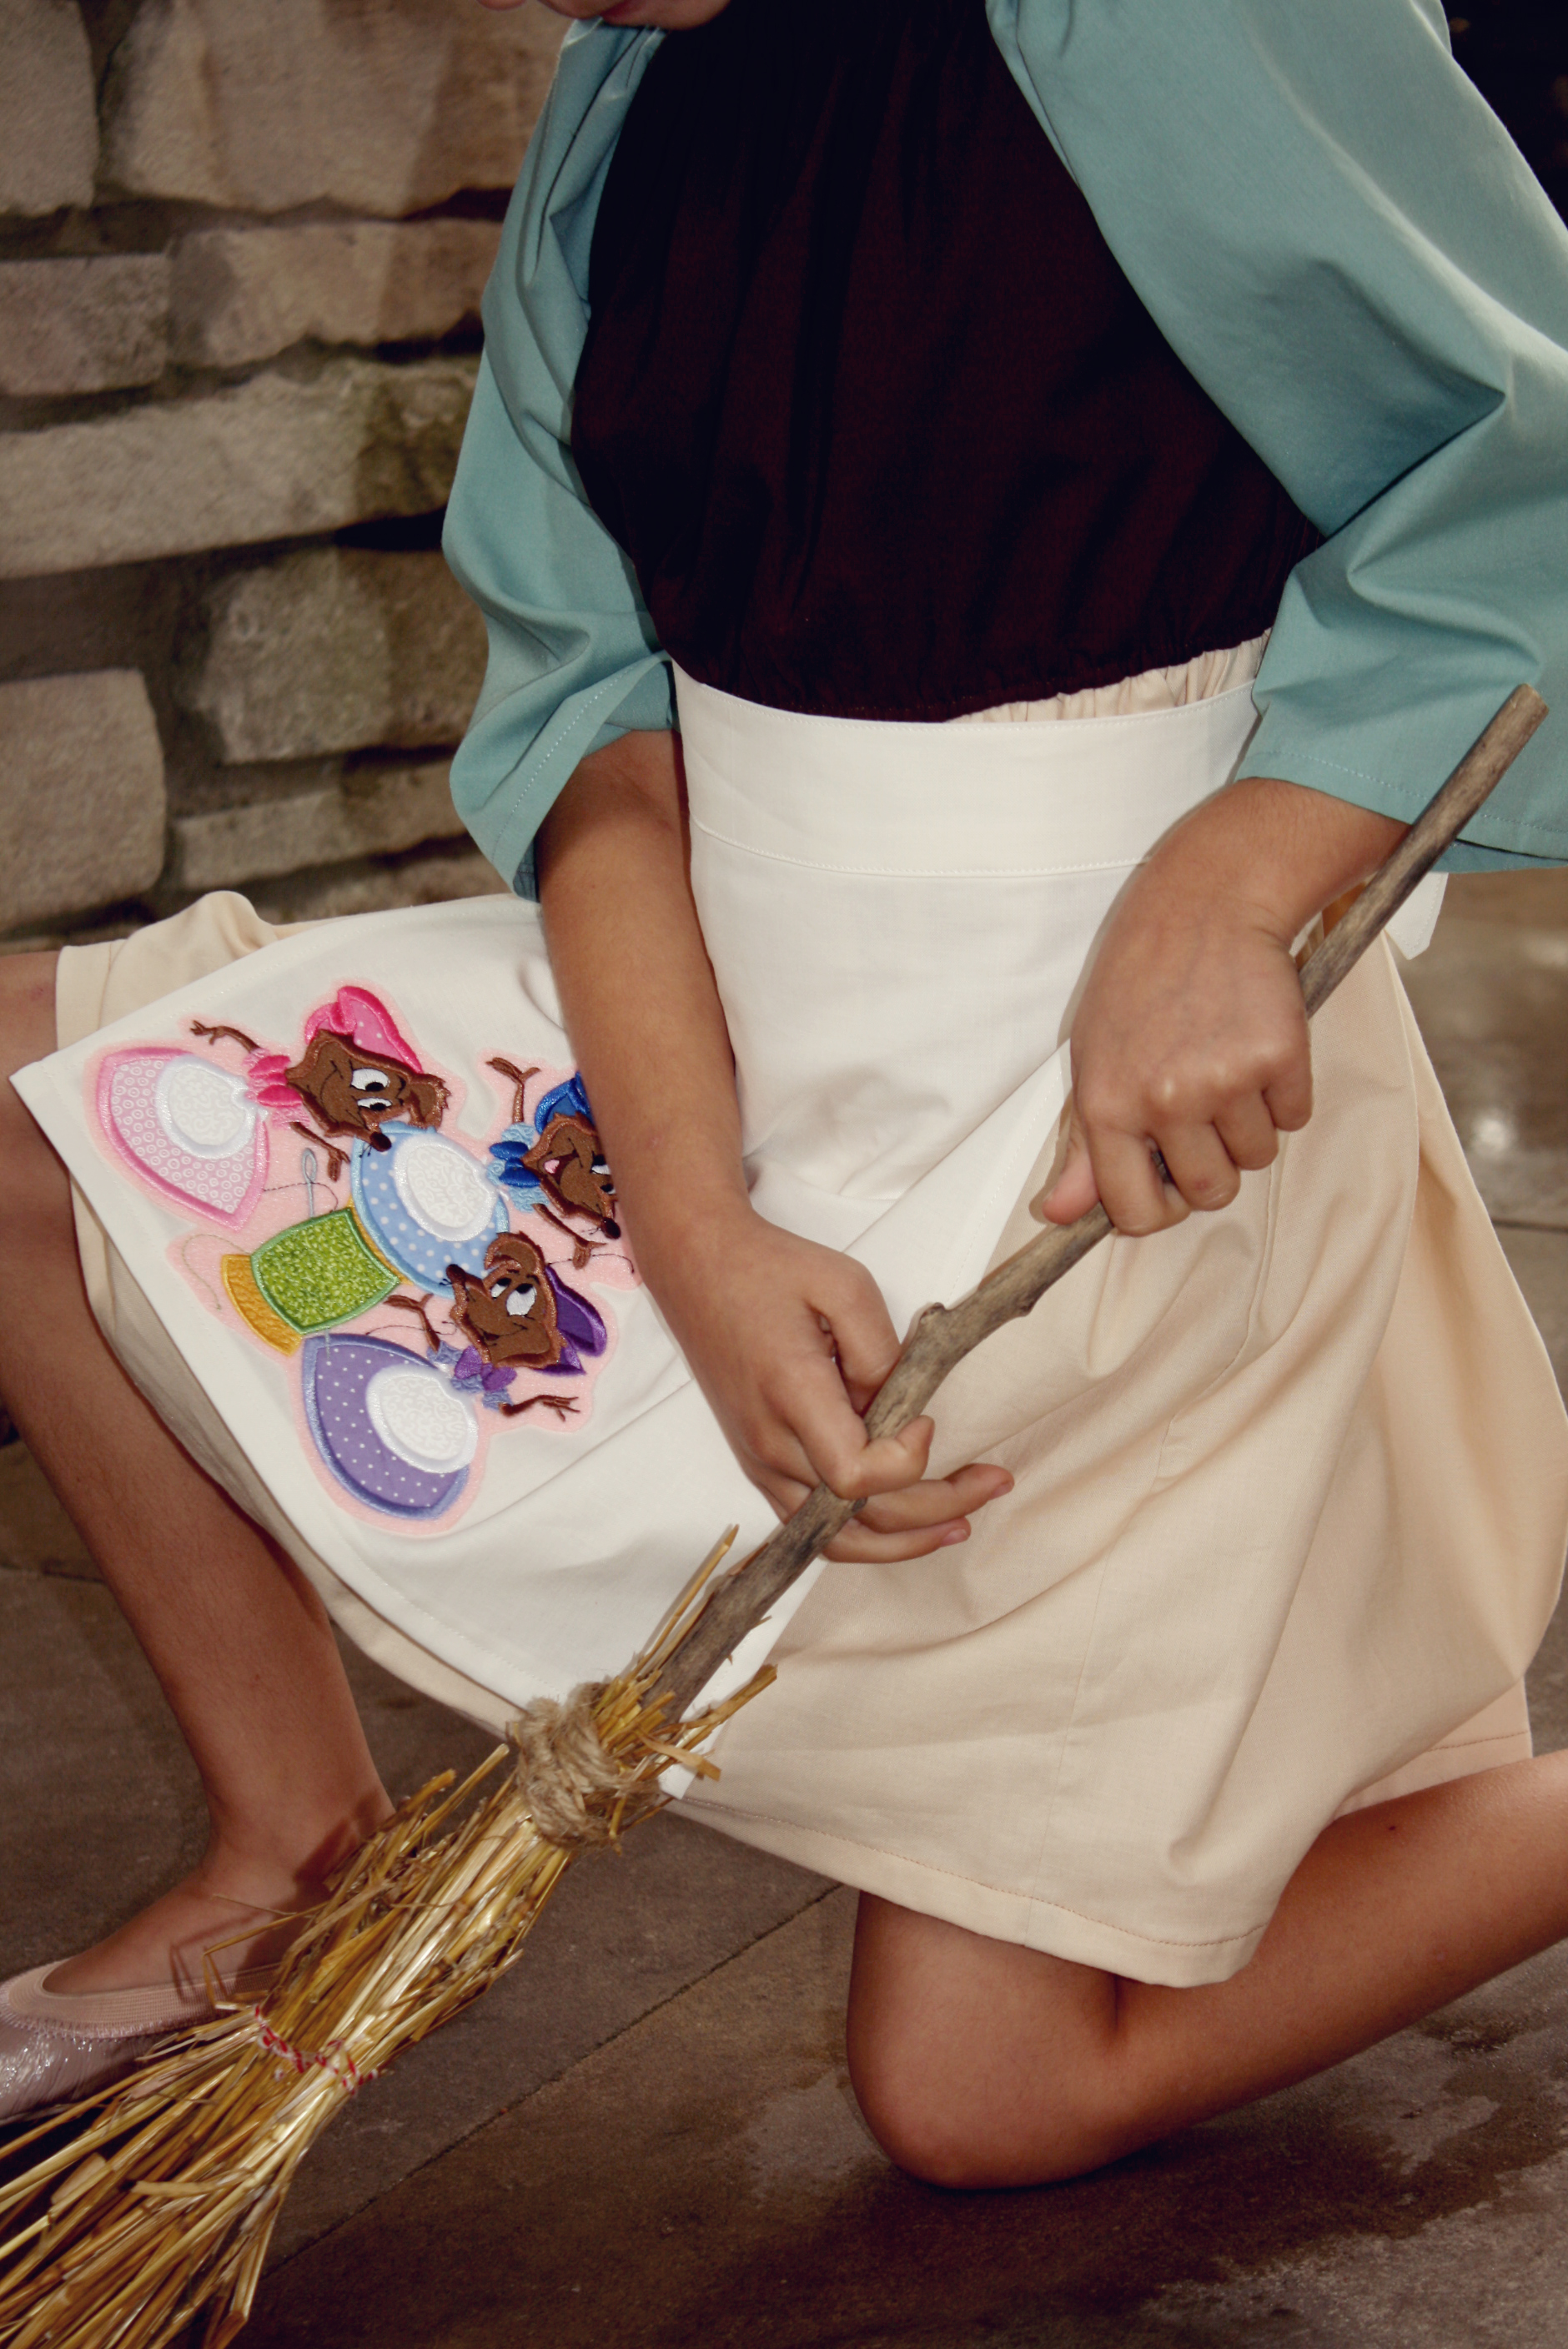
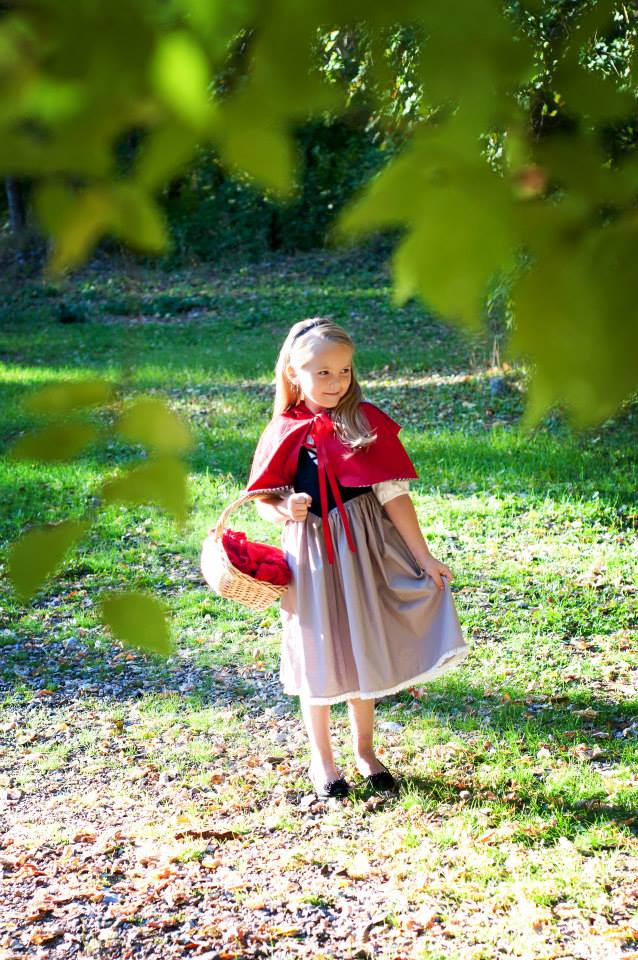
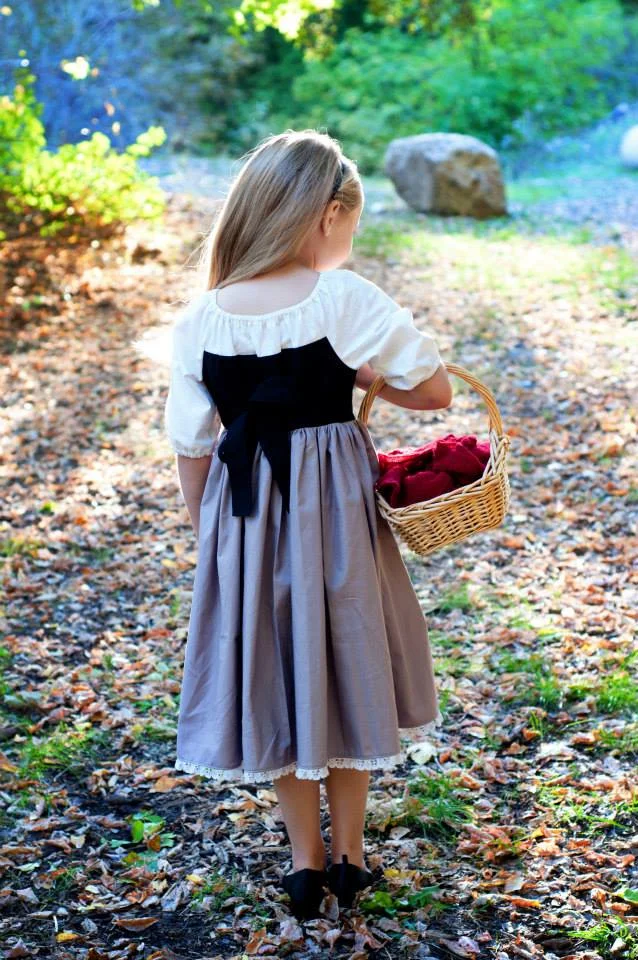
We decided on Cinderella, but not in her traditional blue ball gown--we chose her rags instead. For the dress I chose the Peek-A-Boo Perfect Peasant Dress. All the fabrics are just solid broadcloth making it a super affordable costume that can easily be moved into the dress-up bin after Halloween. I adjusted the sleeves just a bit by cutting them at a ? length and leaving out the elastic. The apron is made using the sash measurements in the pattern and I've added a full tutorial here for both the apron and scarf.

For a little added touch my friend Heather at M&M Creations made this sweet appliqued patch that I was able to iron on with 3 of Cinderella's mice.

For my little guy's costume, I needed something that would be comfortable and easy to get undone since we will be in costumes for a good 5-6 hours. I chose the Fishsticks Designs Austin Lee Coverall and Romper. This gave me the perfect base to add our stuffed belly.
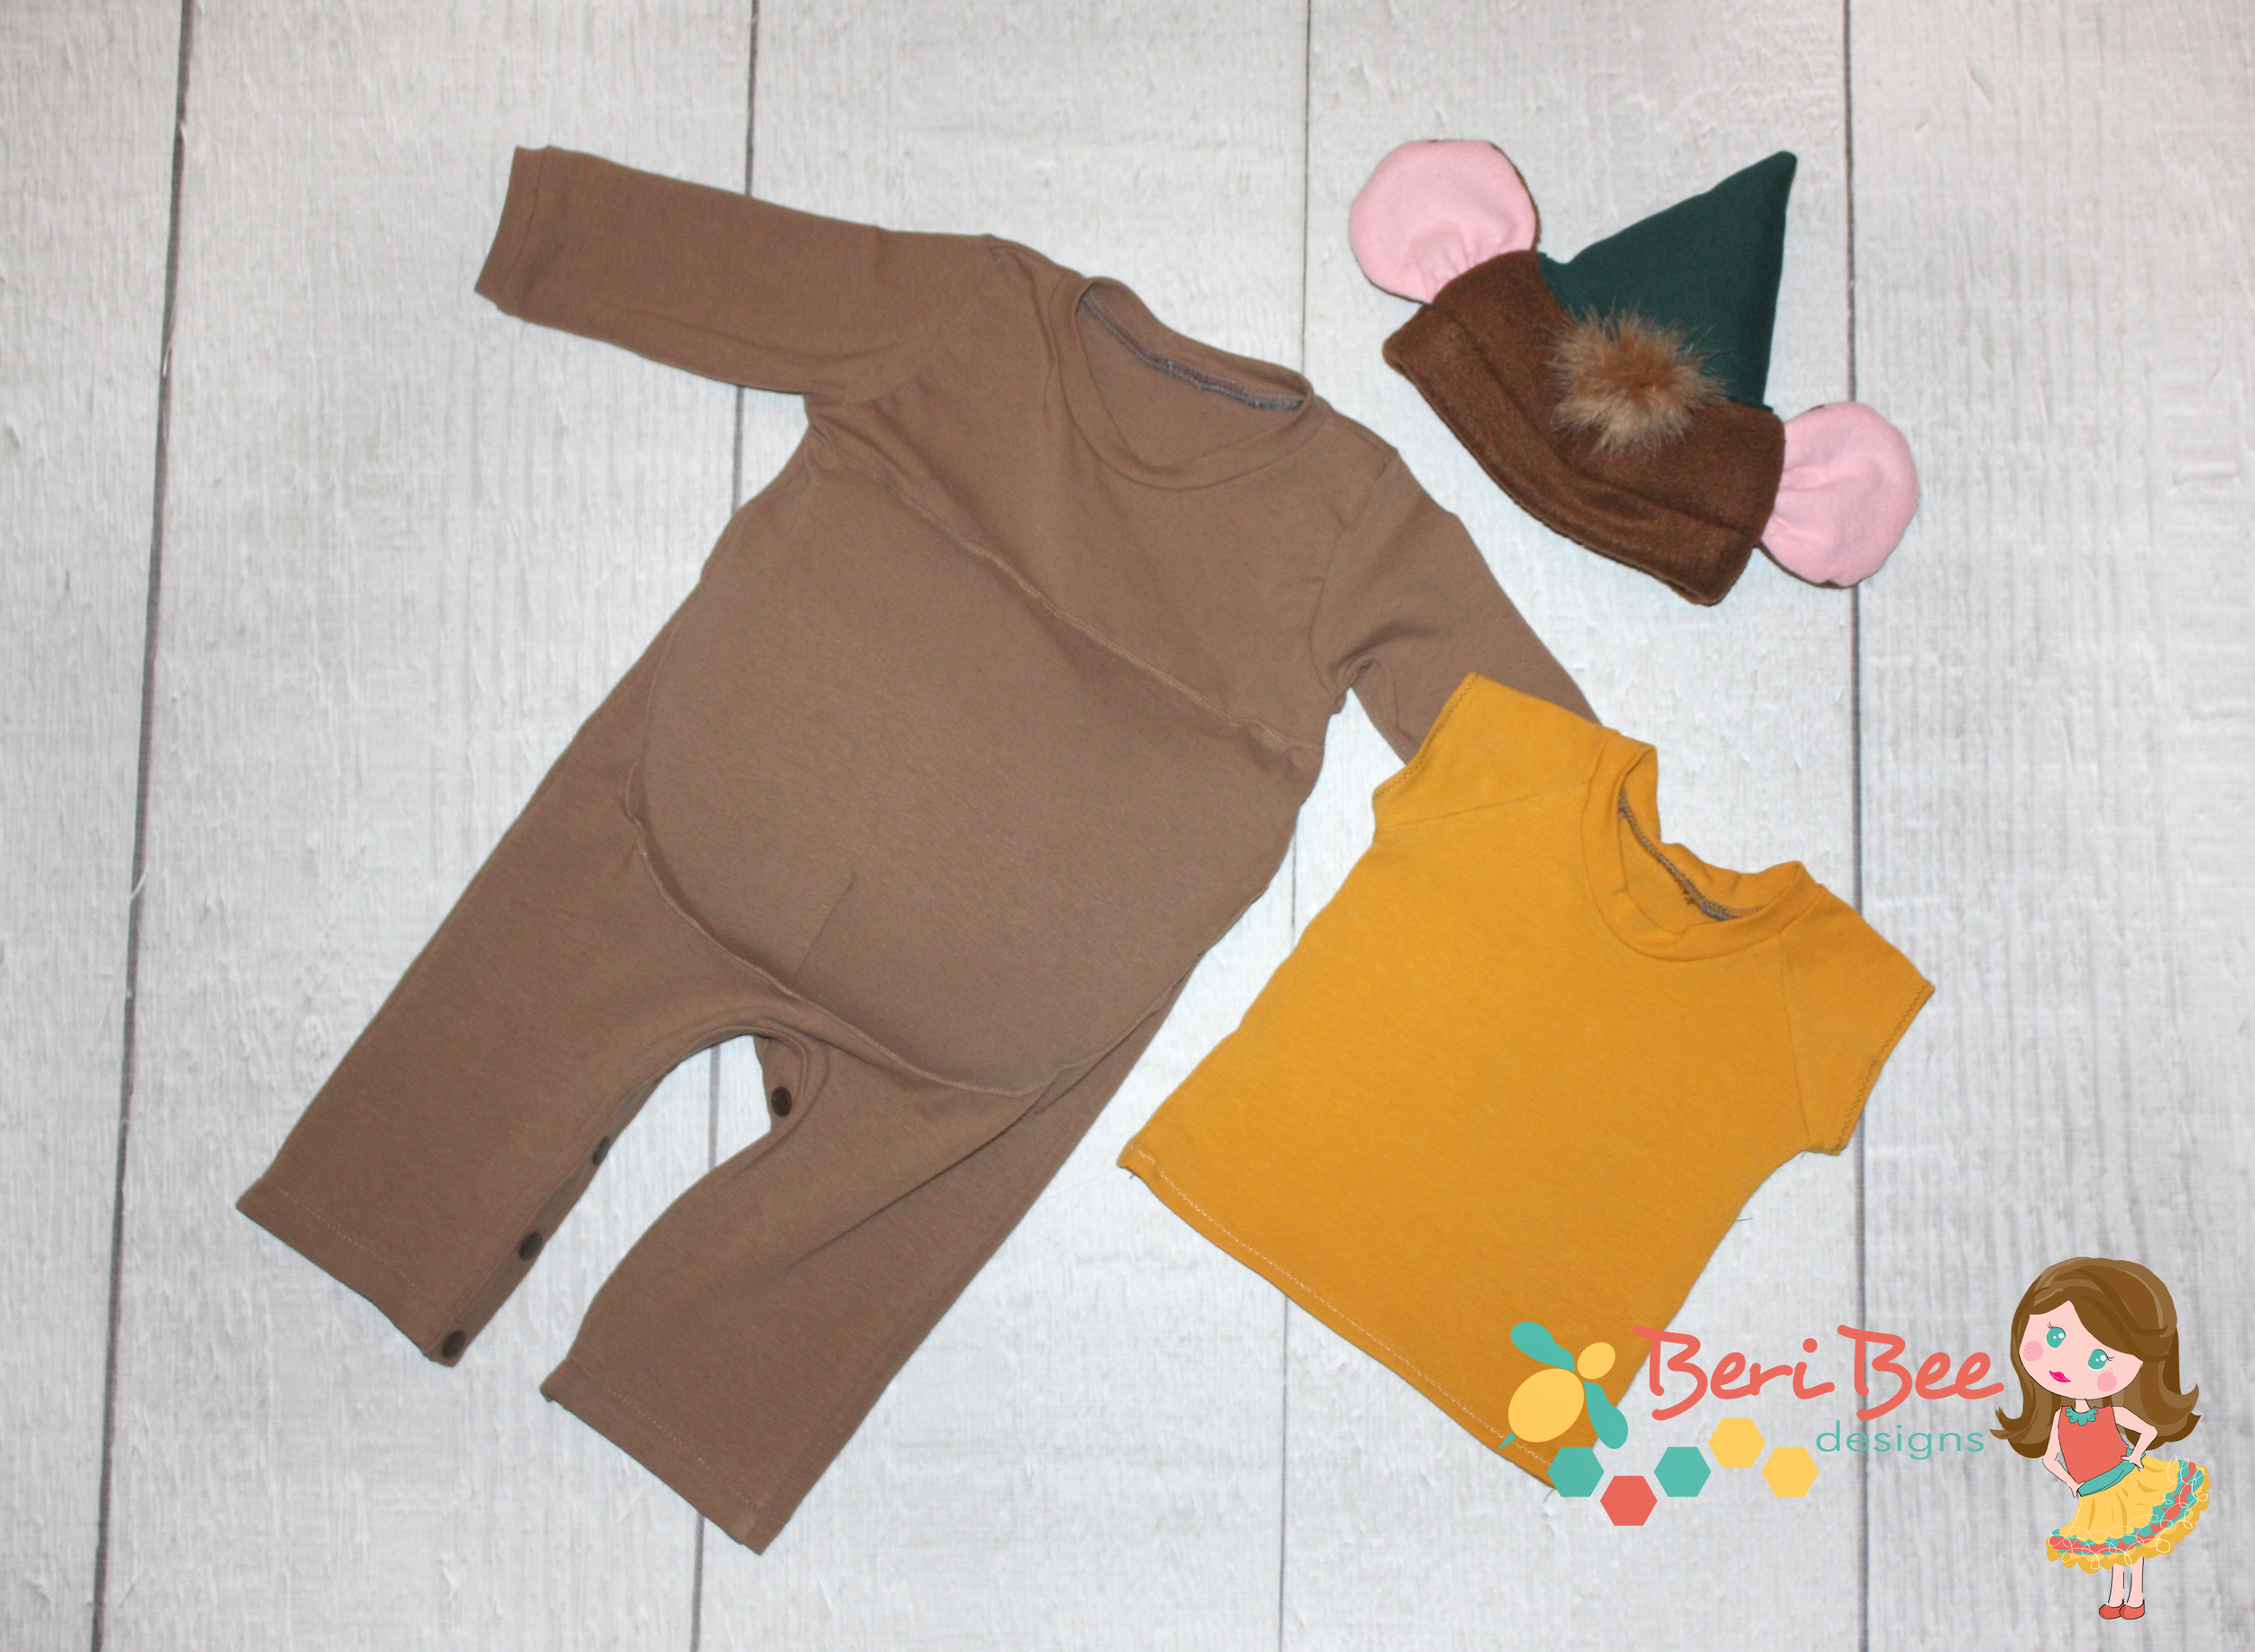


I made the gold tee using the Peek-A-Boo Hang Ten Rash Guard with short sleeves. I didn't have regular raglan tee handy that went small enough and figured I'd be resourceful with something else I already owned.
The hat is the Animal Ears Fleece from Tie Dye Diva. I enlarged the bear ears in the pattern, attached them further down on the sides and then added a green cone shape that I stuffed and stitched directly to the top of the hat.

-------------------------------------------------
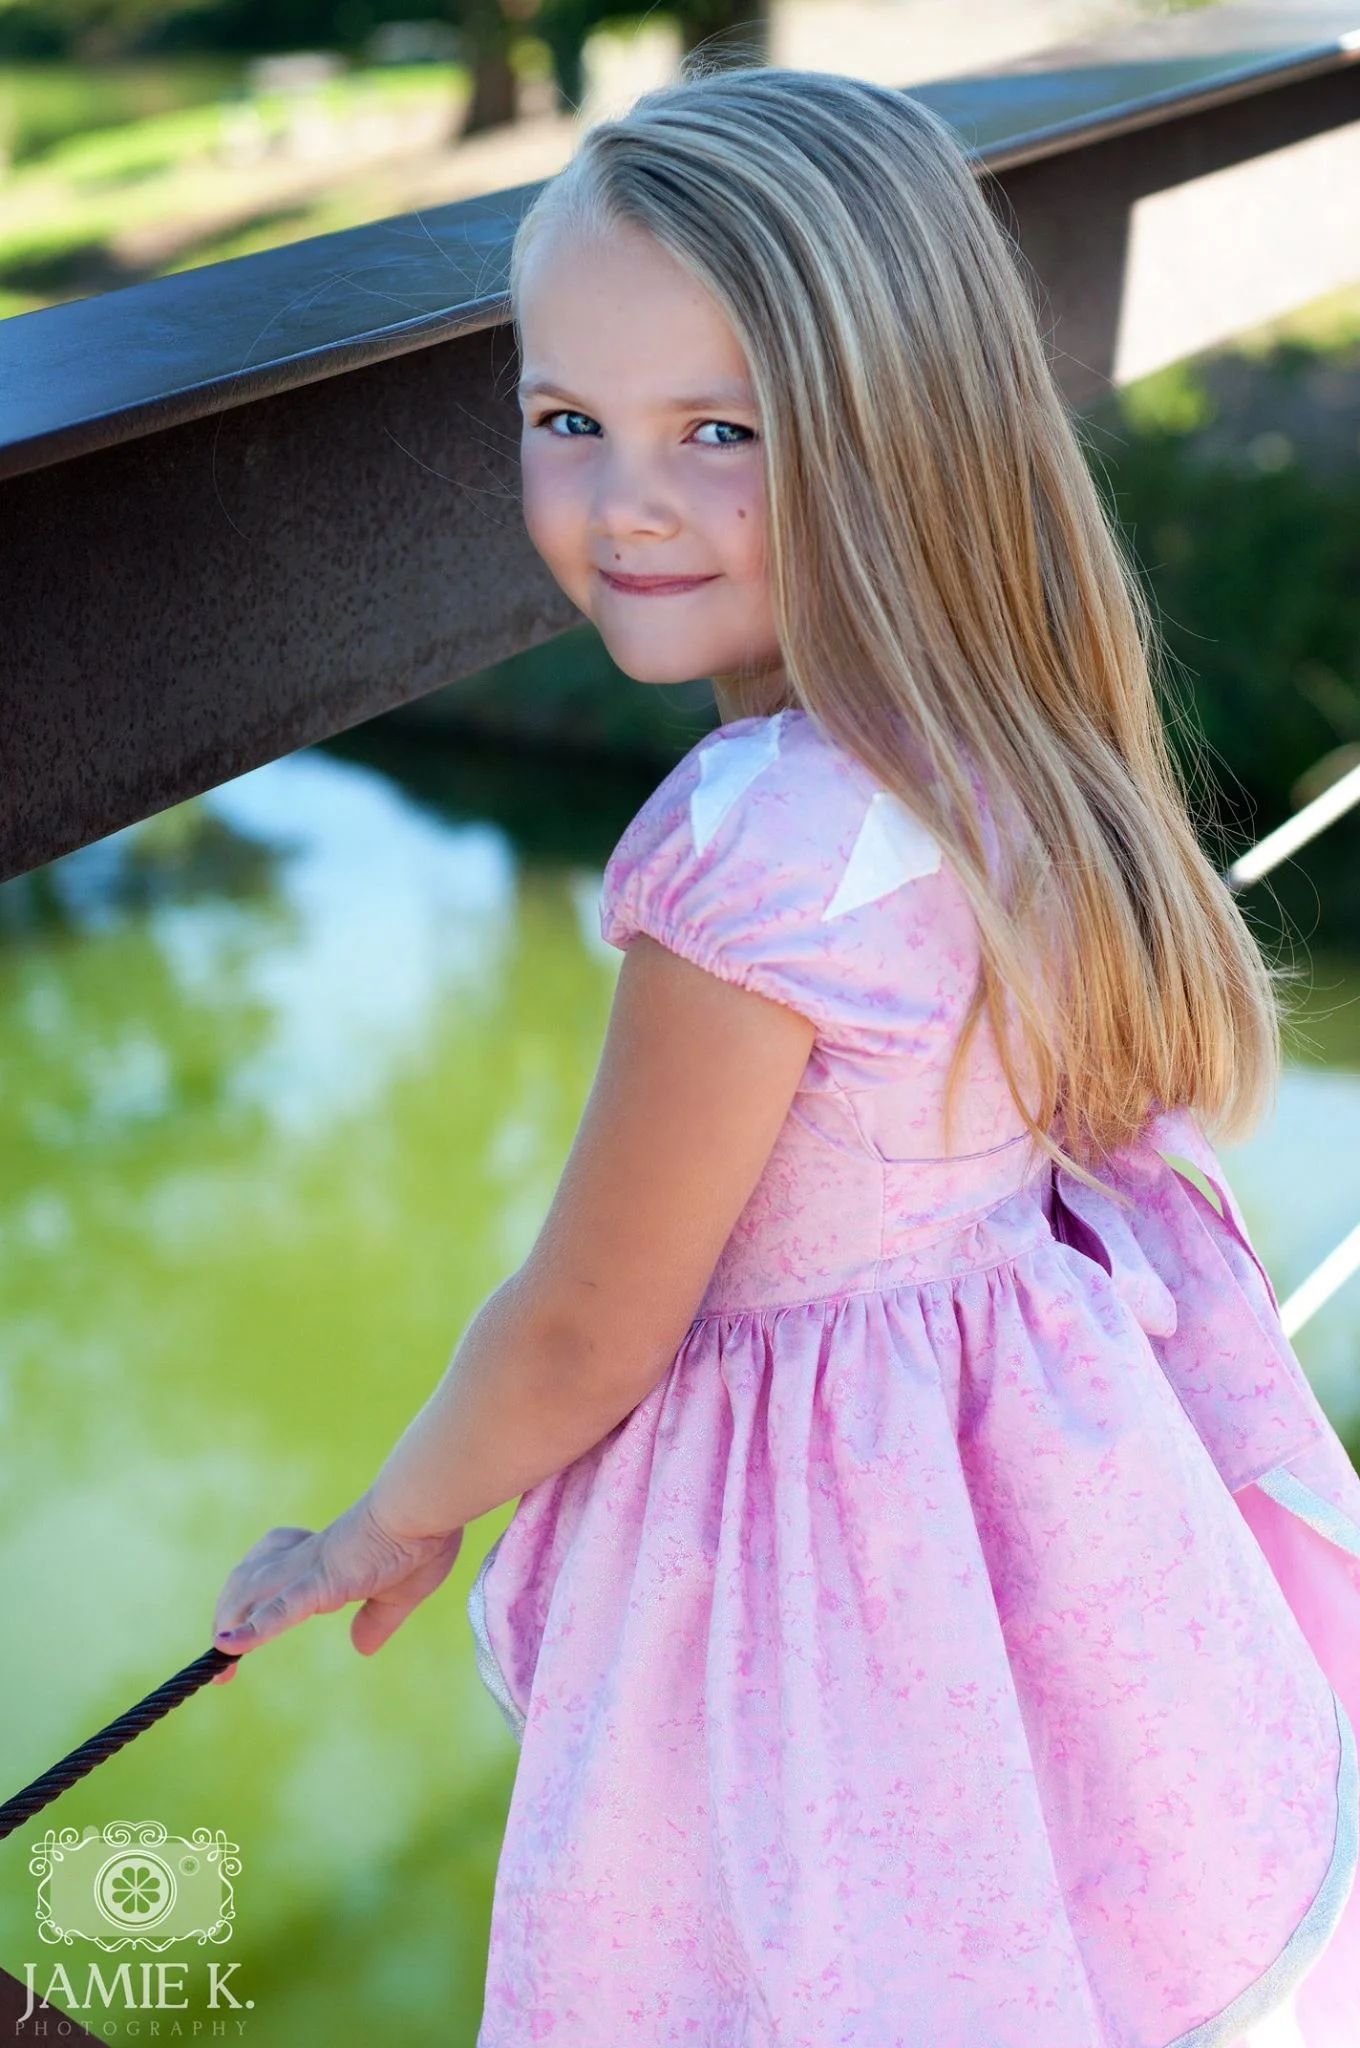
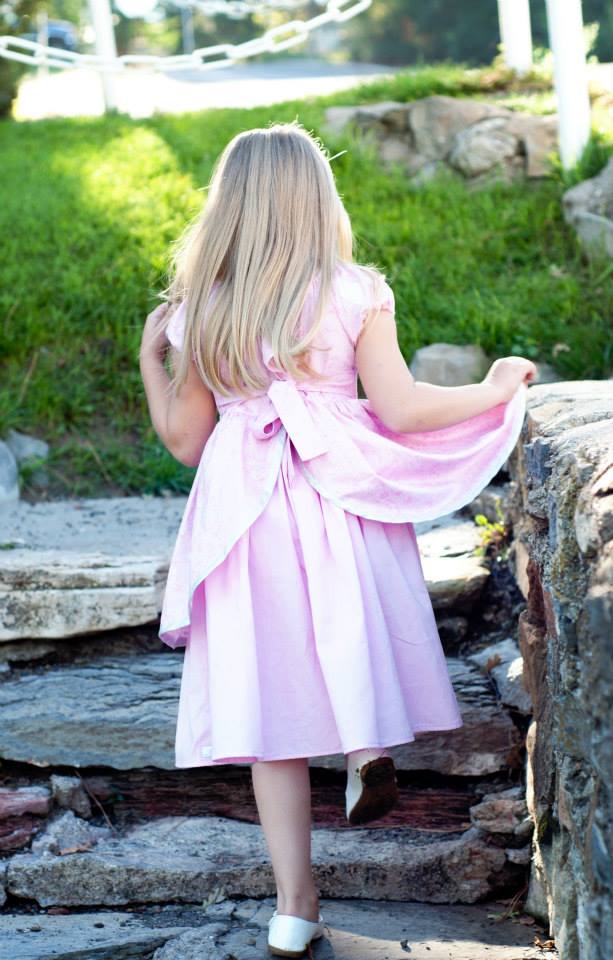
- Fairy Frost in Love { https://www.etsy.com/shop/BaileyGirlsFabric/search?search_query=fairy+frost&order=date_desc&view_type=gallery&ref=shop_search } I received the FF in a fun stash swap from Jennifer {Thanks :) } ** She can set up custom order for you.
- Kona Pink { http://www.joann.com/search?q=kona%20cotton }
- Fairy Frost in Snow { Again, I got mine in a stash swap from Jennifer link above ^^ }

I always use width of fabric when creating all my skirts. I love the fullness it gives and adds a little more fairytale to my finished dresses.
I would love to thank my amazing and talented friend Jamie and her daughter Miss. S for lending their talents { https://www.facebook.com/pages/Jamie-K-Photography/114030695320149 } { http://jamiekphoto.blogspot.com/ }
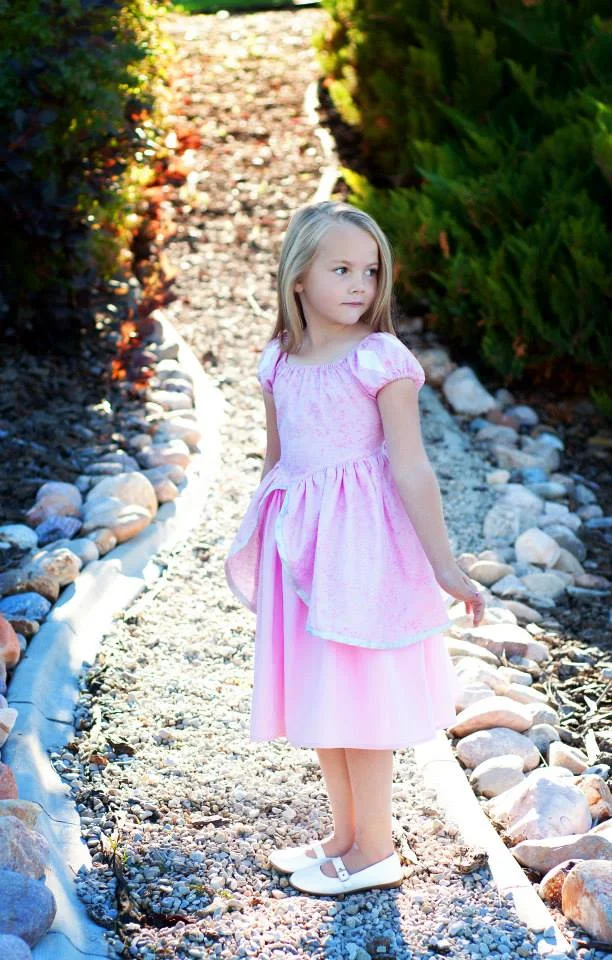
This has been my go to pattern to create a few looks you will be seeing from me. I hope I can inspired you ladies to create everyday princess wear with a flair.
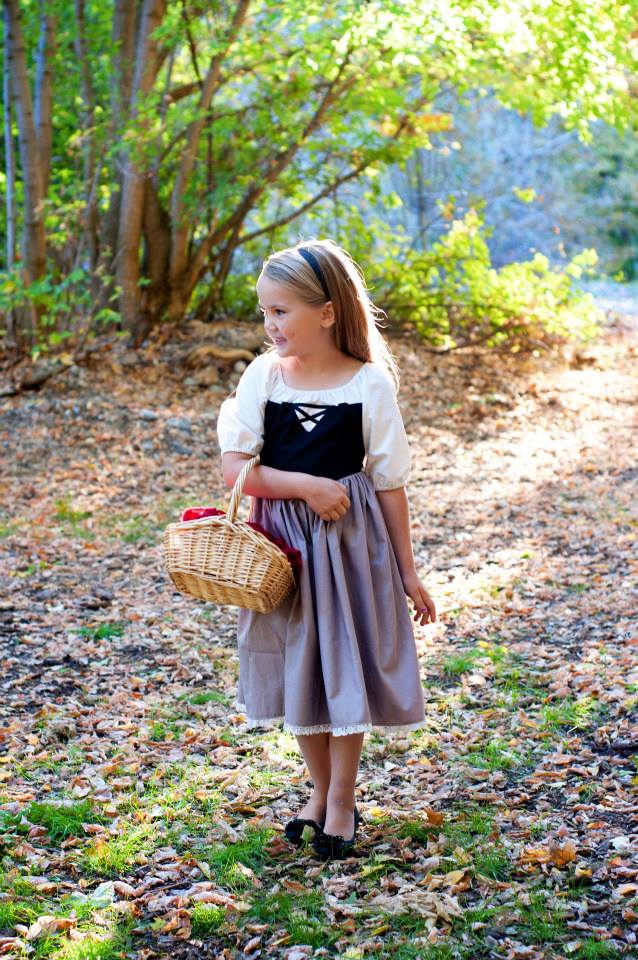
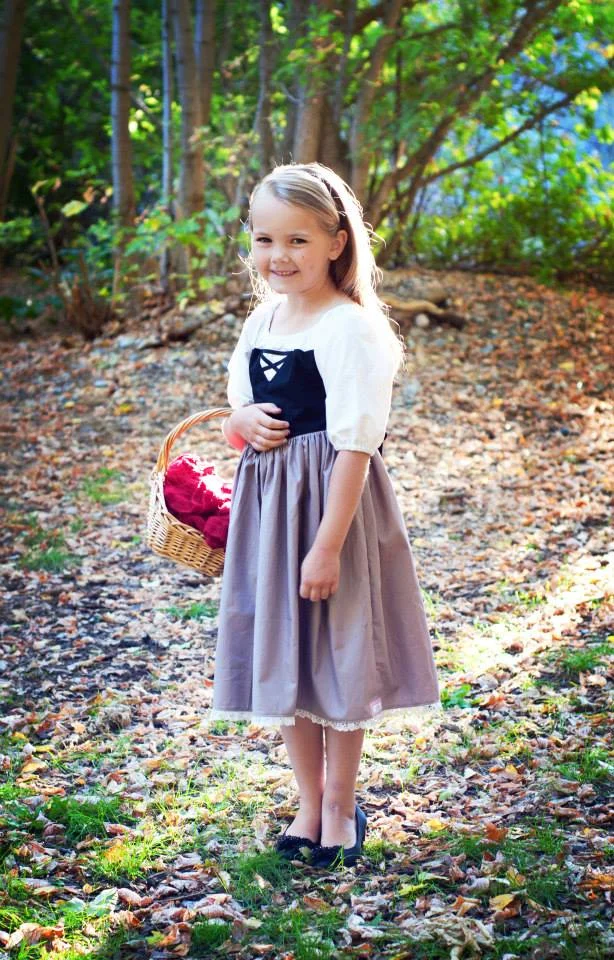
- Black, red, & gunmetal grey Kona I went to a local quilt shop https://www.facebook.com/pages/Gracie-Lous/125051440866355 but, you can find something similar at Joann { http://www.joann.com/search?q=kona%20solid}
- Snow Fairy Frost by Michael Miller I got { http://www.baileygirlsfabric.com/item_520/Fairy-Frost-in-Snow-Cotton-Fabric.htm} **Special Note Jennifer has teamed up with Megan of Made for Mermaids and they offer princess kits.
- I picked up my lace trim at Joann they have a large variety of different laces.
- Black & White Flannel I also picked up at Gracie Lous. You could look at Joann or I've even seen my local Walmart carry more higher end flannel.
- Black bias for the front detail, you can also use ribbon.
Special thanks to Jamie and Miss. S{ https://www.facebook.com/pages/Jamie-K-Photography/114030695320149 }{ http://jamiekphoto.blogspot.com/}


~Nicole


