
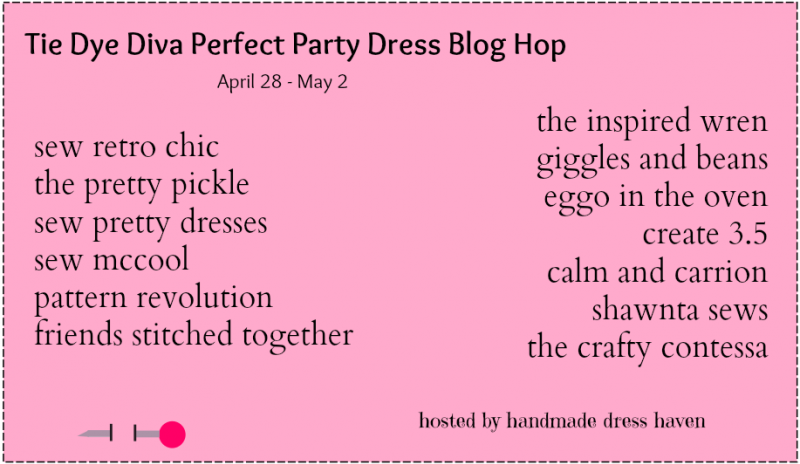
Tie Dye Diva Perfect Party Dress Blog Hop
/
Today we are lucky enough to be a part of a blog hop and we have 2 versions of the Perfect Party Dress from Tie Dye Diva made by our team members Nichole and Victoria to show off. We're sending out a big "Thank You" to Handmade Dress Haven for hosting the Perfect Party Blog Hop and for inviting us to be a part of the tour!
Jen, the Tie Dye Diva, is an excellent pattern writer. And, for this week only, you can get these patterns for $6 each, instead of the usual $7.95. You will see the discount once you put the patterns in your cart. What a great deal!! There is no sale code and this is available on the website only. Shop HERE.
Be sure to check out these other blog stops for more gorgeous version of this dress!
And now, our takes on this classic staple pattern!

 |
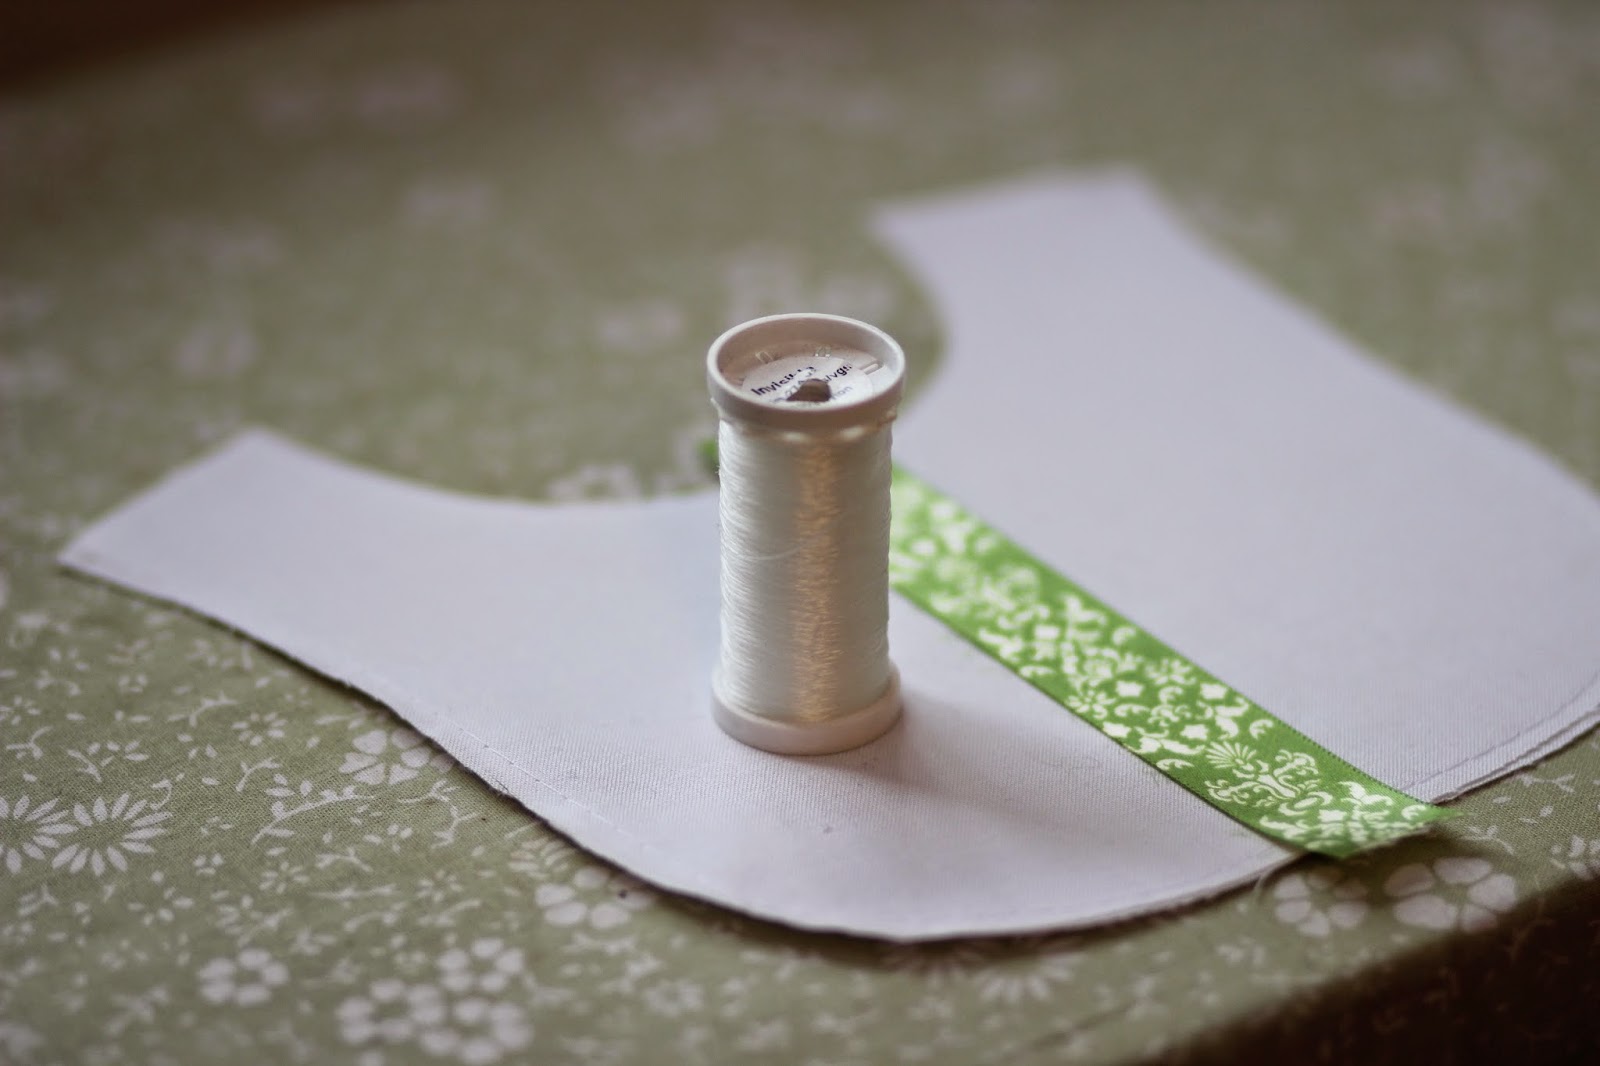 |
| I always add my ribbon strips with some wonder tape and invisible thread. |
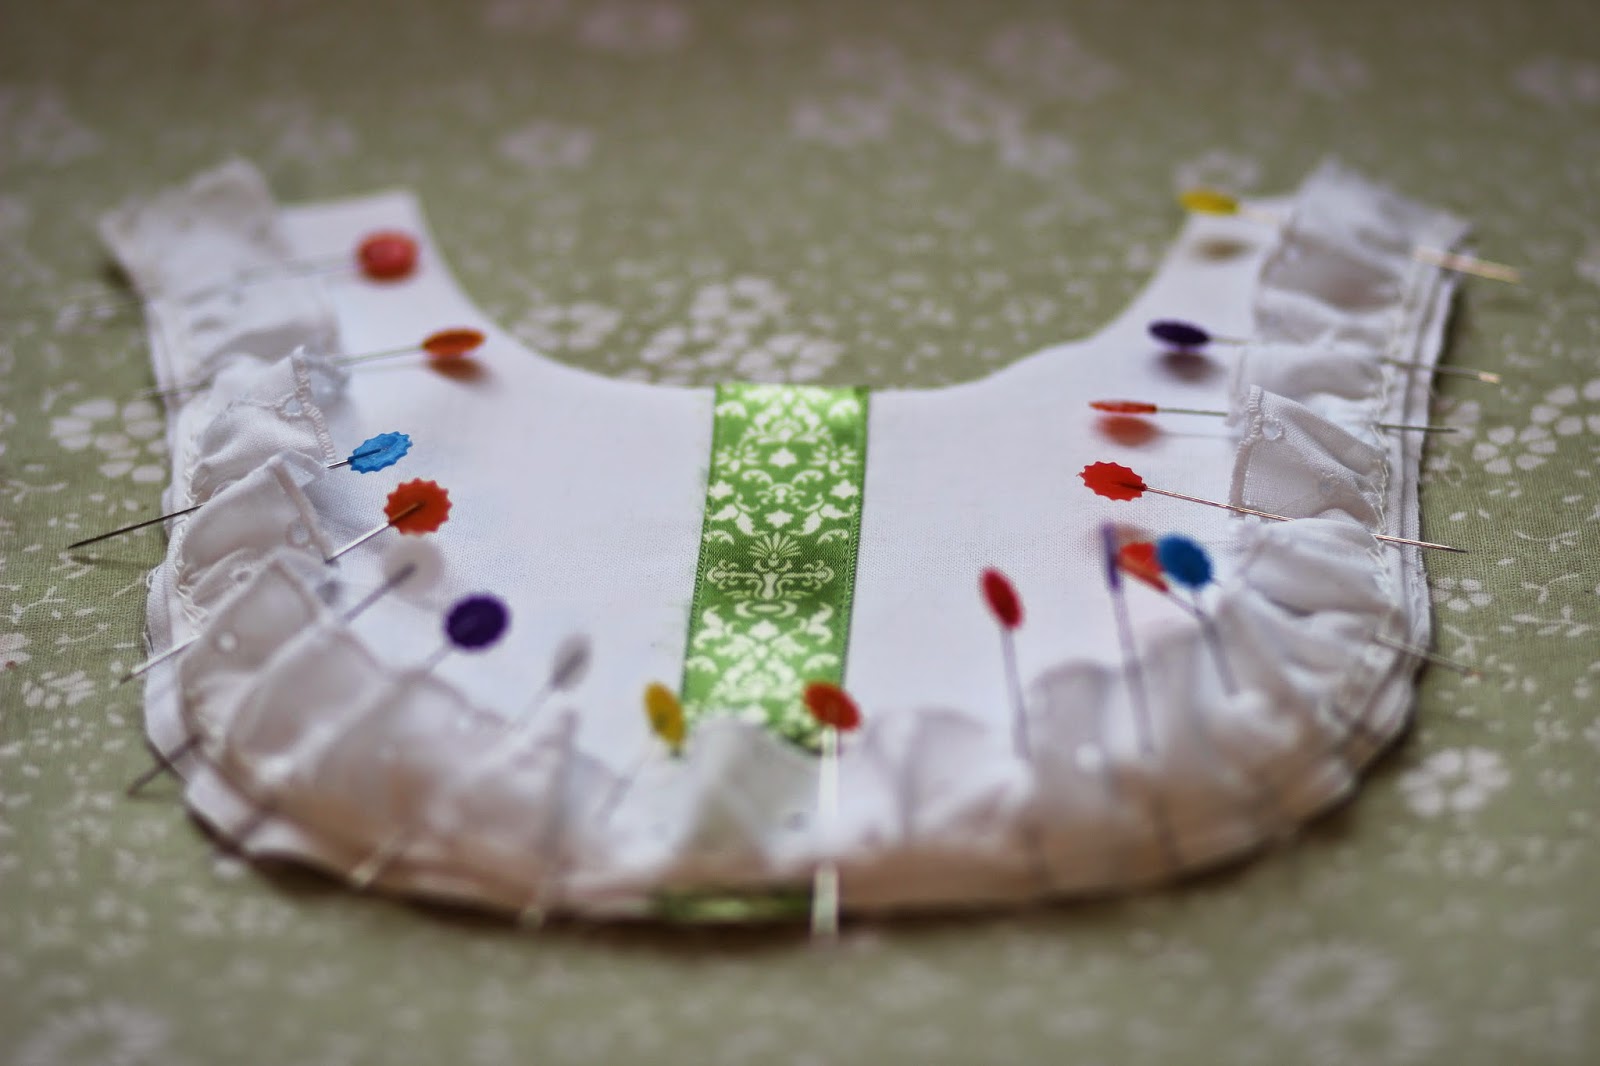 |
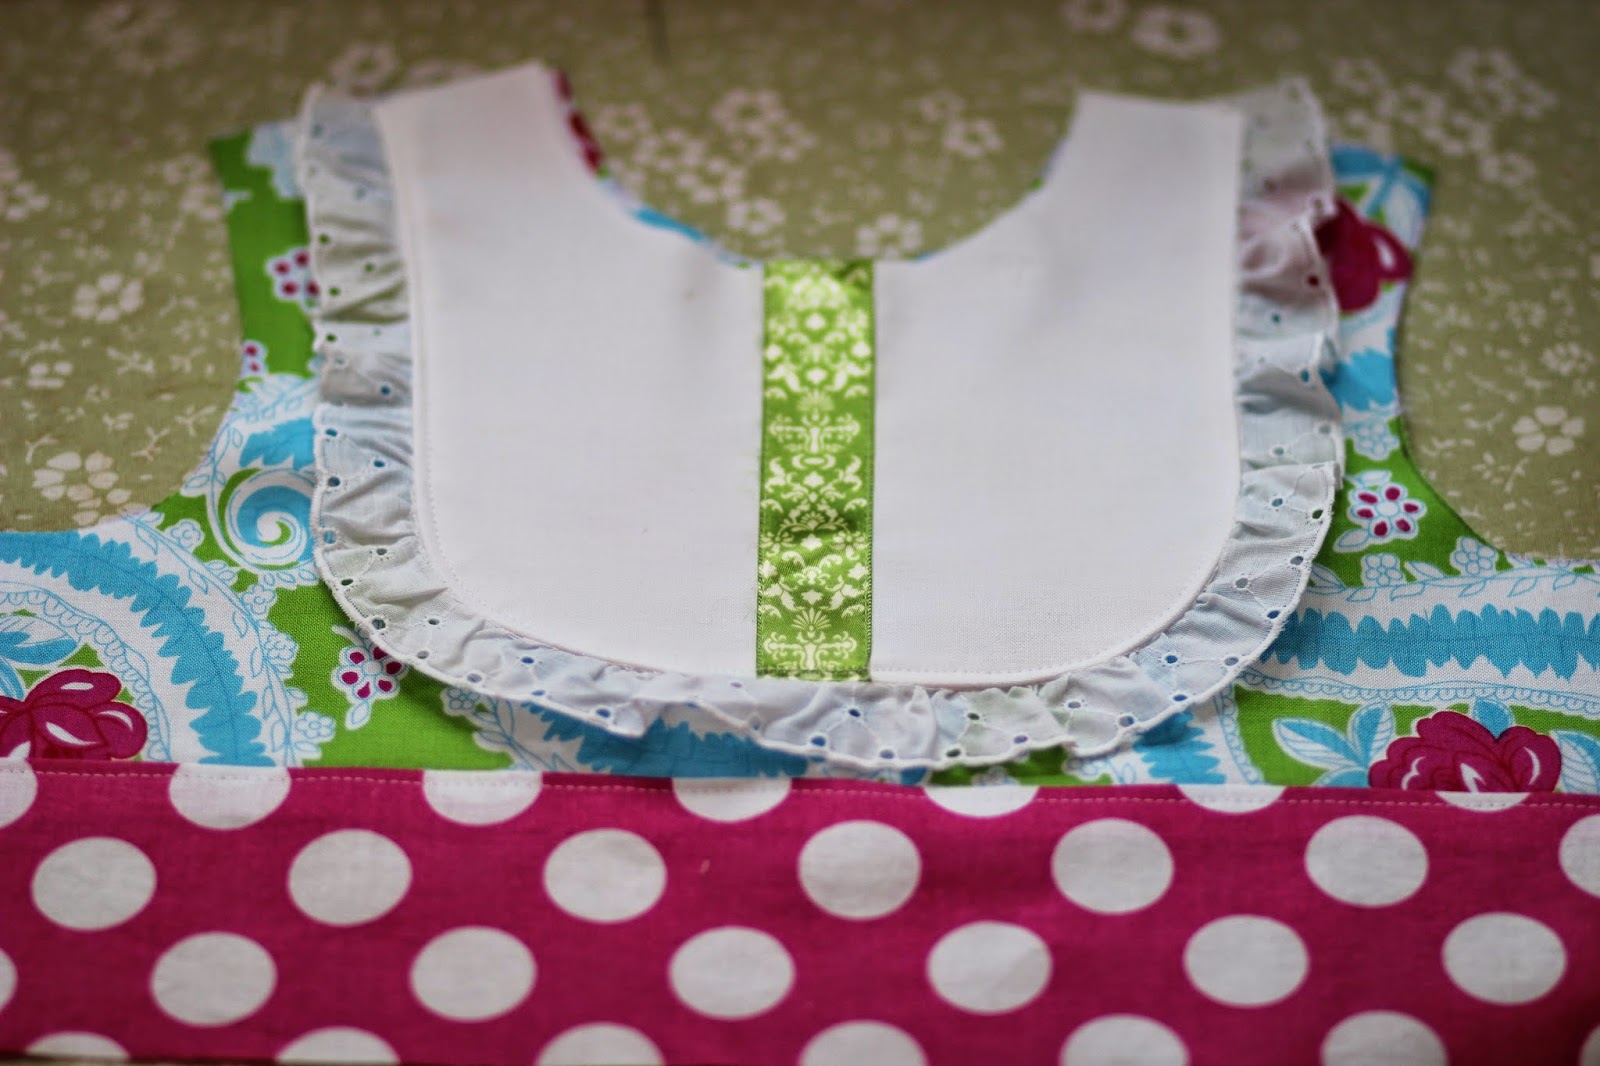
| I wanted to give this bib a retro look, so I went with some eyelet trim. |
 |
| Looking purty already!! Love the width of the sash on this dress, so perfect!! |
 |
| Here is my sleeve I used |
 |
| I will often use elastic thread to gather my sleeves. It's either a great tip, or just makes me really lazy. Either way, I'm always happy with the outcome. |
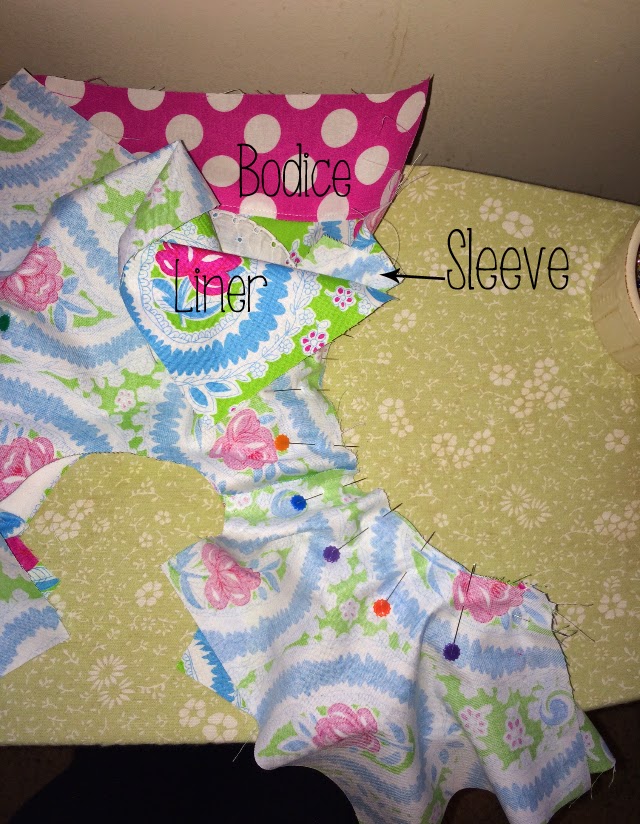 |
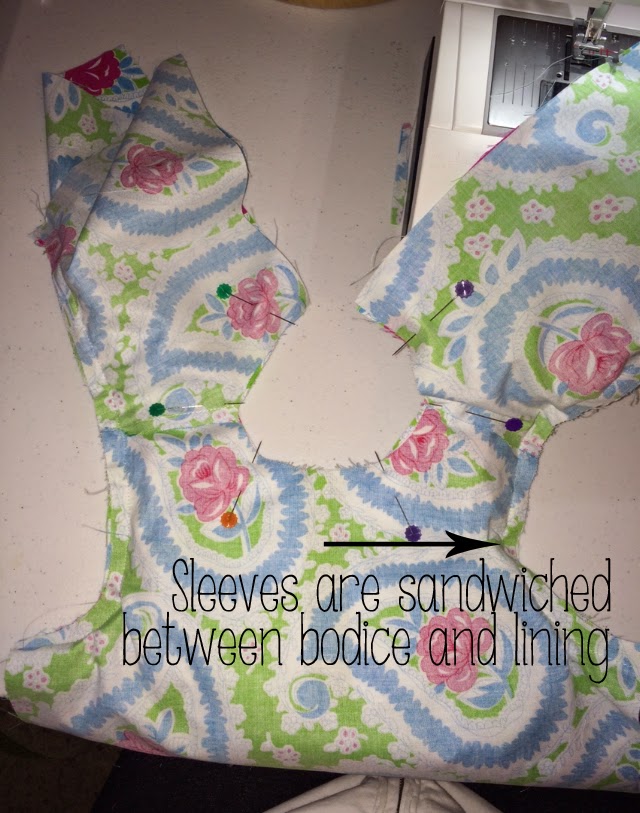
| Sandwhich'ing the sleeve between the bodice and liner encloses the sleeve. No pesky seams to drive my girl crazy. |
 |
| Getting there! |
 |
| Isn't that pretty!! We are looking at the inside of the garment. |
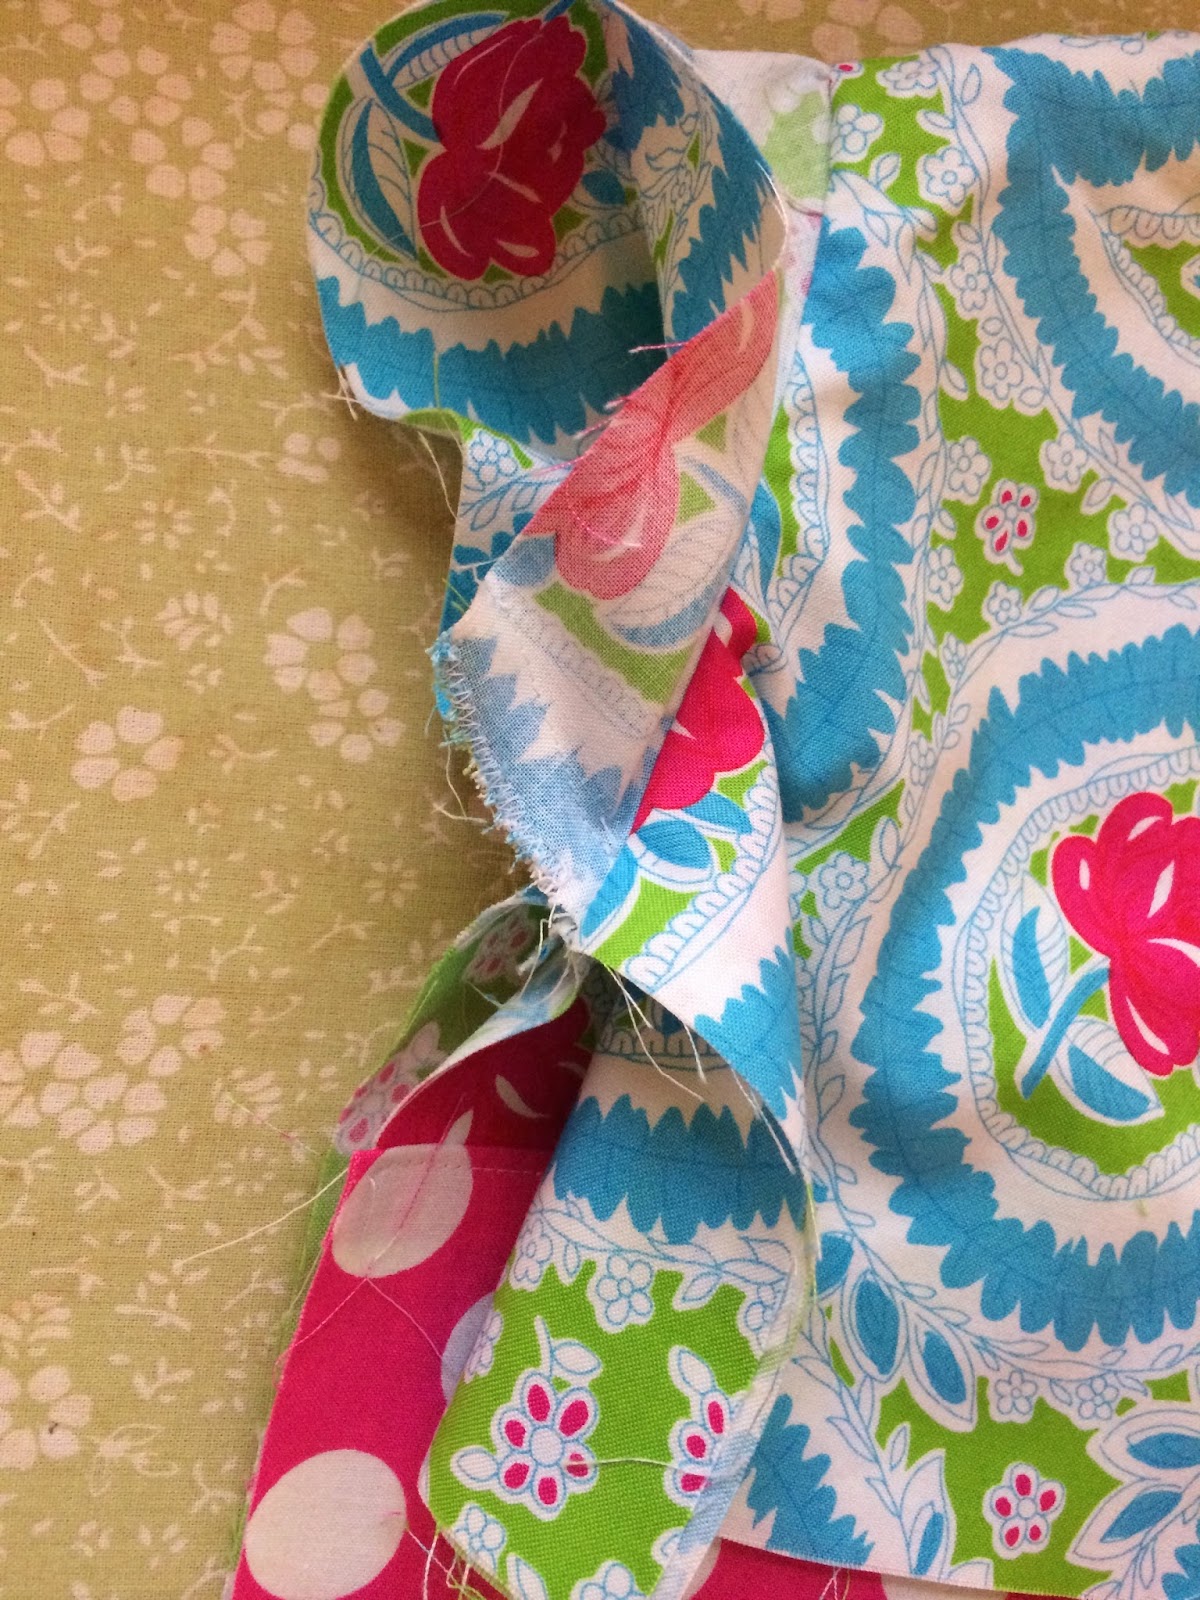 |
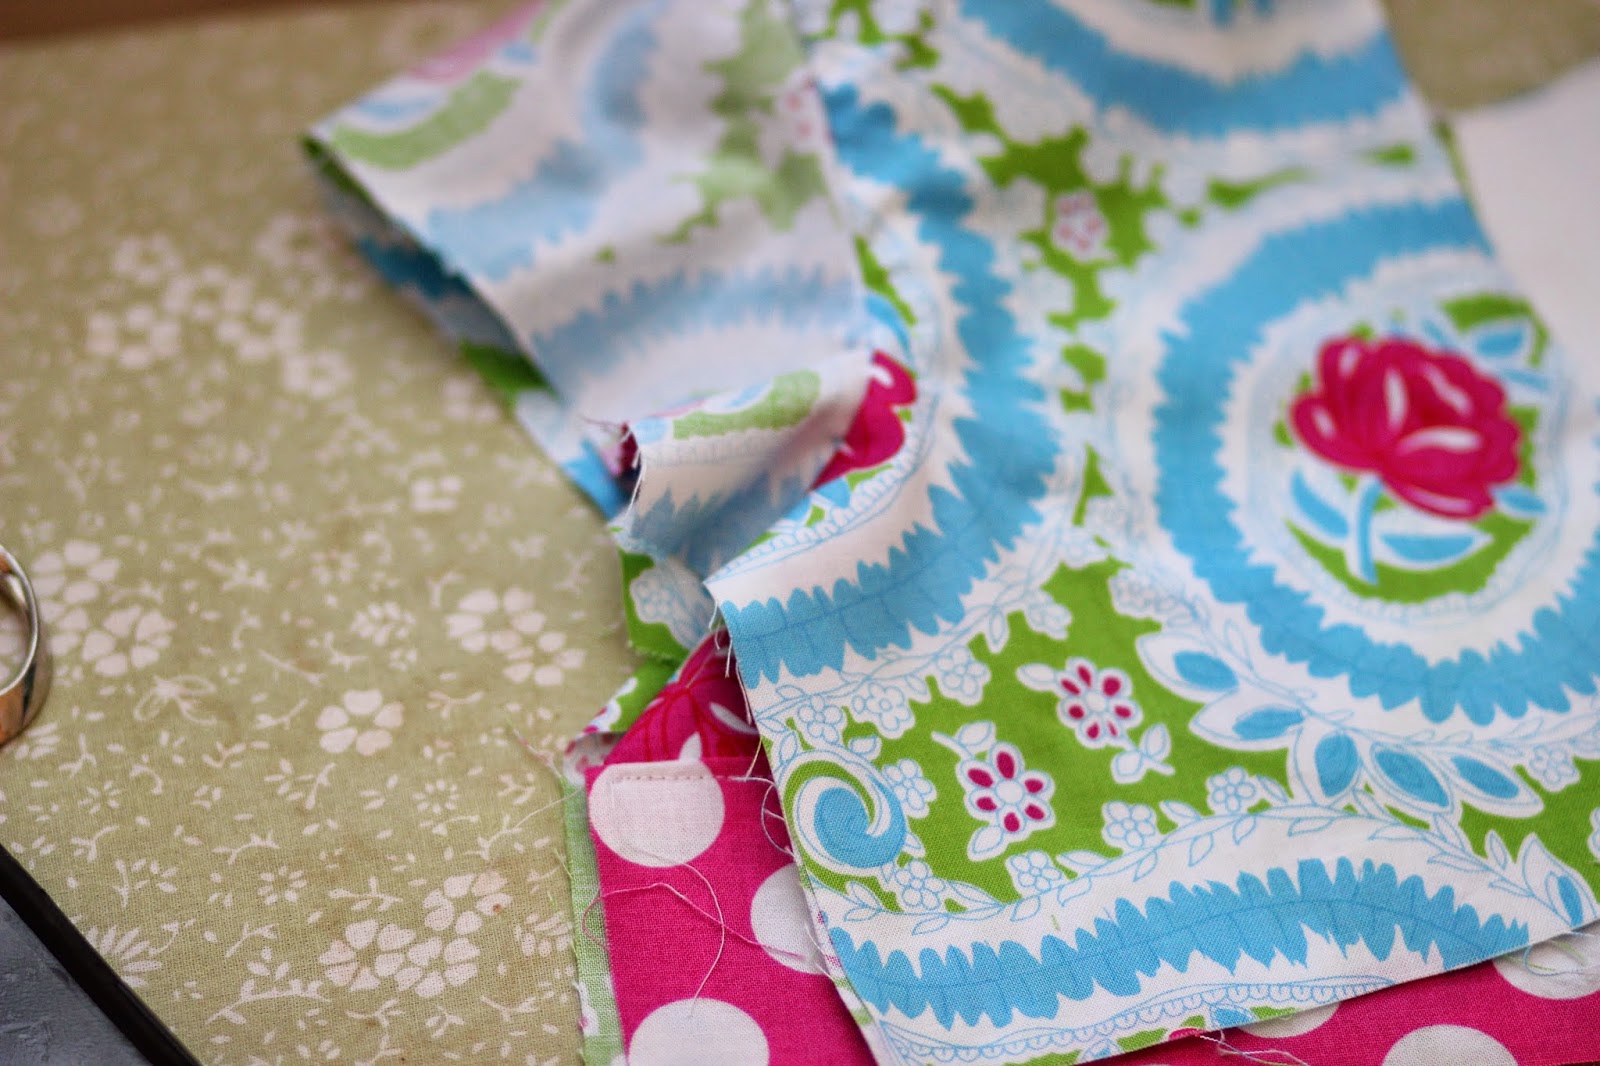
| Sew up your sleeve and finish the seam allowance before you sew your bodice front and back together. |
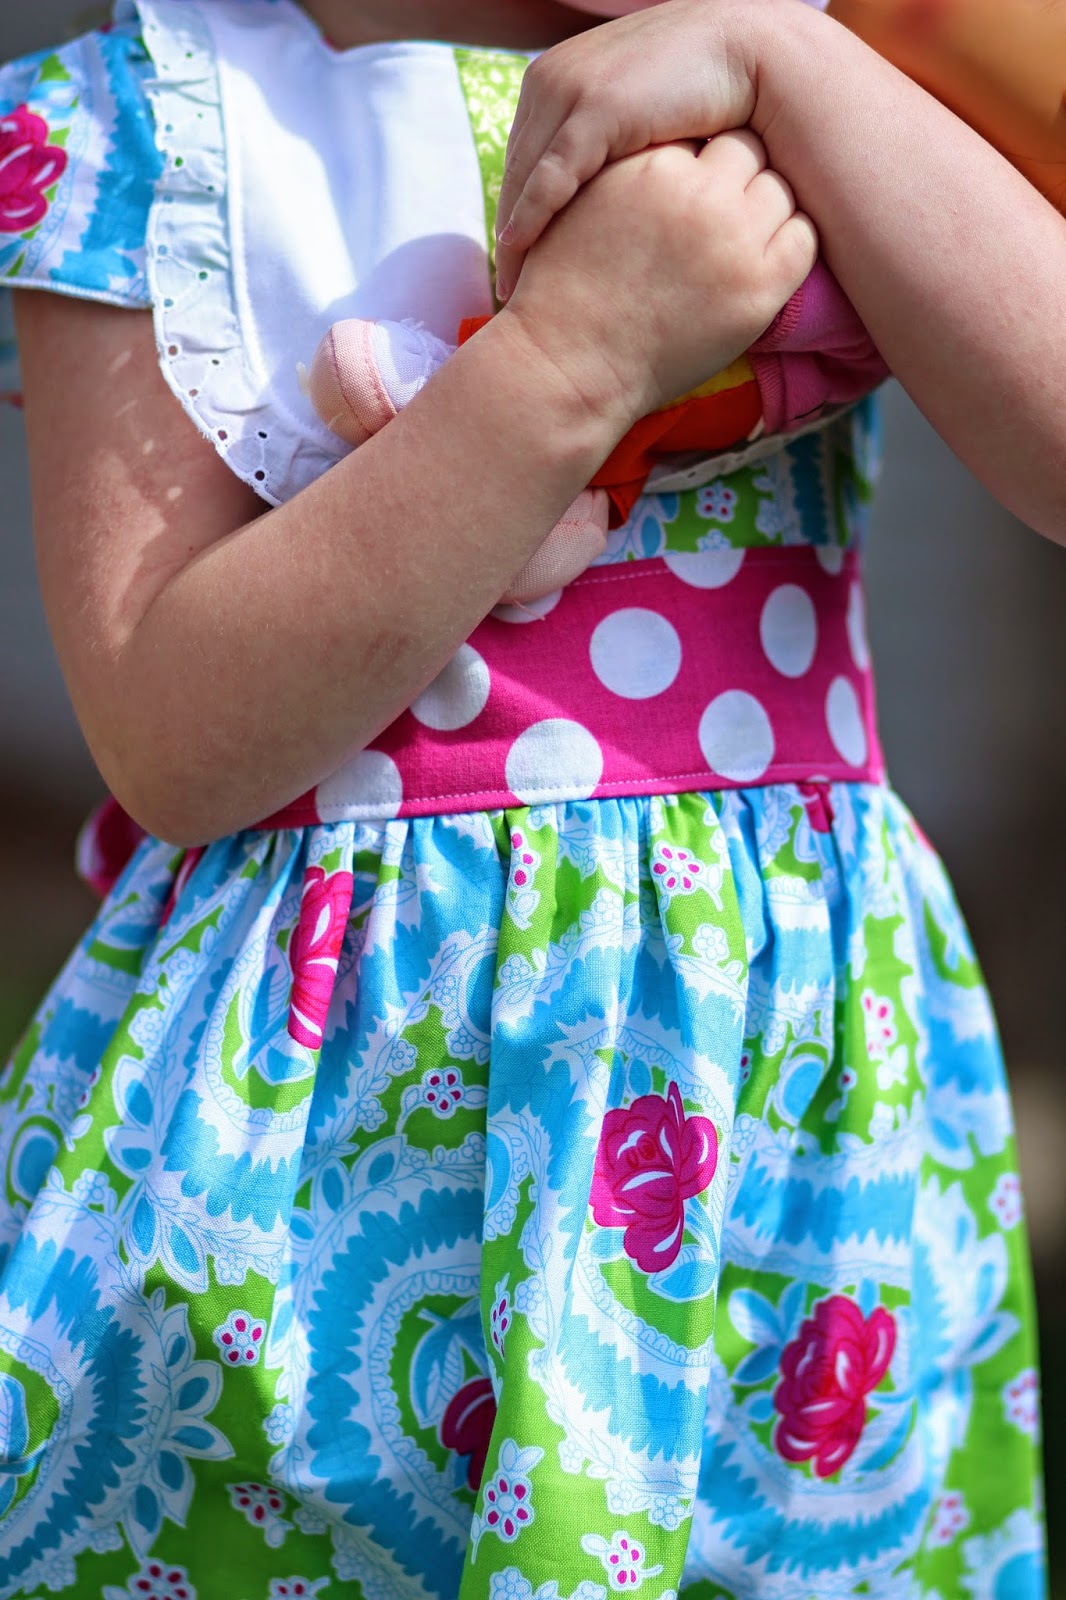 |
| Just love that sash! |
 |
| Perfect little buttons and bow! |
Being part of the Tie Dye Diva Perfect Party Dress Blog Hop, participants were asked to make a dress using either:
A) The Baby's Party Dress ranges in sizes 0-24 months
B) The Perfect Party Dress ranges in sizes 2T-10 years
As a twist, we were told we could make slight alterations to the original pattern to show our own variation and style.
I did just that by:
1) adding a small ruffled sleeve (instead of the original sleeve)
2) making the waistband higher
3) making the skirt fuller
4) adding little buttons to the bodice
All these were very easy changes/additions and I will share the details in this post
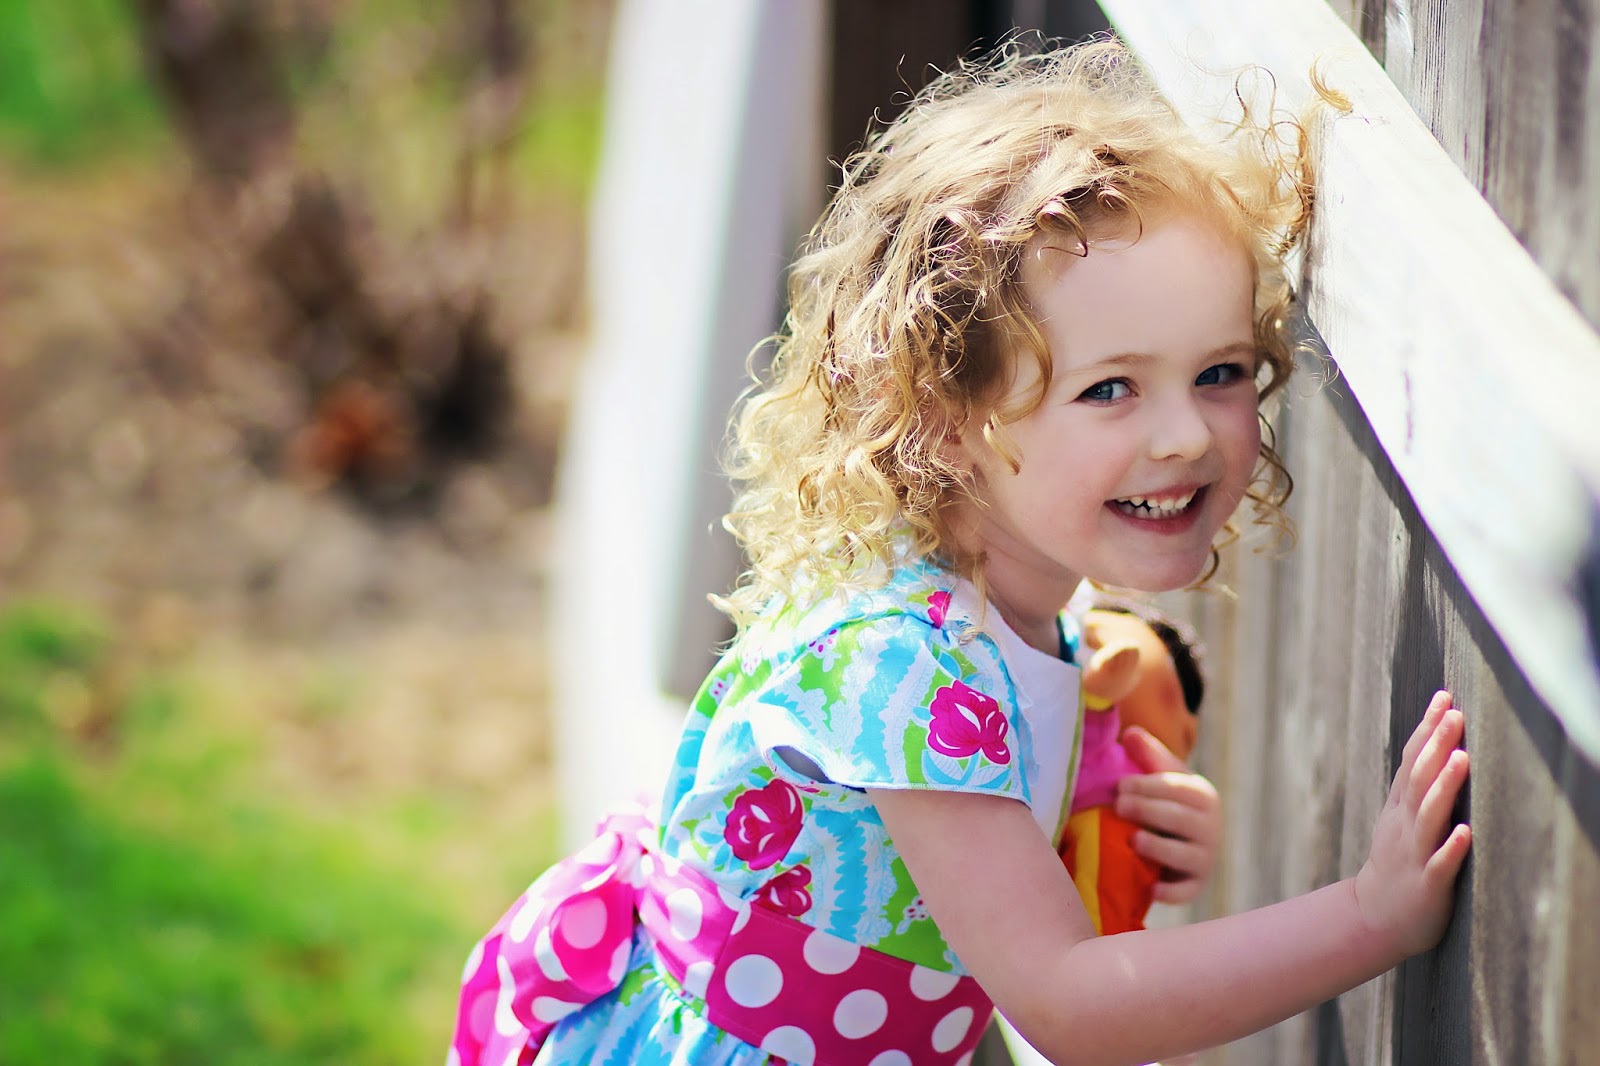
I would usually be making a 3T for my daughter but she is in an angry toddler stage of totally hating the camera and clothing. She wouldn't stand still long enough for me to take a decent picture even if I paid her in candy. Darn kids!
Luckily I made a local friend that kindly lets me borrow her adorable and much more cooperative baby girl for these occasions. She is a year old so I made the Baby's Party Dress in a size 18M for her.
It fit her perfectly and I think she really loved it!


