DIY Custom Fit Dressform by Bootstrap Fashion
/Hey y’all! I am so excited to share today’s sewing project with you! I don’t know about all of you, but I do not have an average body shape, meaning that the expensive adjustable dressforms sold in stores don’t come close to mirroring my body. So what’s a girl to do? We’ve all seen the links to make your own dressform out of duct tape. I’ve tried those in the past, and they’re good, but I can tell you that having your torso wrapped in tape for 2-3 hours is not comfortable. The last time I attempted it, I nearly fainted. My husband was seconds away from ripping it open, wasting our time and effort. Since then, I’ve put on some weight and that old tape dressform no longer meets my fitting needs. I mentioned this to the hubs, and his response was “Nope! Nope! Nope!” I can’t say I disagreed with him, but I needed a new dressform. That’s when the DIY custom dress form from Bootstrap Fashion came across my sewing radar. I got more than a little excited!!
Y’all, this is a genius hybrid of sewing and engineering! The listing asks fourteen measurement based questions. Some are for measurements that every seamstress checks and rechecks frequently - height, bust, waist, hips, etc. Some are less common, but still just as important - underbust, neck circumference, back width, bust height, etc. And there are also postural questions - belly protuberance, buttocks shape, shoulder slope, etc. There’s even a how-to video to help you. When you purchase the pattern, engineering magic takes place and turns your specific measurements into a pattern.
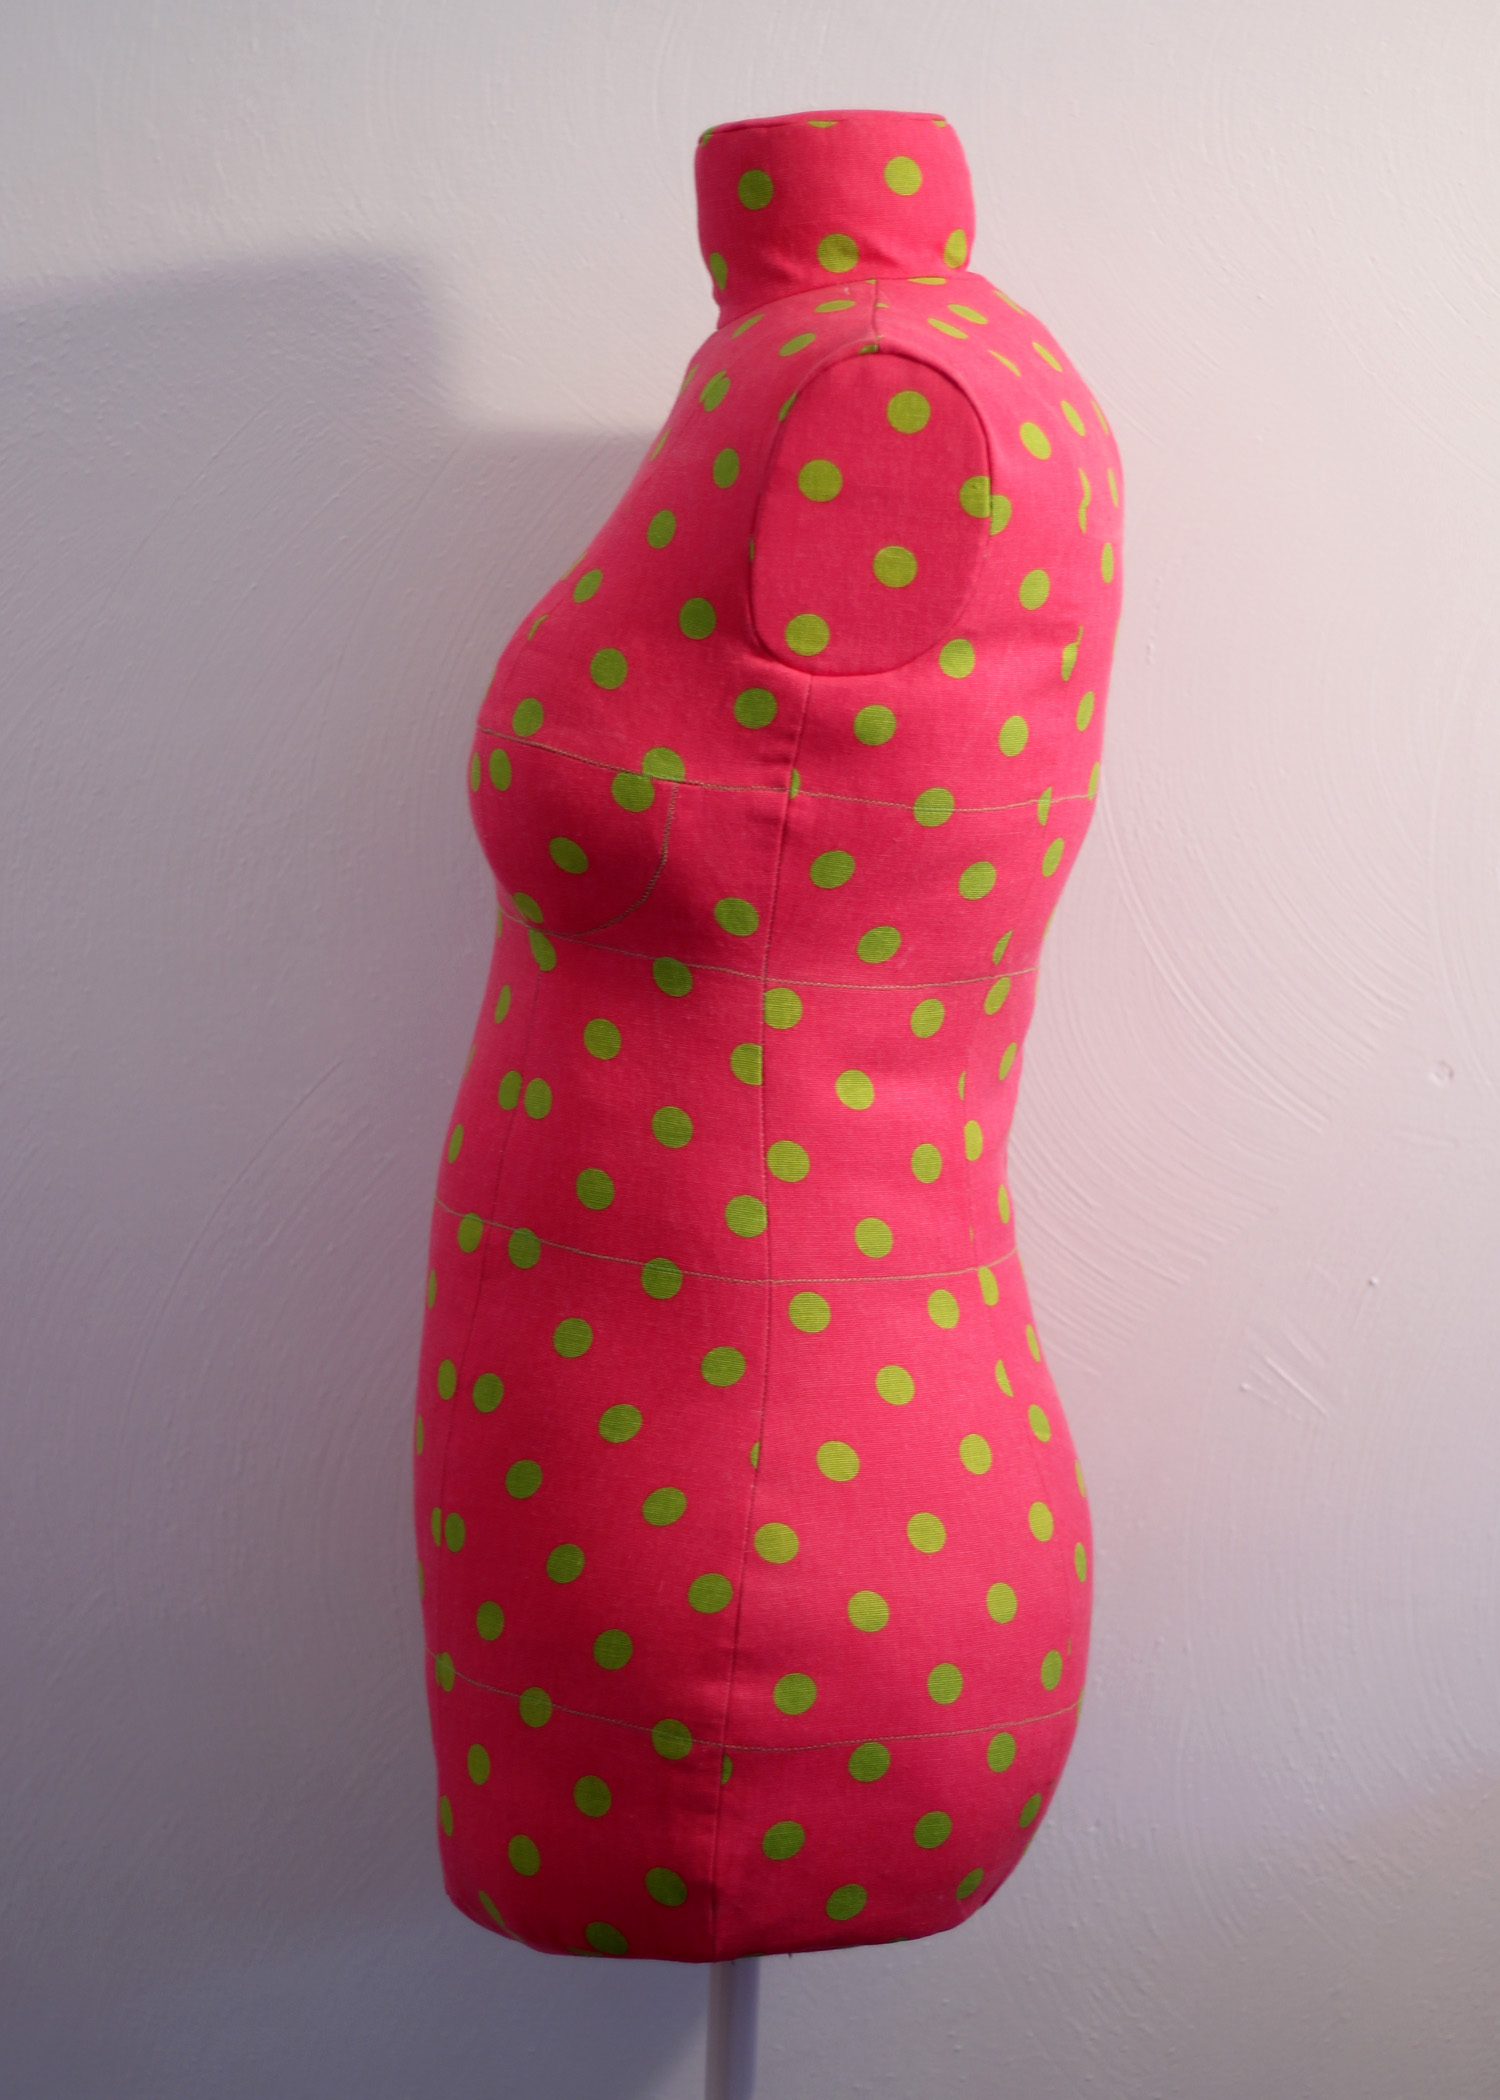
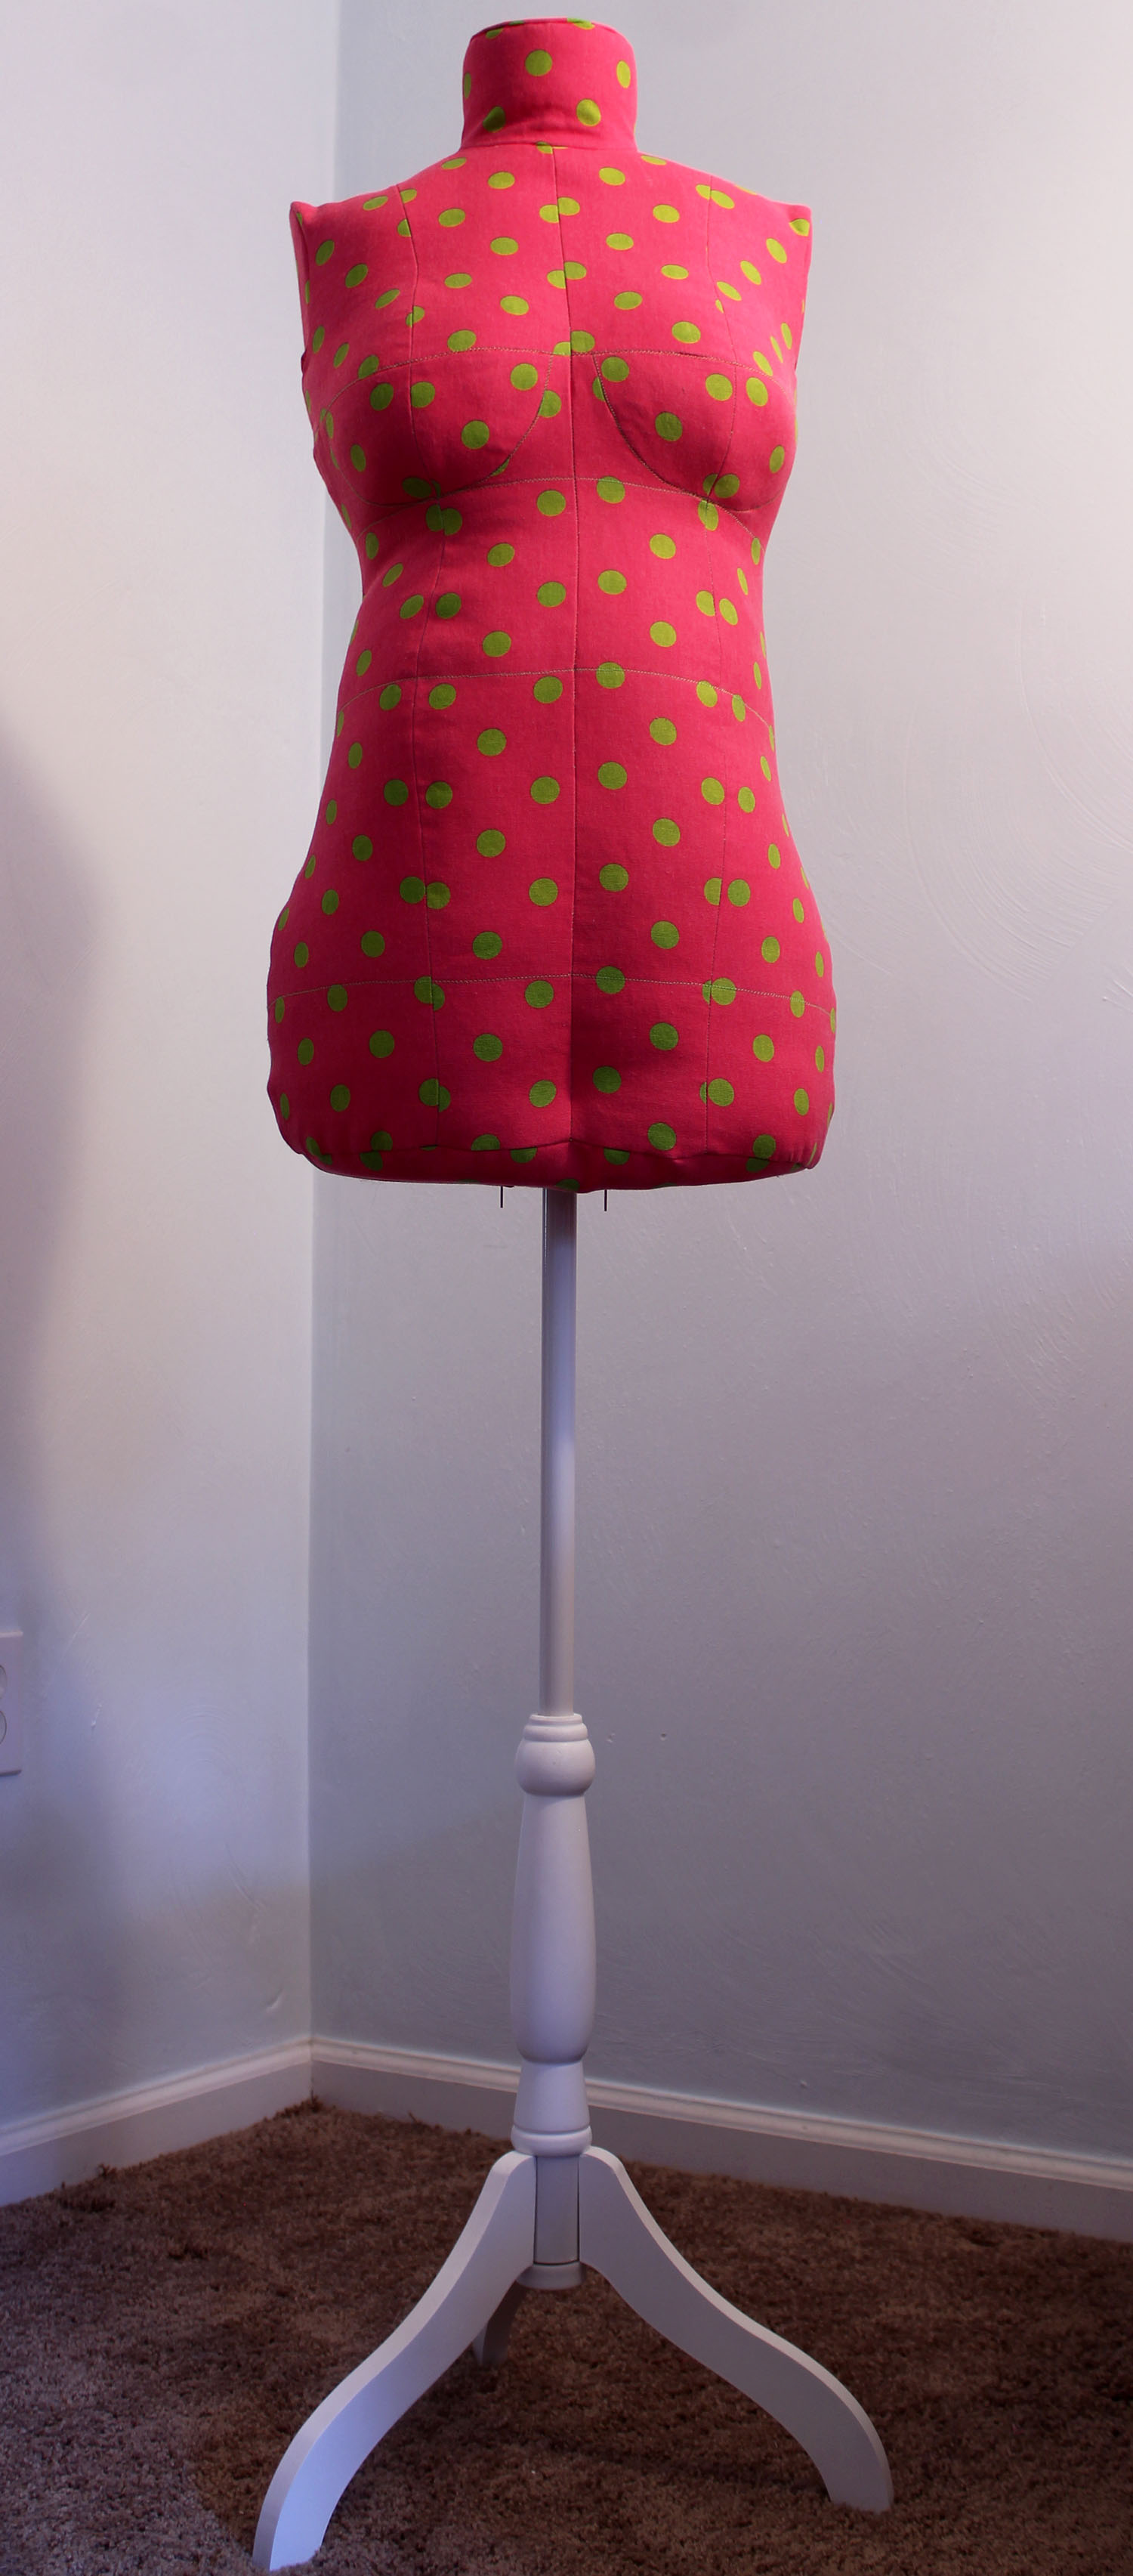
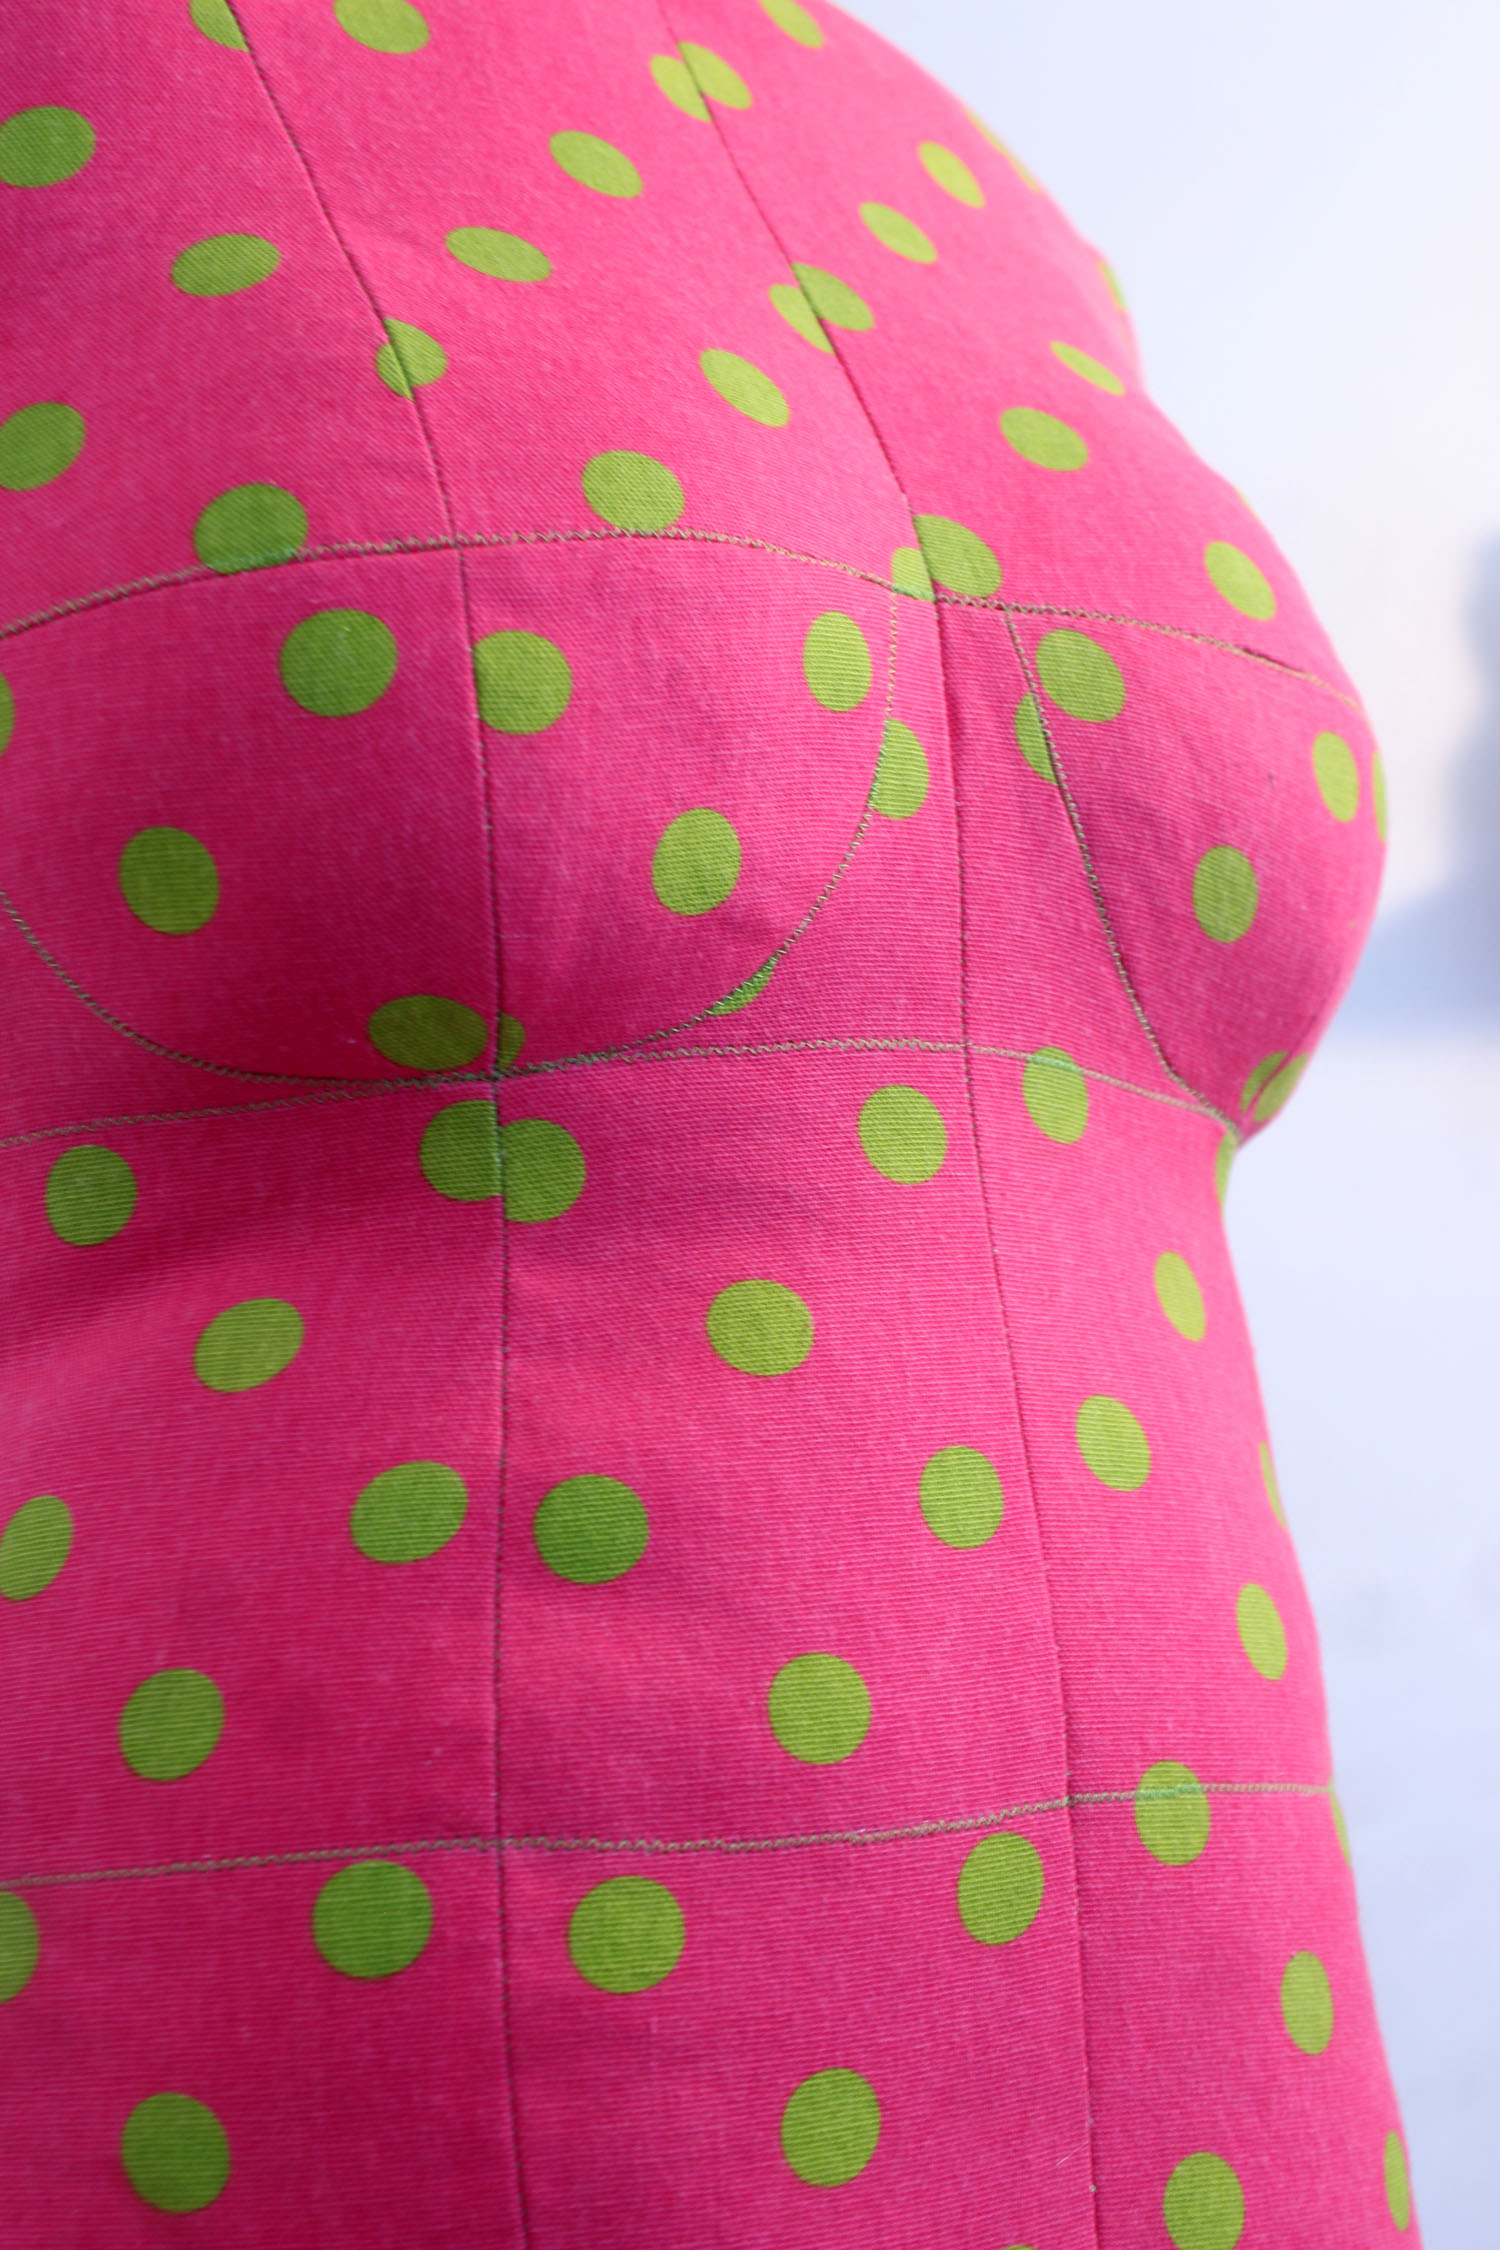
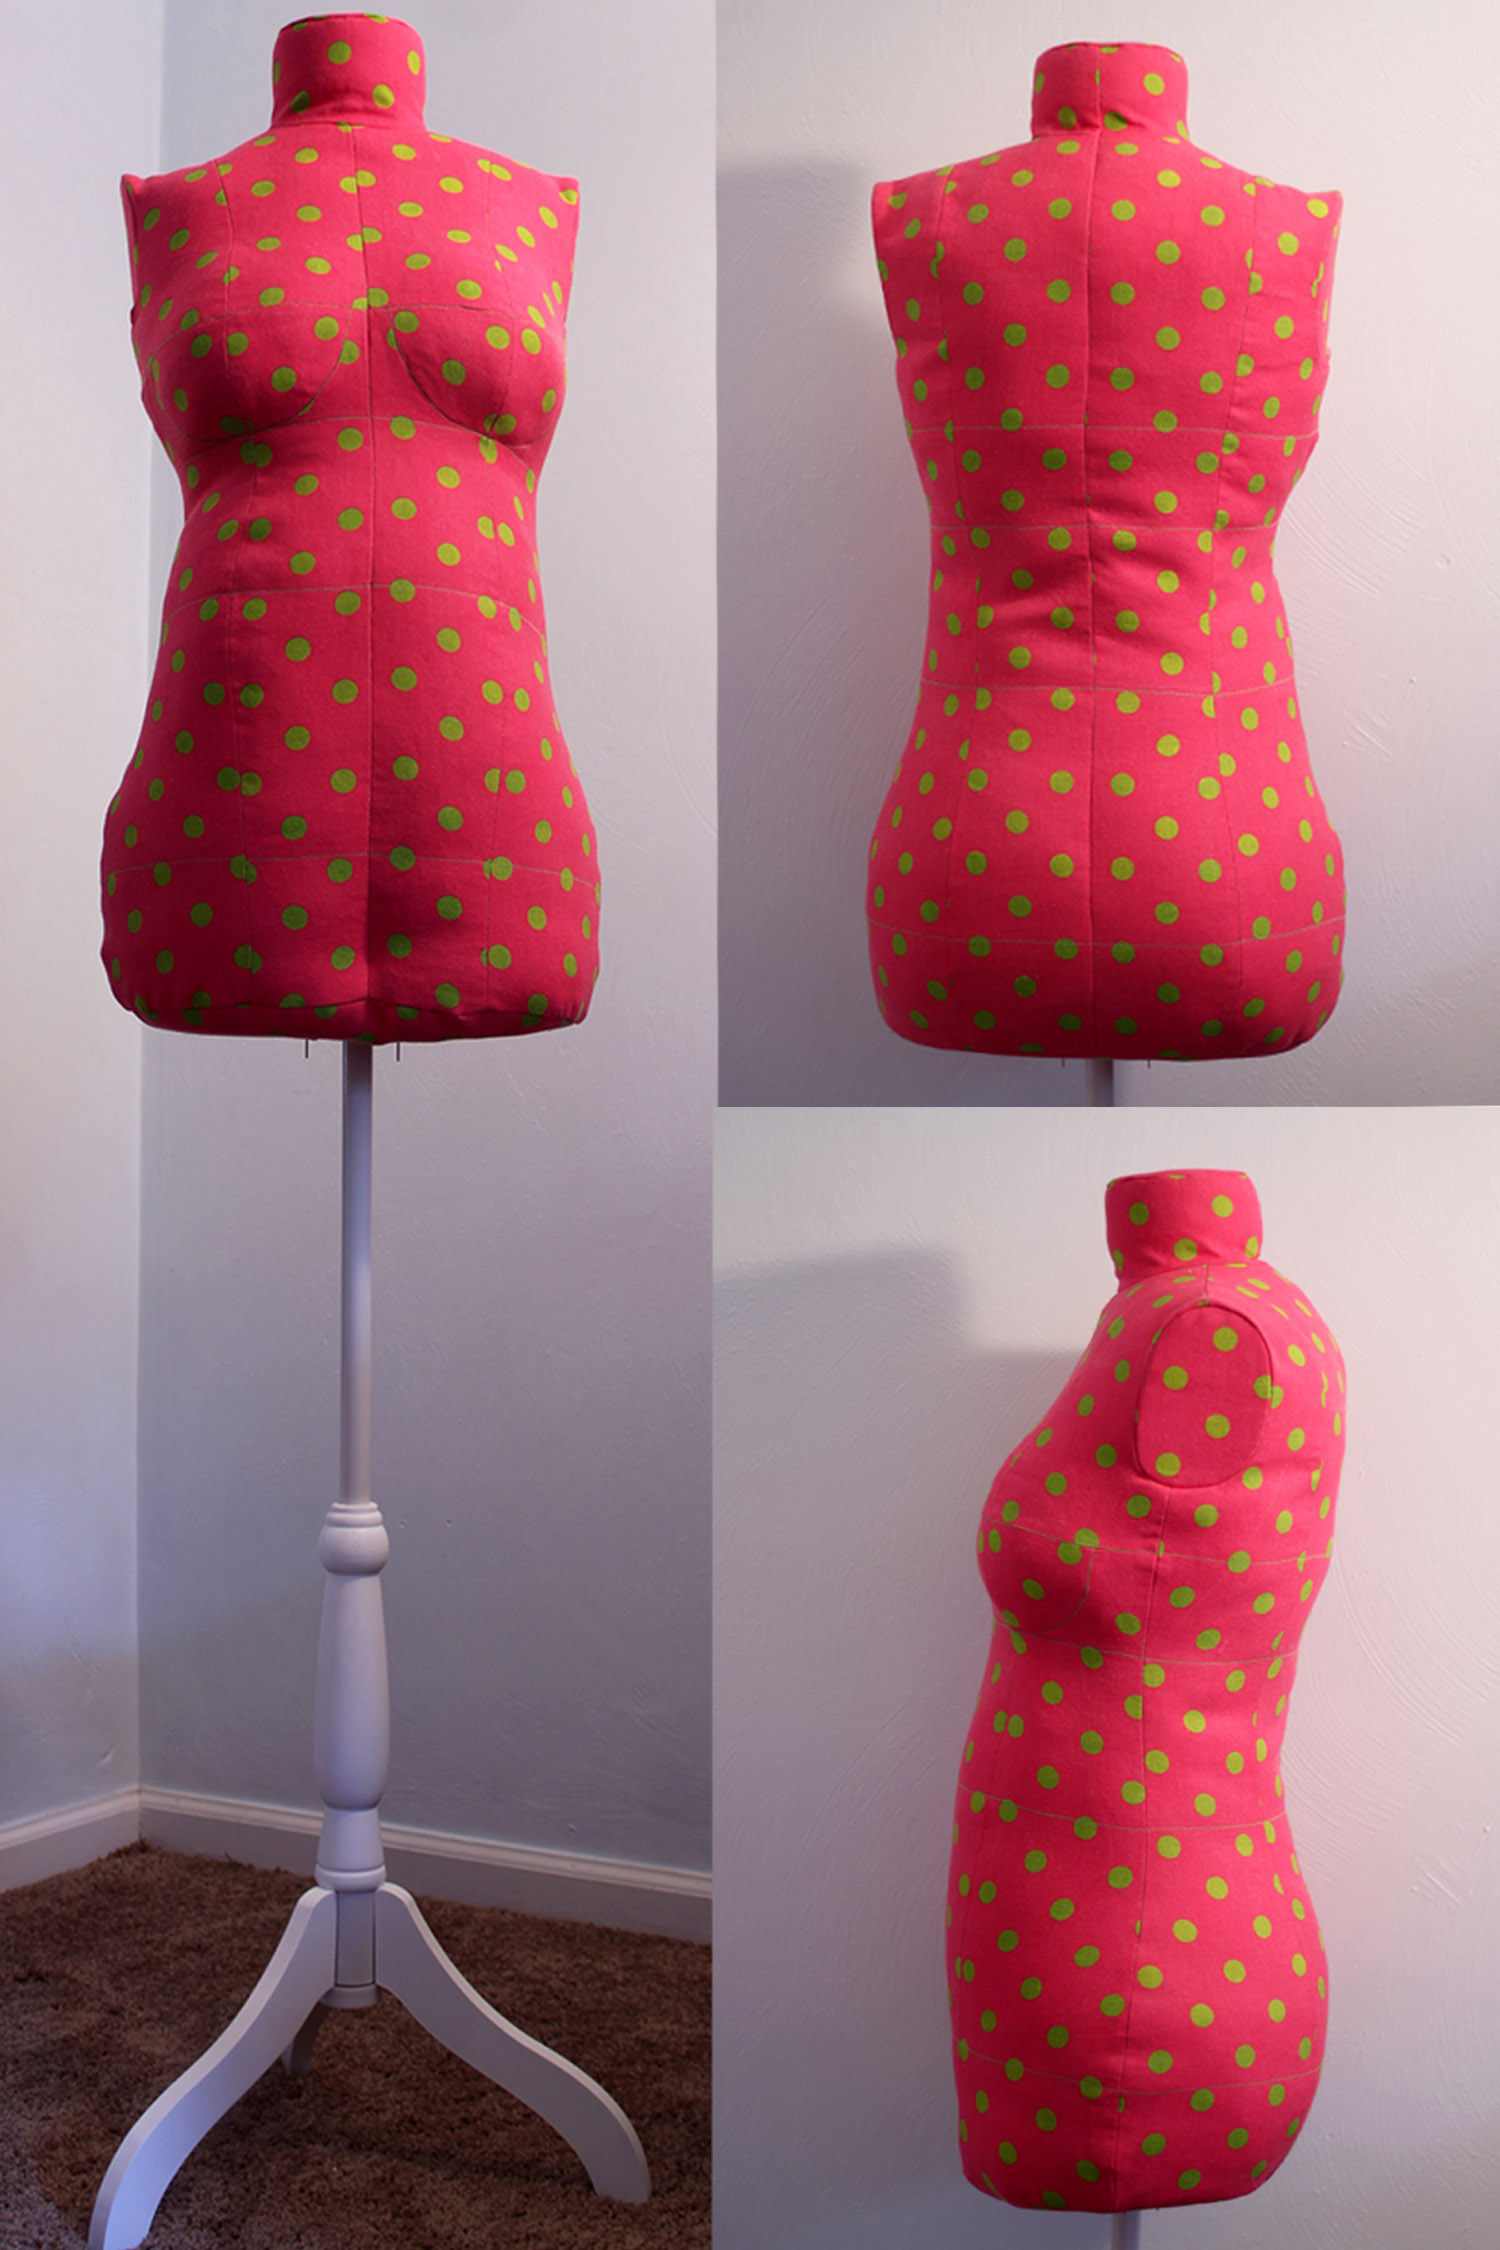
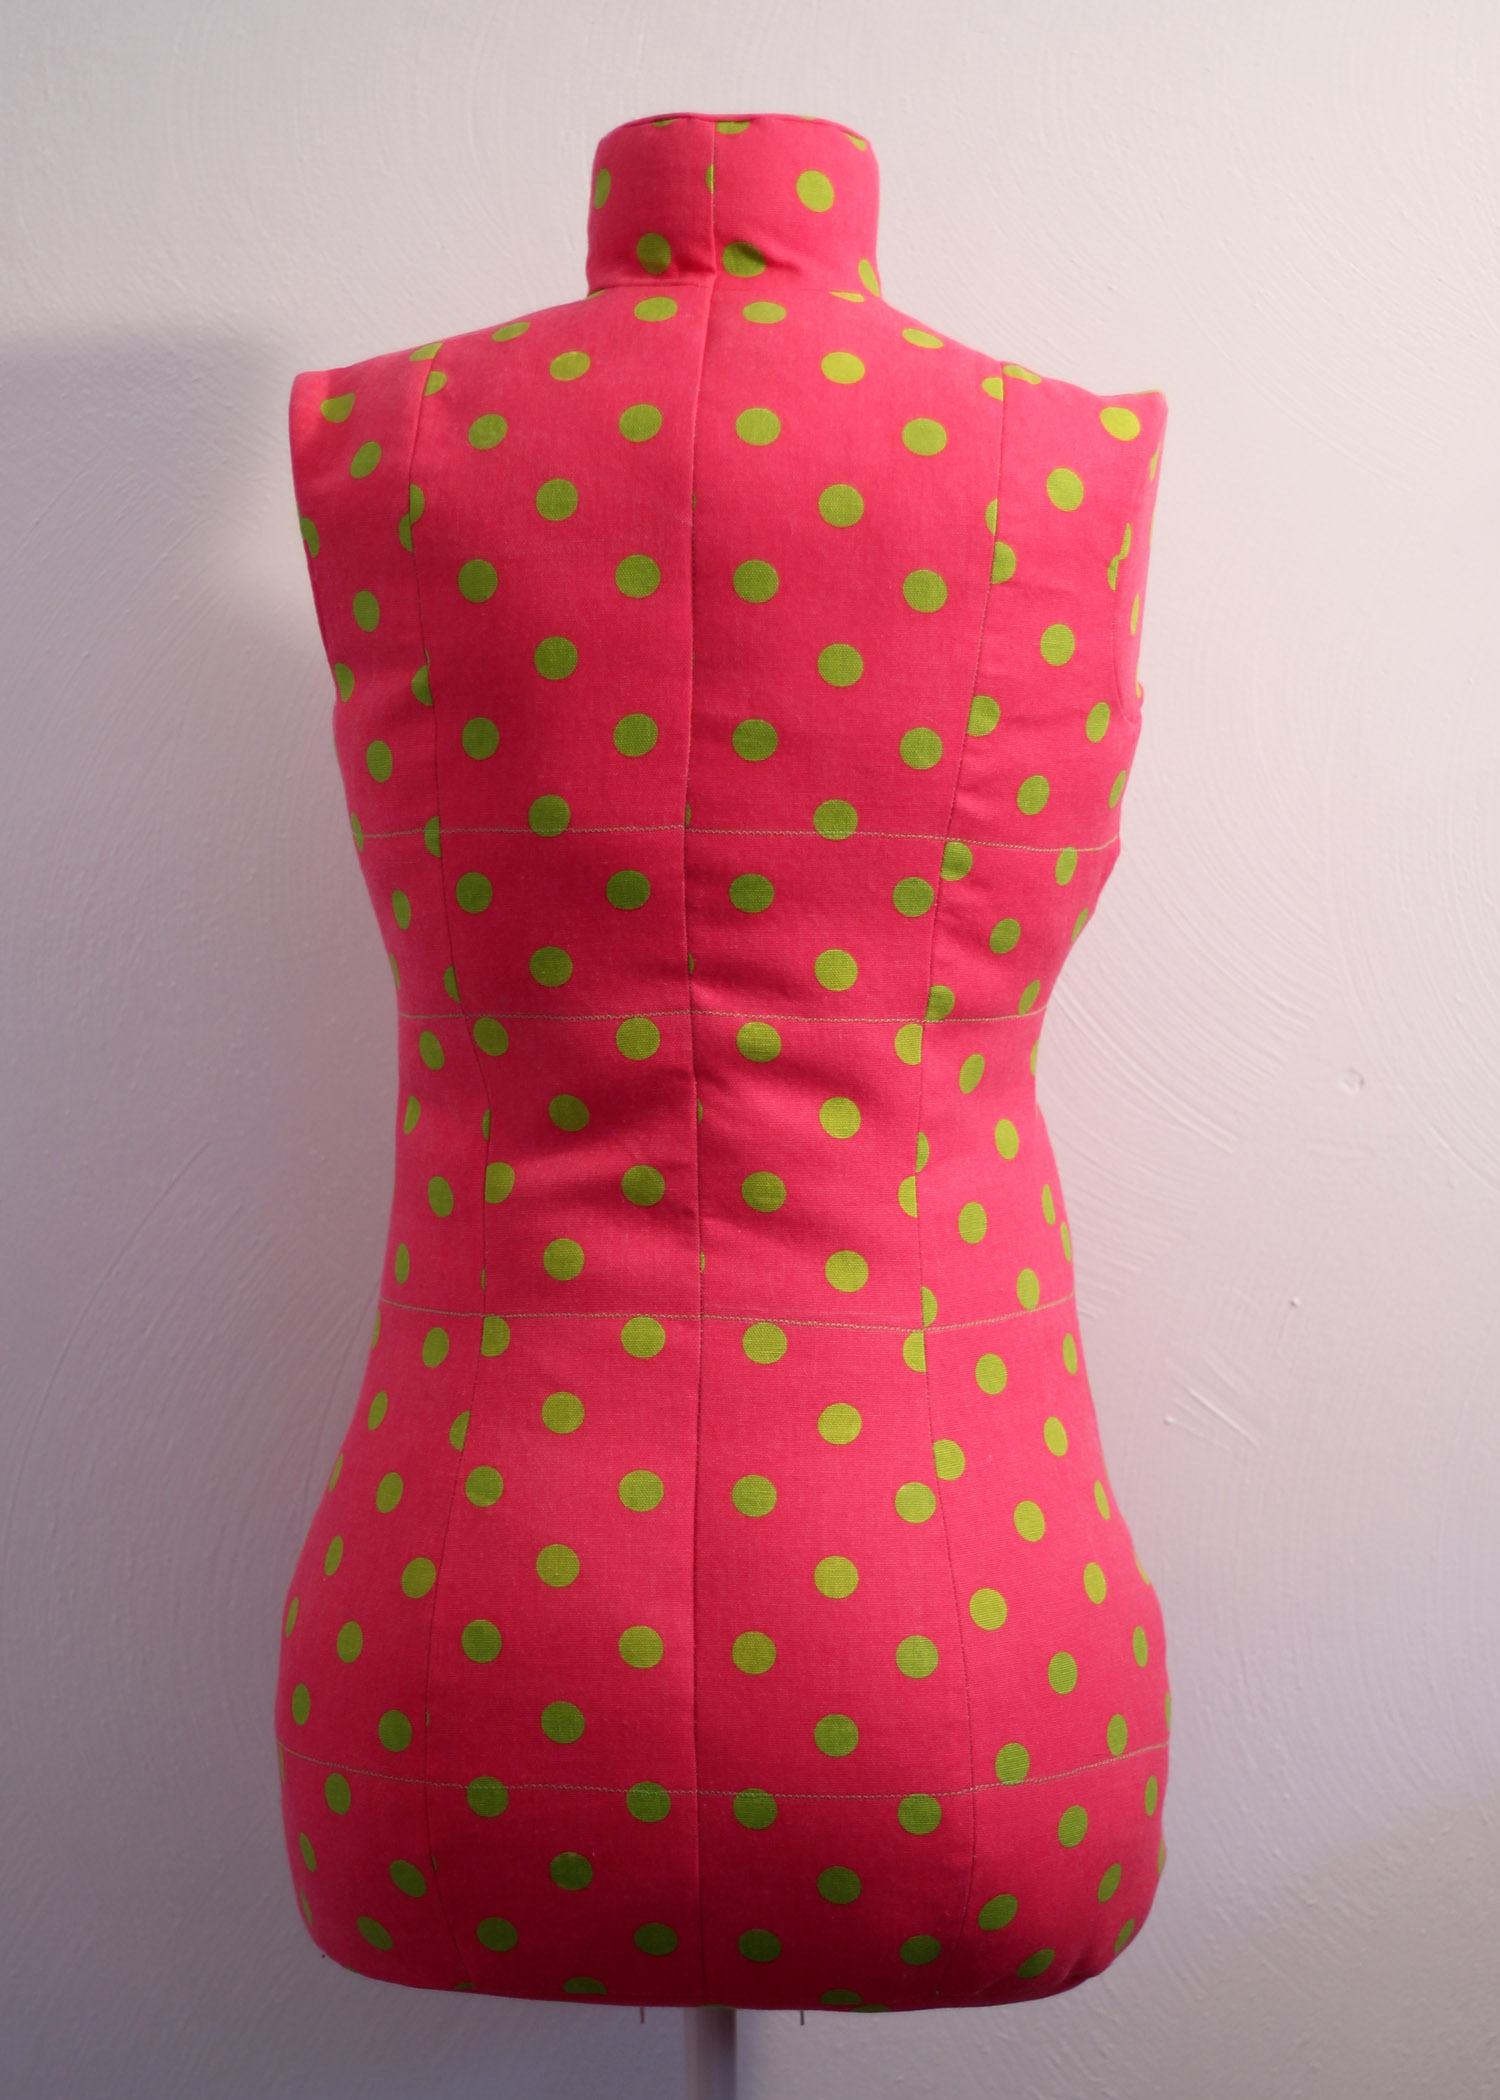
Within 30 minutes, I had a pattern in hand to sew a custom dressform. Because I wanted her to be functional and pretty, I made her in my favorite color - pink! I was able to cut and sew my dressform over the course of a weekend and was repeatedly impressed by the precision with which the pieces came together. The pattern even came with markings to indicate the bustline, underbust, waistline and hipline, with a suggestion that I use a zigzag topstitch to mark them on my dressform shell. Additionally, the pattern includes an interior structure to maintain the shape of the dressform as you stuff it. The pattern even told me how tall to cut the stand so my dressform would be the right height. Construction was time consuming, but not terribly difficult. It was far, far easier than encasing my ribcage in duct tape, that’s for certain!
My dressform has been finished for about a week now, and she is a great fitting partner. The measurements match me to a T, though there are minor discrepancies between my actual body and the dressform. I am slightly broader and flatter in the ribcage, where the dressform is rounder. I think this can be resolved by narrowing the interior structure and adjusting the stuffing. I never truly realized how “pear shaped” I am until I was able to see myself as an outside observer. I honestly thought of myself as more hourglass shaped until recently. It was an ah-ha moment that verified so many of the fitting adjustments and size blending I’ve become accustomed to making over the years.
In summary, I L-O-V-E this dressform! The days of undressing to check fit in the middle of a sewing session are a thing of the past. And chest pocket placement will be a breeze with her too. No more trying not to stab myself with pins. All those awkward pattern placement snafus - history! Because I have a body double.