
Kids CAN Sew with the Penelope Pillowcase Dress by Treasurie-My Childhood Treasures
/Whether your child has grown up around people who sew or is a child interested in sewing a fashion, there are many children looking for quality projects to begin their sewing journey. We, of course, love sharing the love of sewing and creating with everyone but children are a articular area of interest because we want to pass the love to the next generation. Unfortunatley we have found that many "kids sewing" projects are either simple projects that require minimal actual sewing, or have them sewing things they won't really use. Today, we are looking at a pattern that is simple enough for a beginner, but also a project that uses basic sewing (and sewing machine) skills and one that your child would actually want to make for themselves to wear! Jackie and her daughter made this adorable pillowcase dress from My Childhood Treasures and it was a perfect beginner project for them to complete together. Best part? It's FREE so you can start them off sewing with a low cost project. Check out their experience below and follow along for more Kids CAN Sew posts!
Hey y’all! I don’t know what it’s like in your homes, but in mine, we always have something going on after school during the school year. I look forward to summer as much and my kids do because it’s an opportunity for all of us to slow down and sleep in….uhm, I mean relax. Miss 9 has been asking for sewing lessons pretty consistently, and this summer has provided the perfect opportunity to accommodate her. We started with pillowcases for charity, and have since graduated to sewing clothing. So when we were asked if she wanted to sew the My Childhood Treasures Pillowcase Dress, she was enthusiastic. As I recall, her response was, “YES! YES!! YEEEESSSSSS!!!!!”
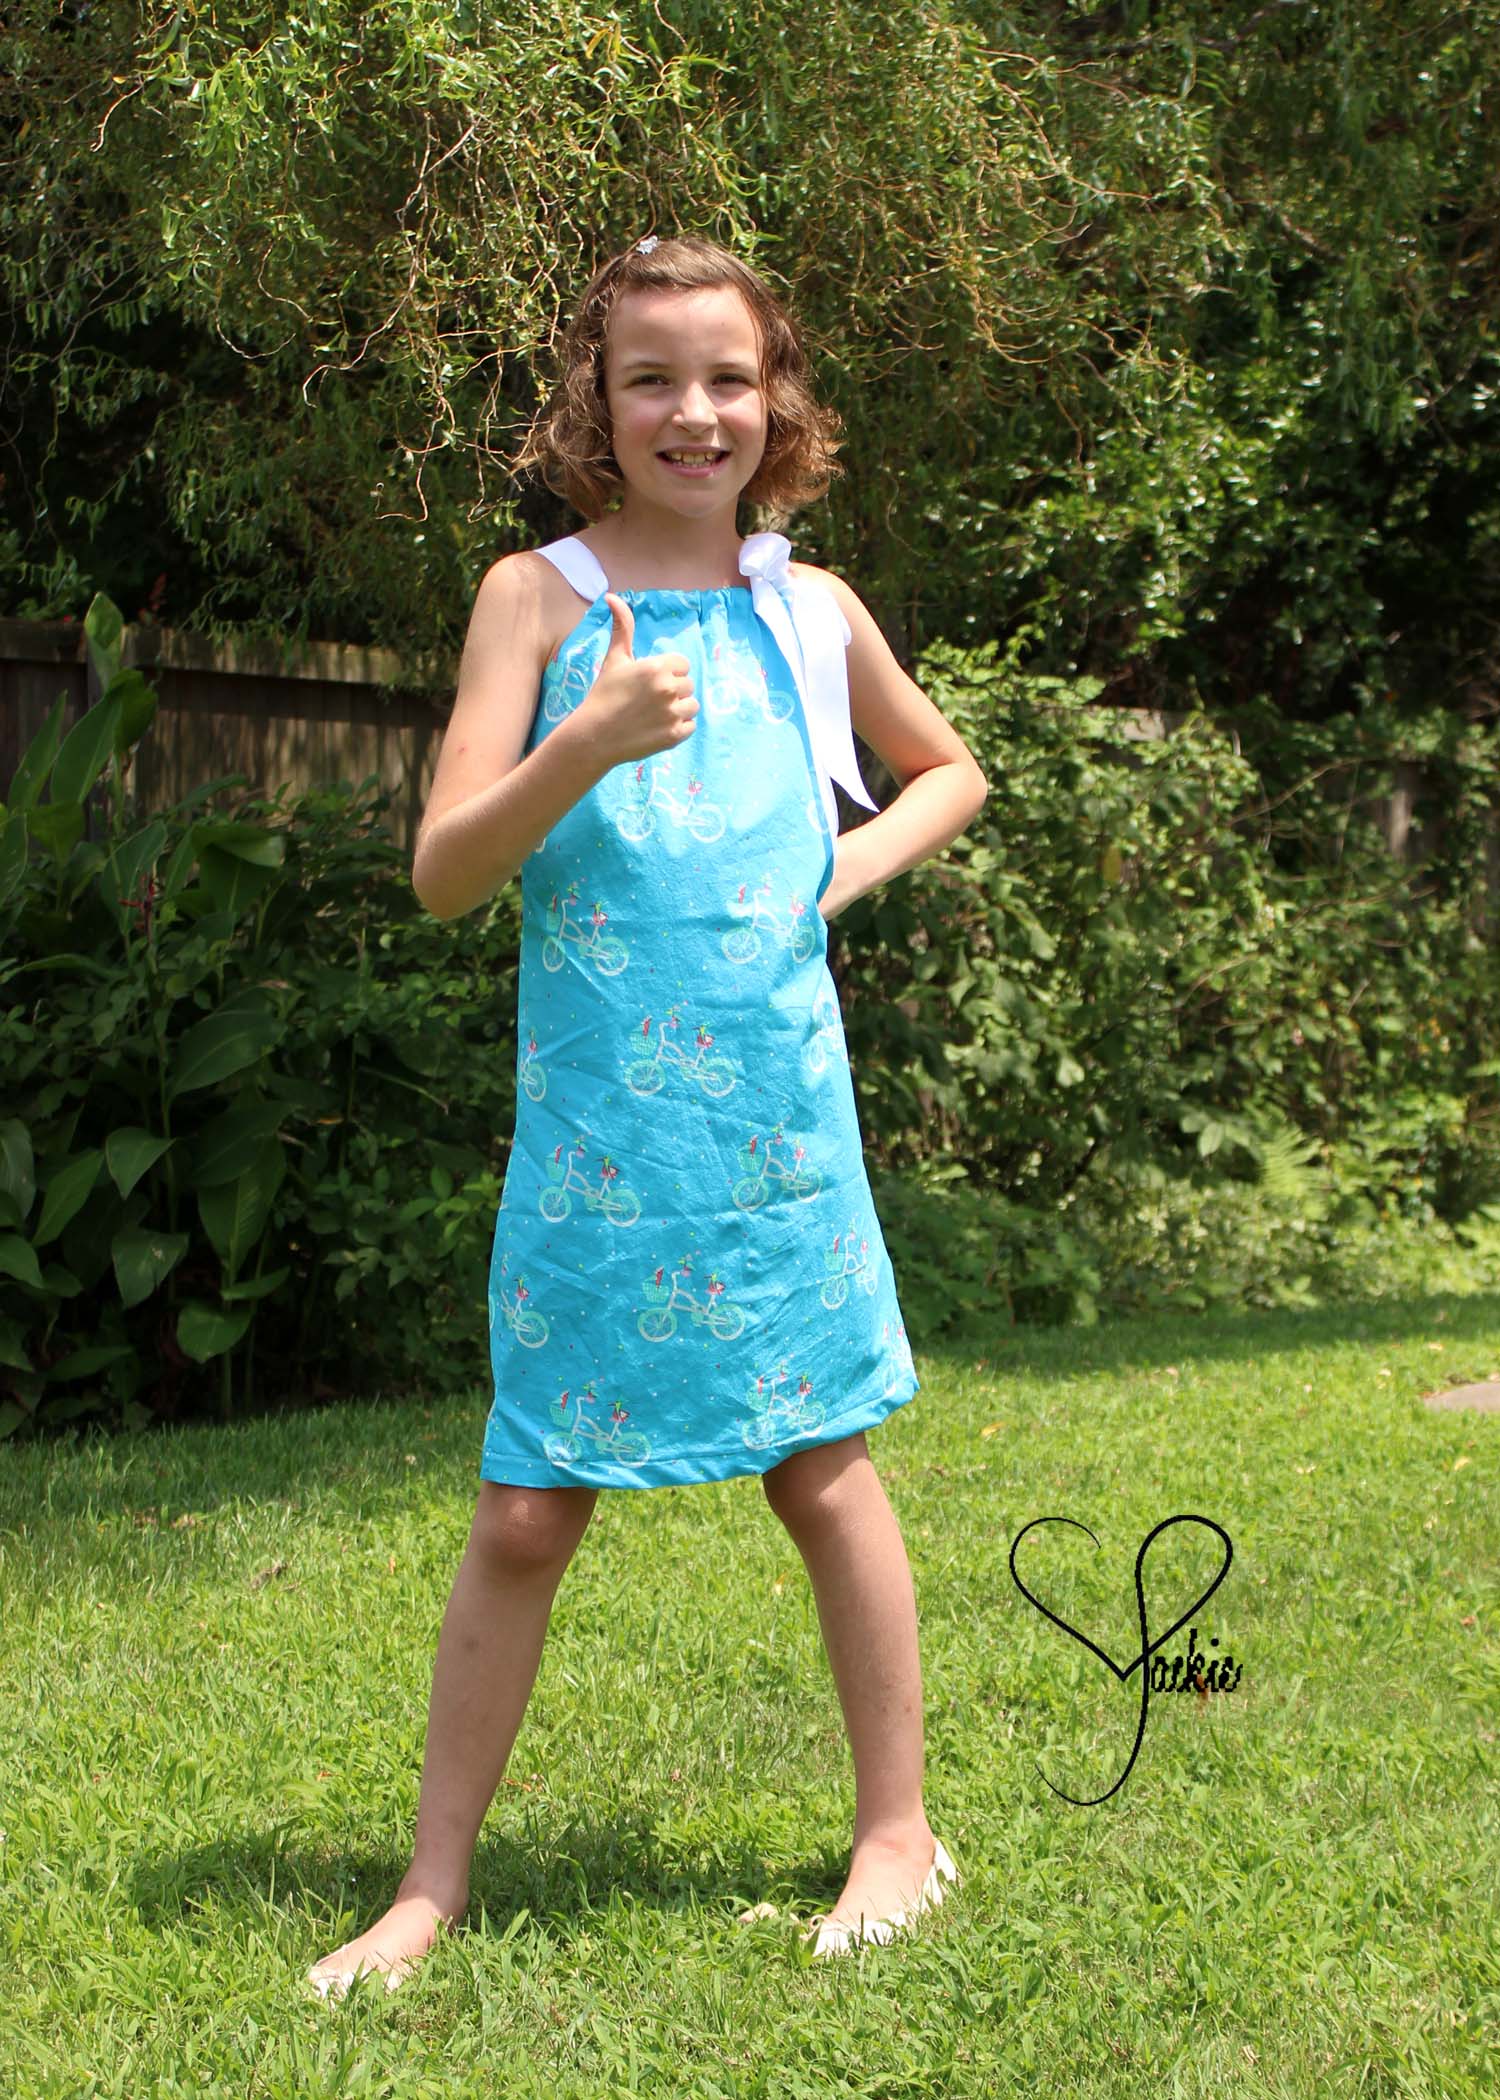
I printed off the pattern and trimmed the pages for her, but she put the pieces together herself pretty quickly. She wrestled with the tape some, but she did a good job with her rectangular jigsaw puzzle. We compared her measurements to the size chart in the tutorial and decided she wanted to cut a size 8 with a size 10 length. We discussed the importance of cutting a straight line, and she got to her task. Then I let her do her absolute favorite part - shop the stash for the fabric she wanted to use. Who am I kidding, it’s my favorite part too!! She chose a sweet bicycle print I picked up from Hobby Lobby, laid it out, then pinned and cut her fabric.
The tutorial for the Penelope Pillowcase Dress is online, and includes a video, which we thought was really helpful. While Miss 9 reads everything she can lay her hands and eyes on, sometimes keeping her attention can be difficult. But the video with its clean crisp colors and visual instructions captivated her. When I would ask her later what the seam allowances were or how much to fold and press for the hems, she was able to tell me.
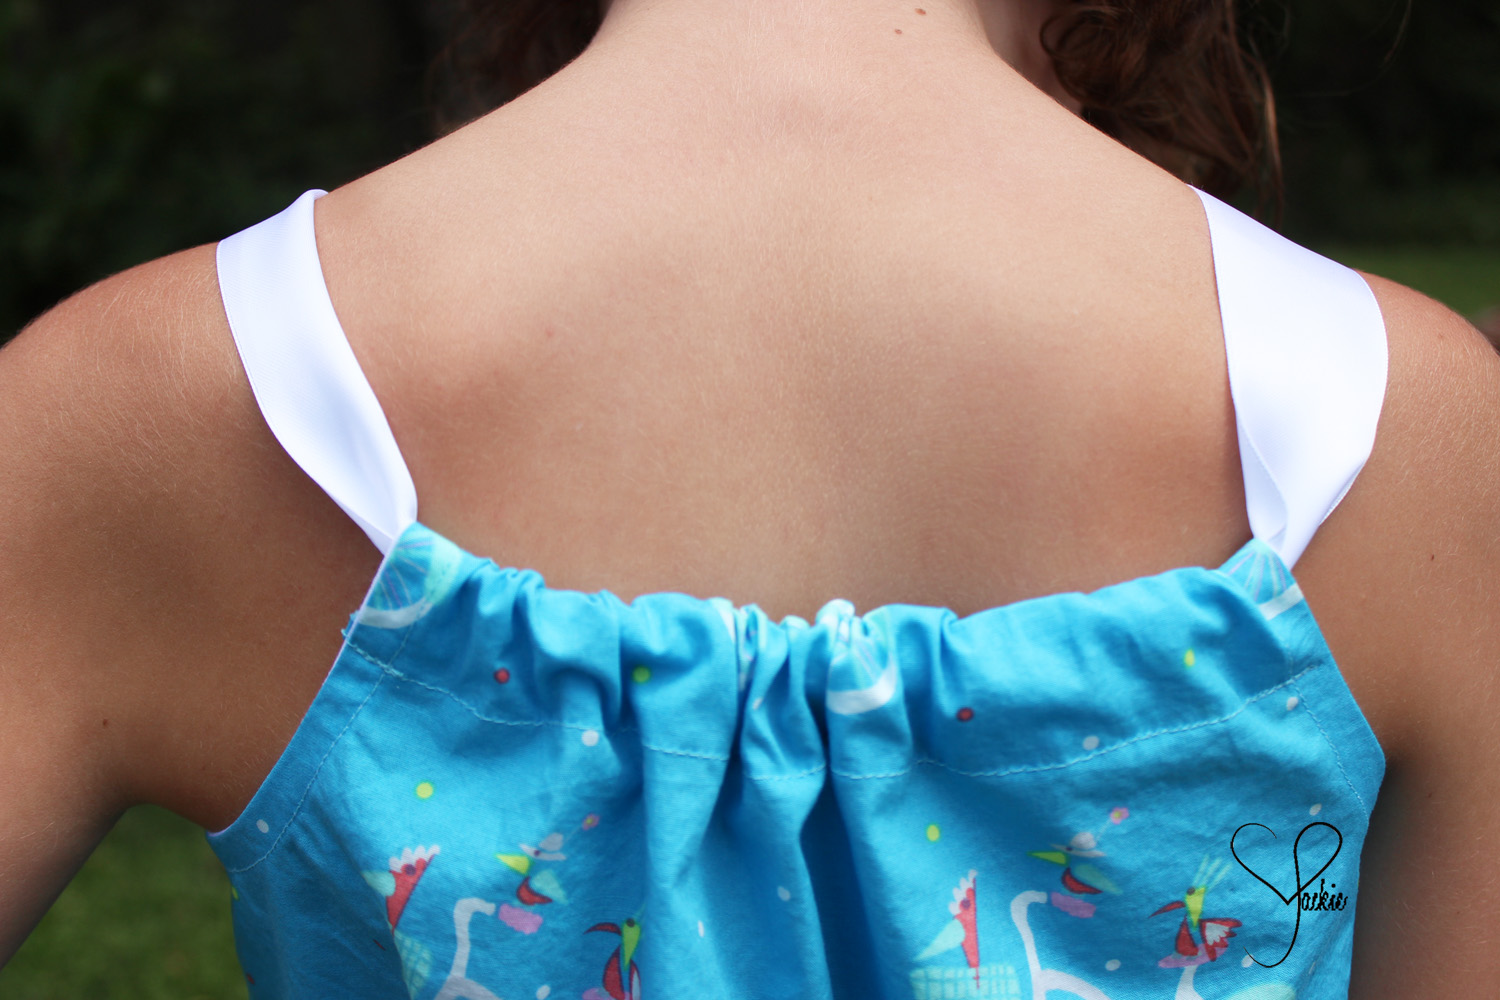
Then we got to work. She stitched her side seams. They were a little wiggly, but all in all they were pretty good seams for a beginner. I sewed the bias tape for the underarrms, then we pressed the top and bottom hems. She stitched them, being careful to keep the seams straight and not sew any wrinkles in. We chose to use ribbon for the straps rather than the pattern piece because she was losing momentum, so she learned how to use the bodkin to thread the ribbon through the top. And now she has a pretty dress and is looking forward to compliments so she can say the refrain of seamstresses around the world, “Thanks! I made it!”


Today Katy reviews the Tess Wrap Dress by My Childhood Treasures. This dress is super cute and easily accessorized to be an all season dress!