
Scrap Swap 2017: Fabric Wreath
/What do you do with all of your scrap fabrics?!? When you really think about it scraps are really versatile. Sometimes I use them to make baby clothes, sometimes my kids use them to practice sewing but today I'm going to show you how to make a scrap wreath!
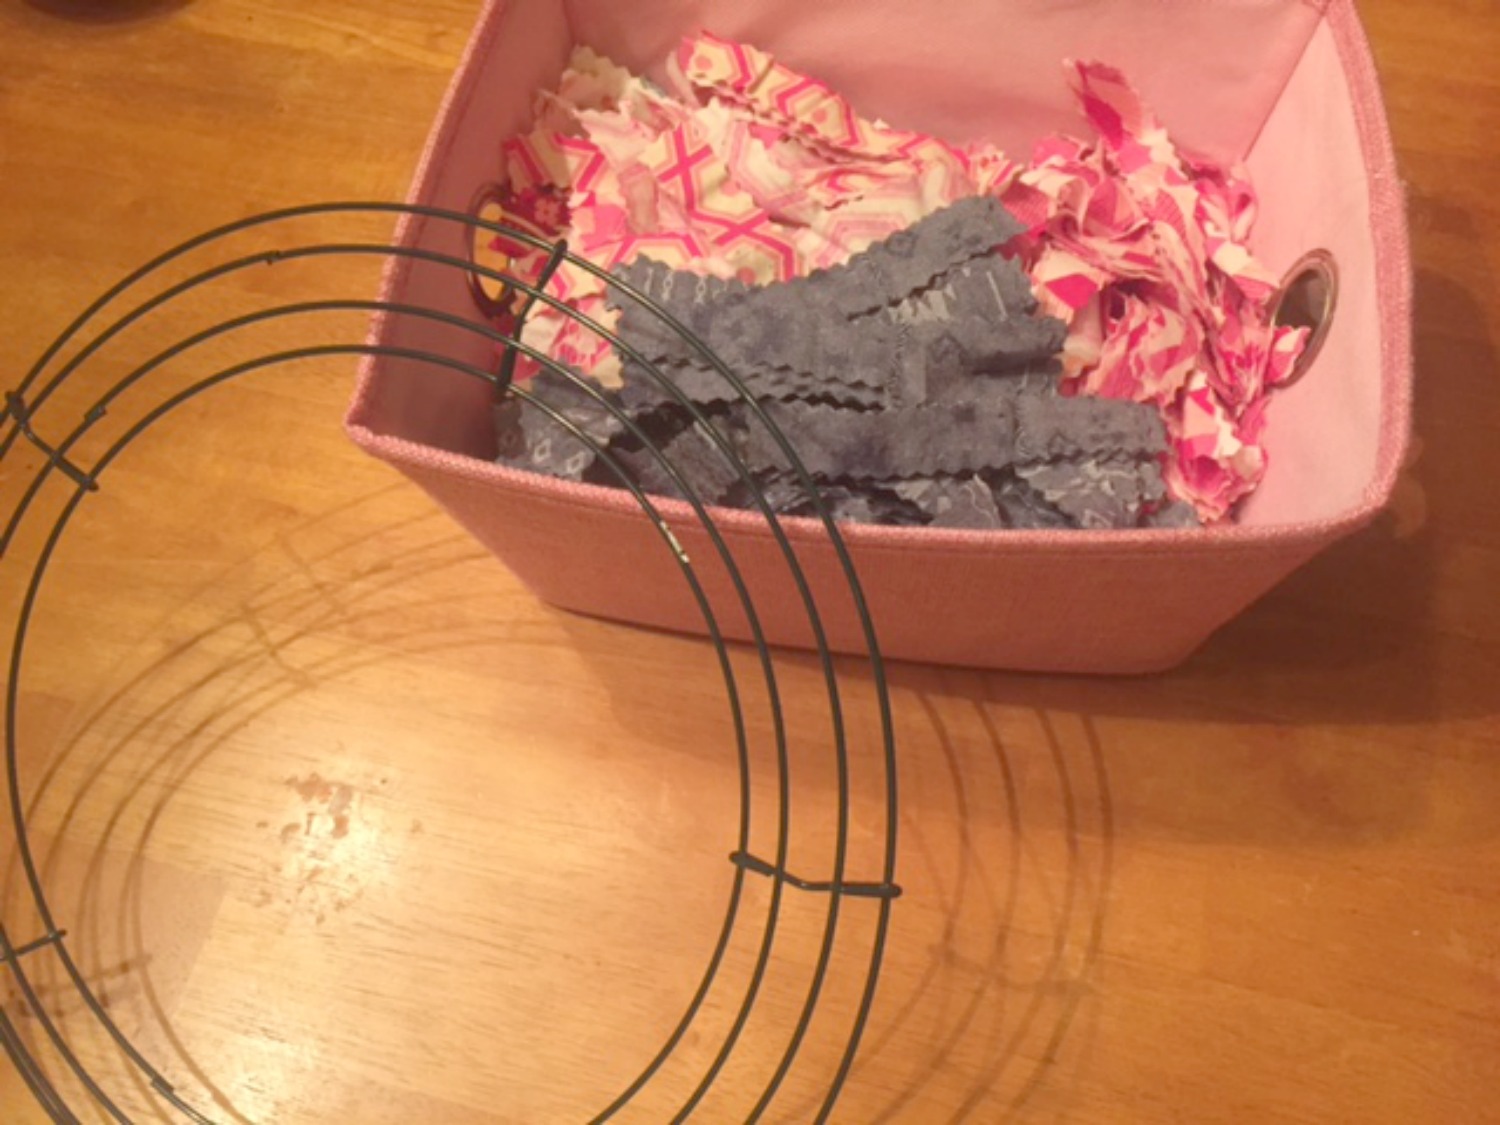
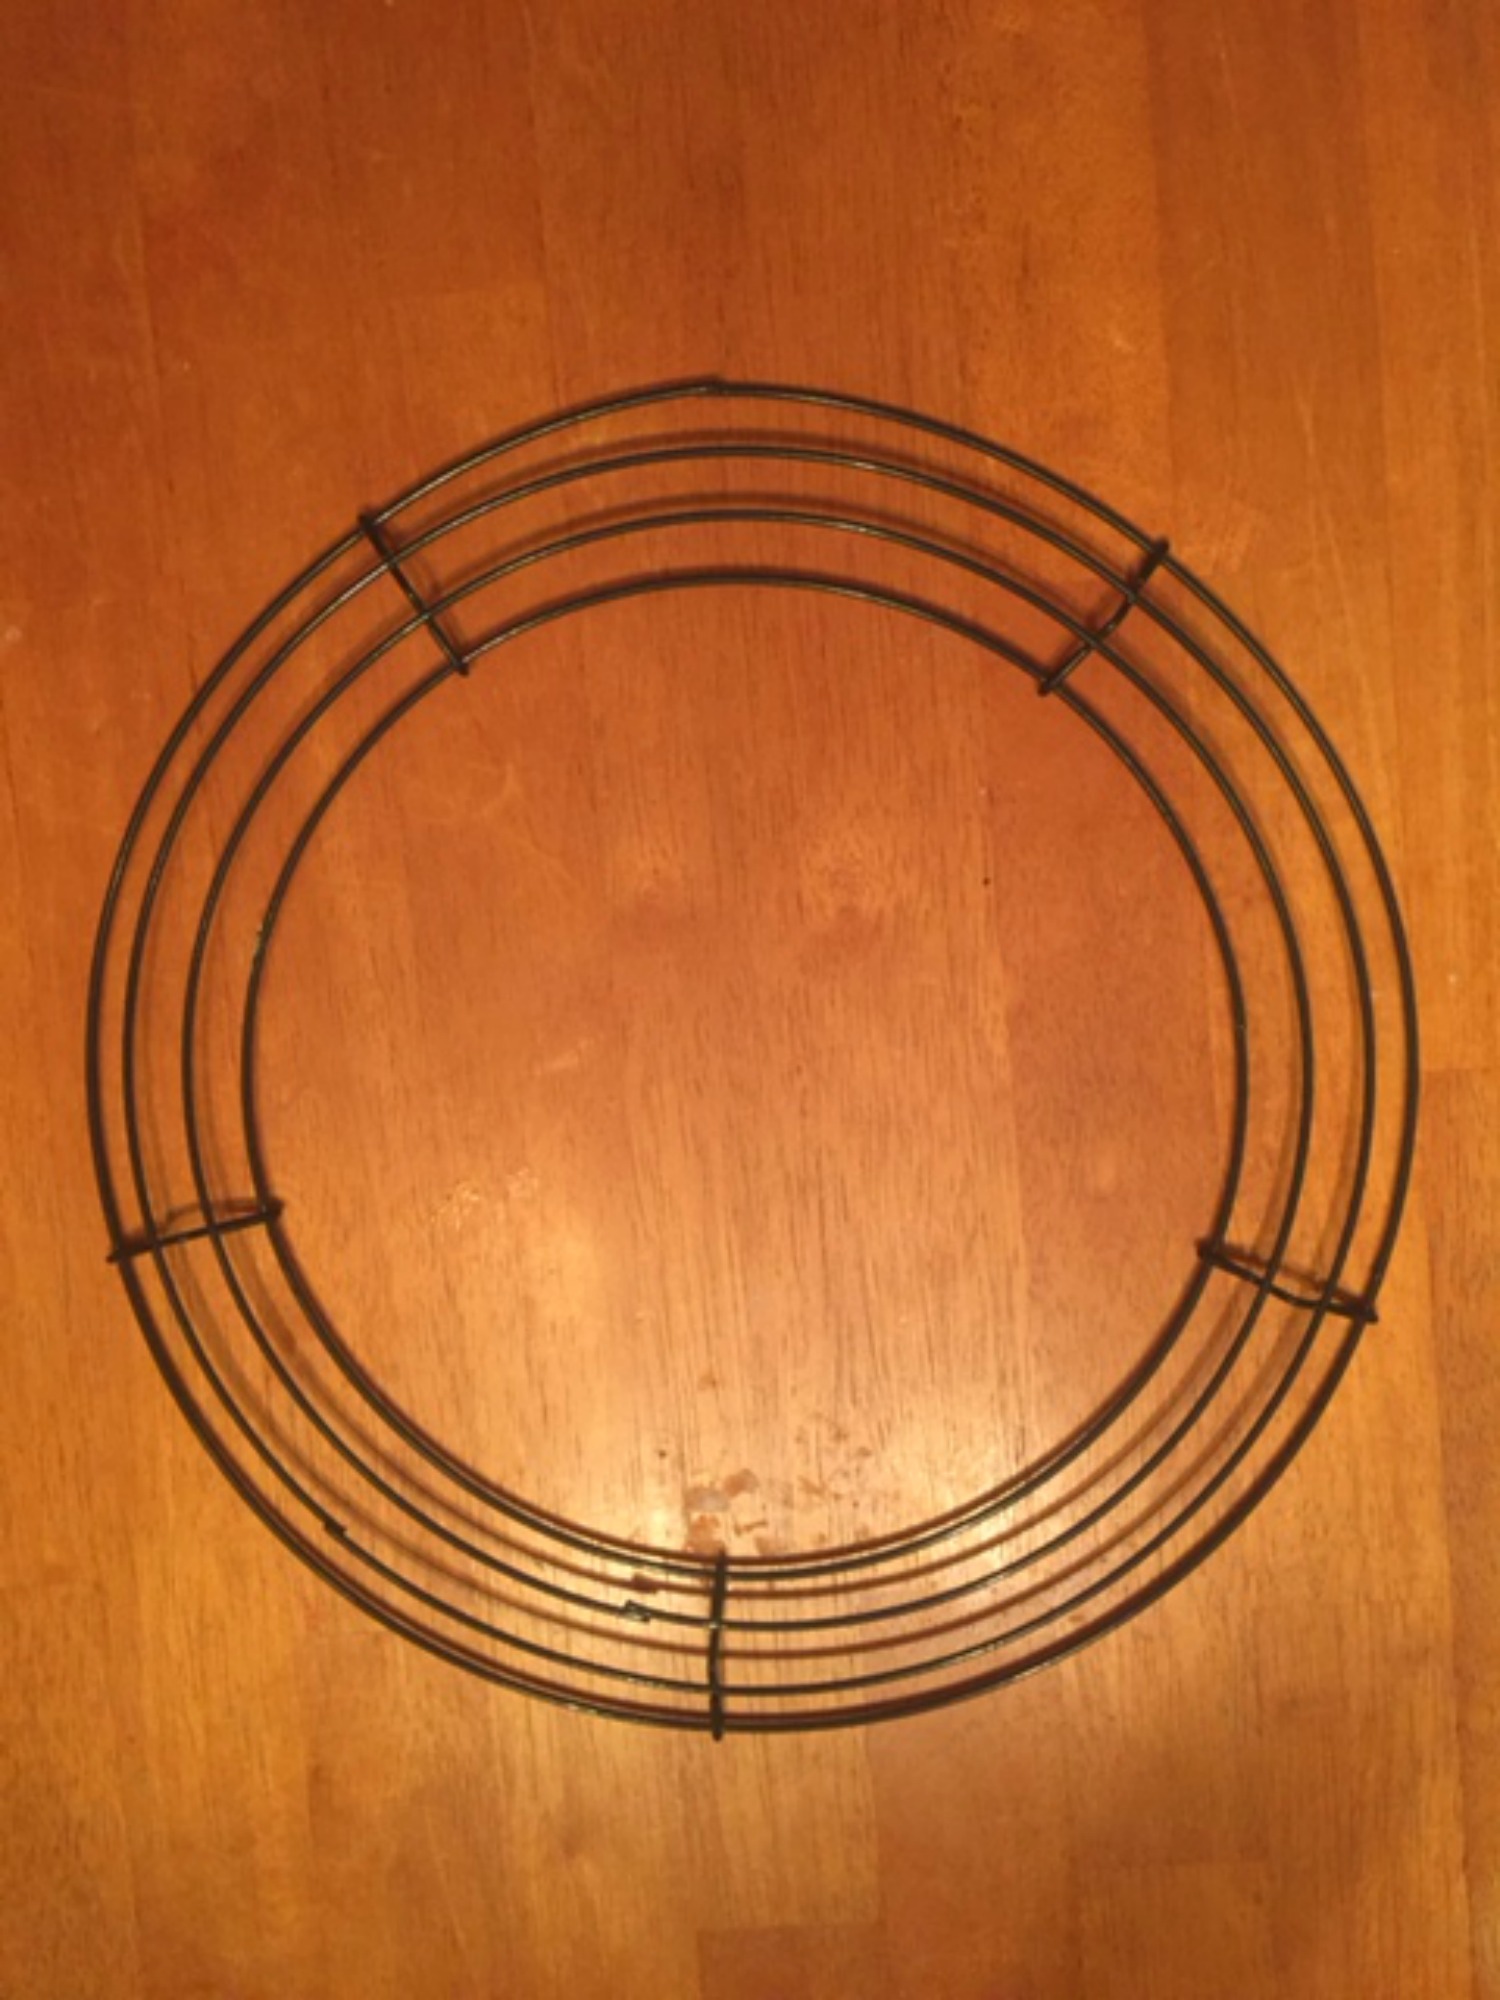
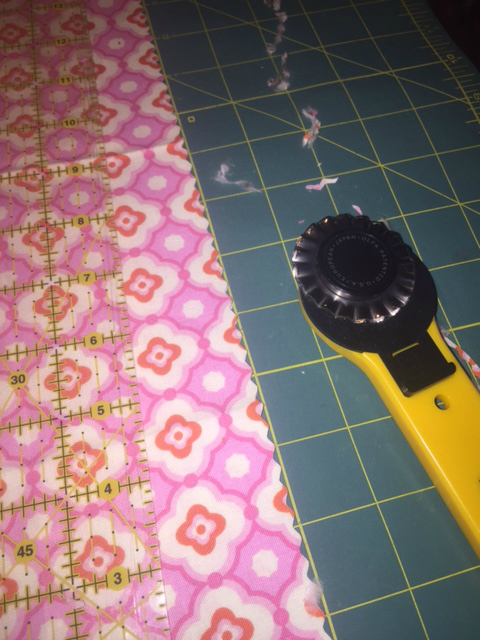
First gather your supplies, you need pinking rotary cutter, scraps and a wire wreath. For this project I decided to use all pink scraps so my wreath would match my sewing area.
Now let's get started
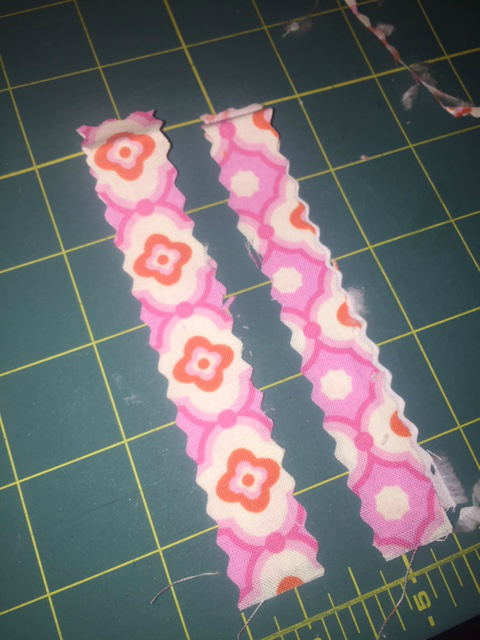
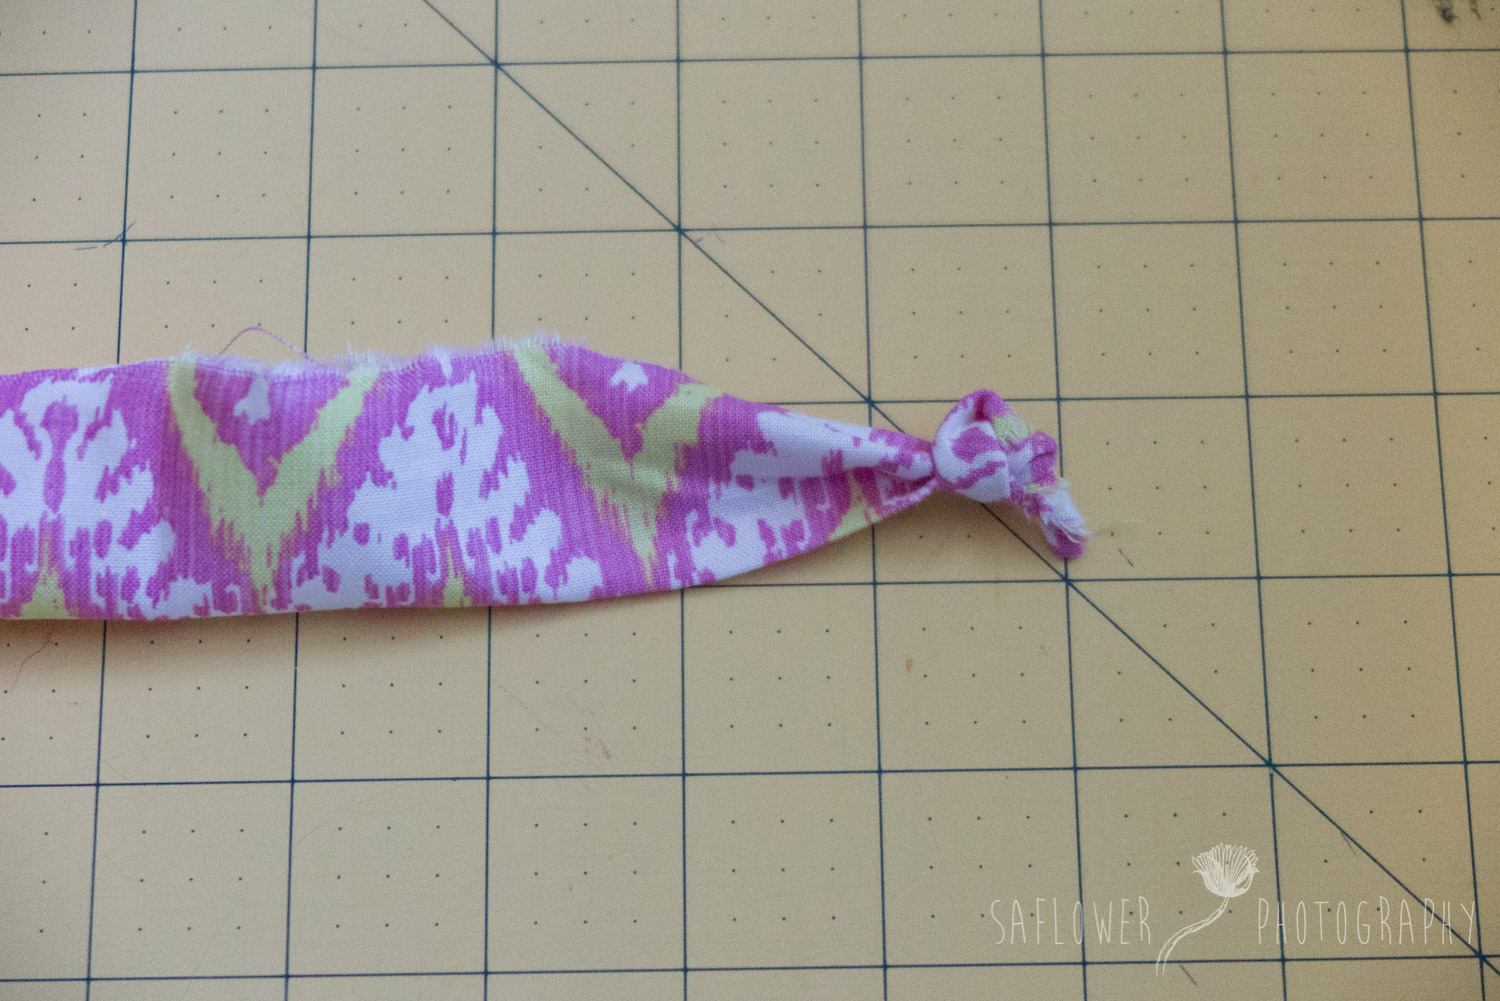
1. Cut scraps into 5” x 3/4” strips
2. Then tie the strips around the wires of the wreath. I prefer to make my wreaths full so I push the strips together and I tie them to each wire on the wreath.
That's it, you're finished!
Featured


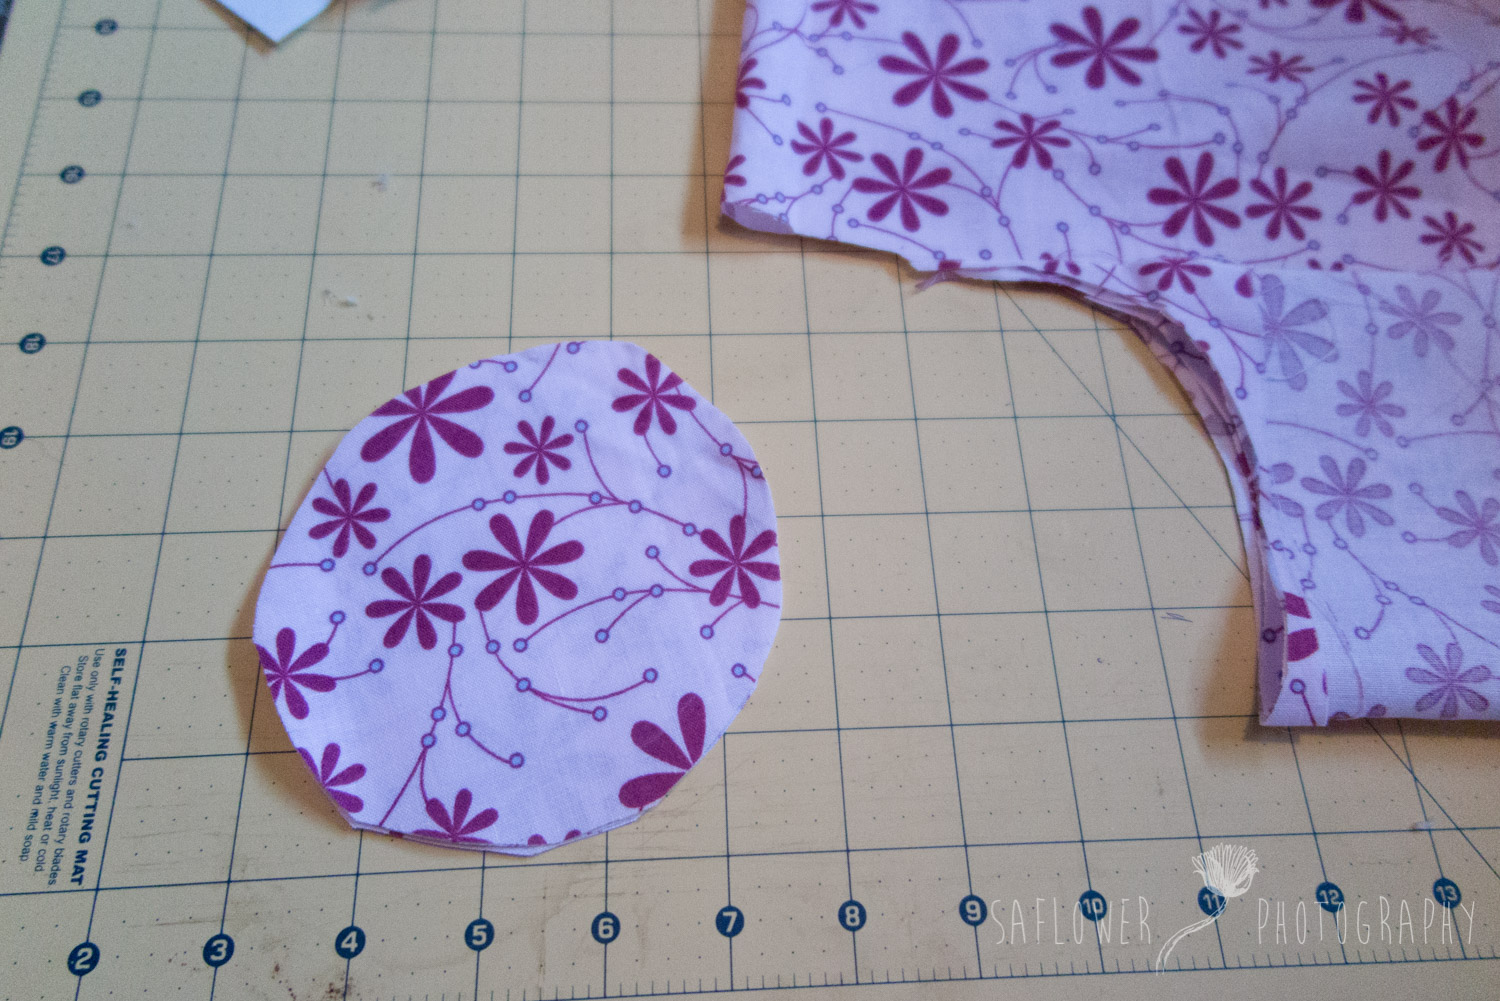
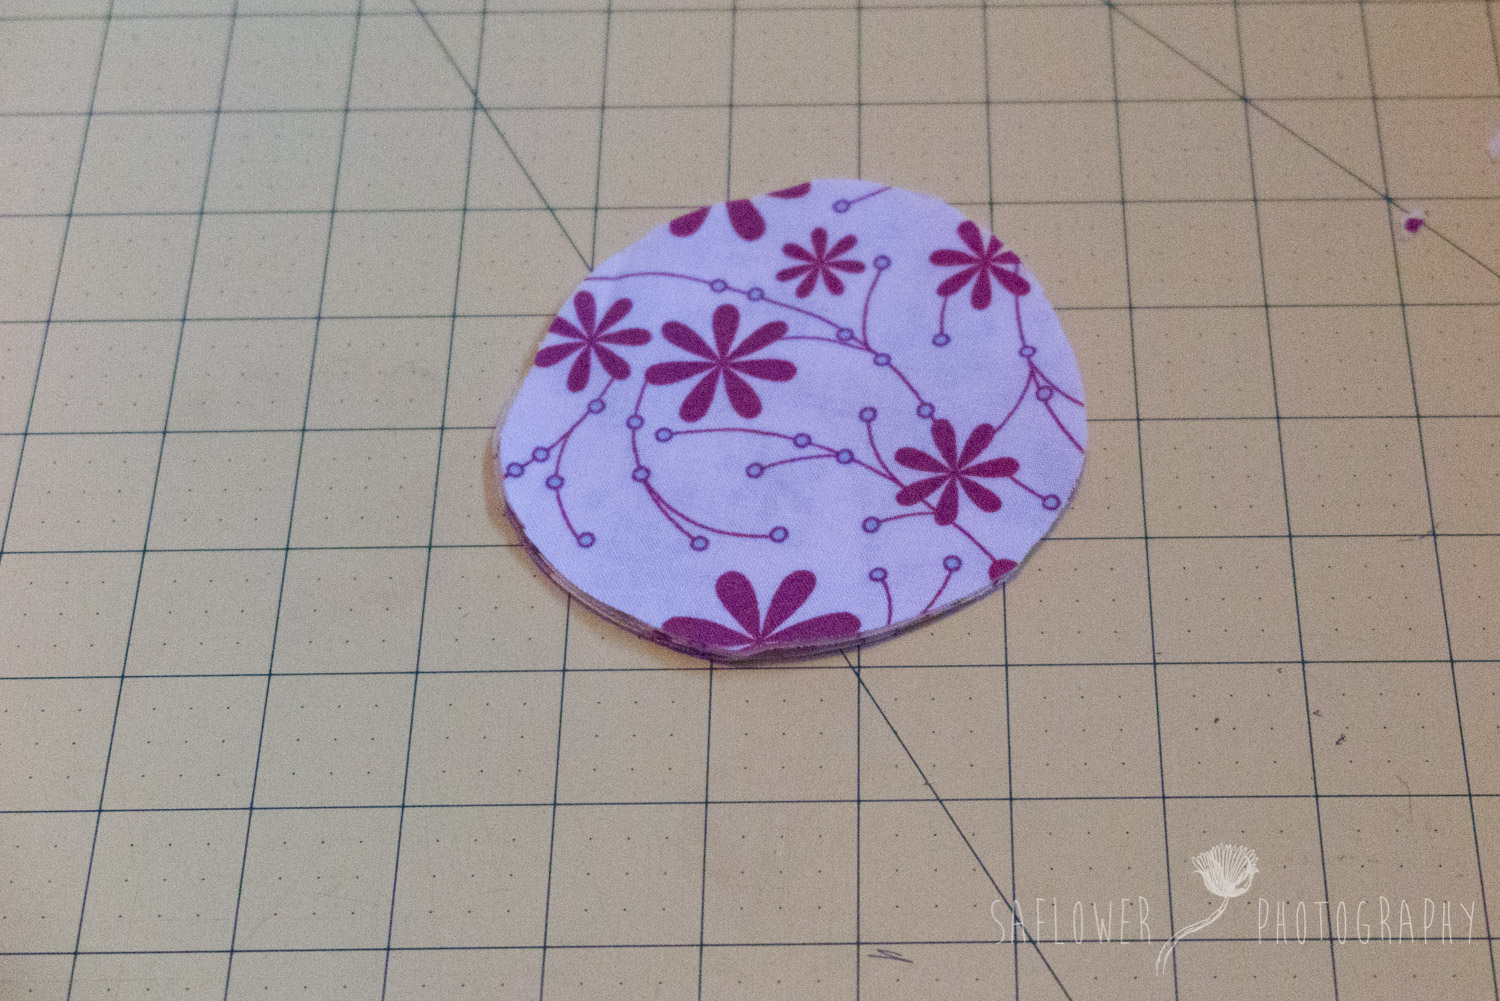
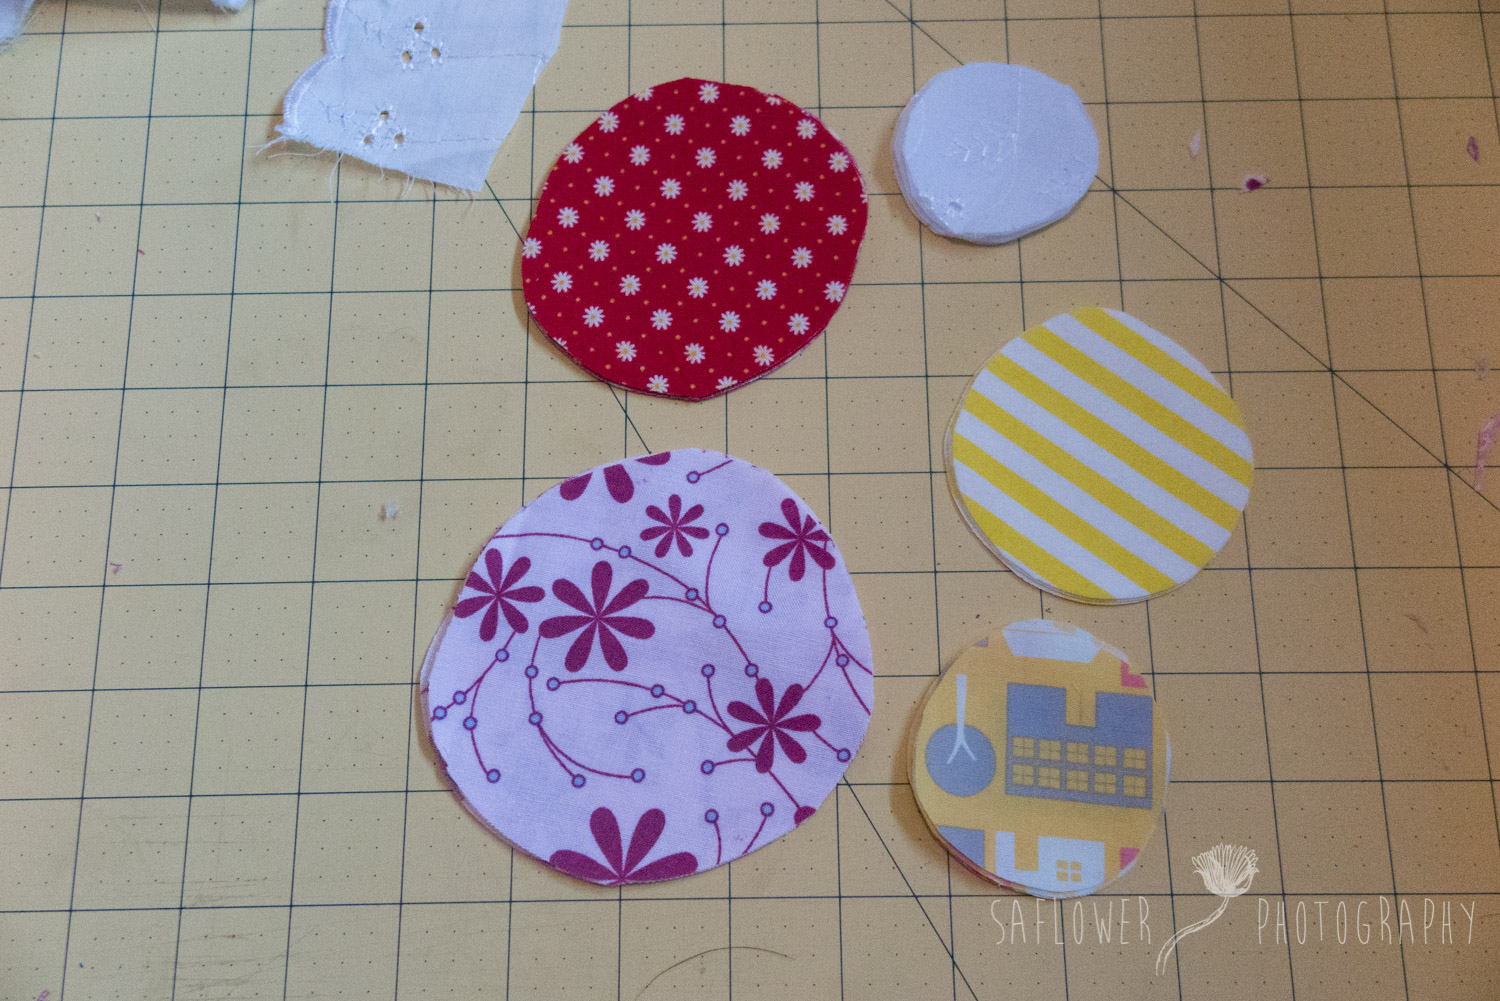
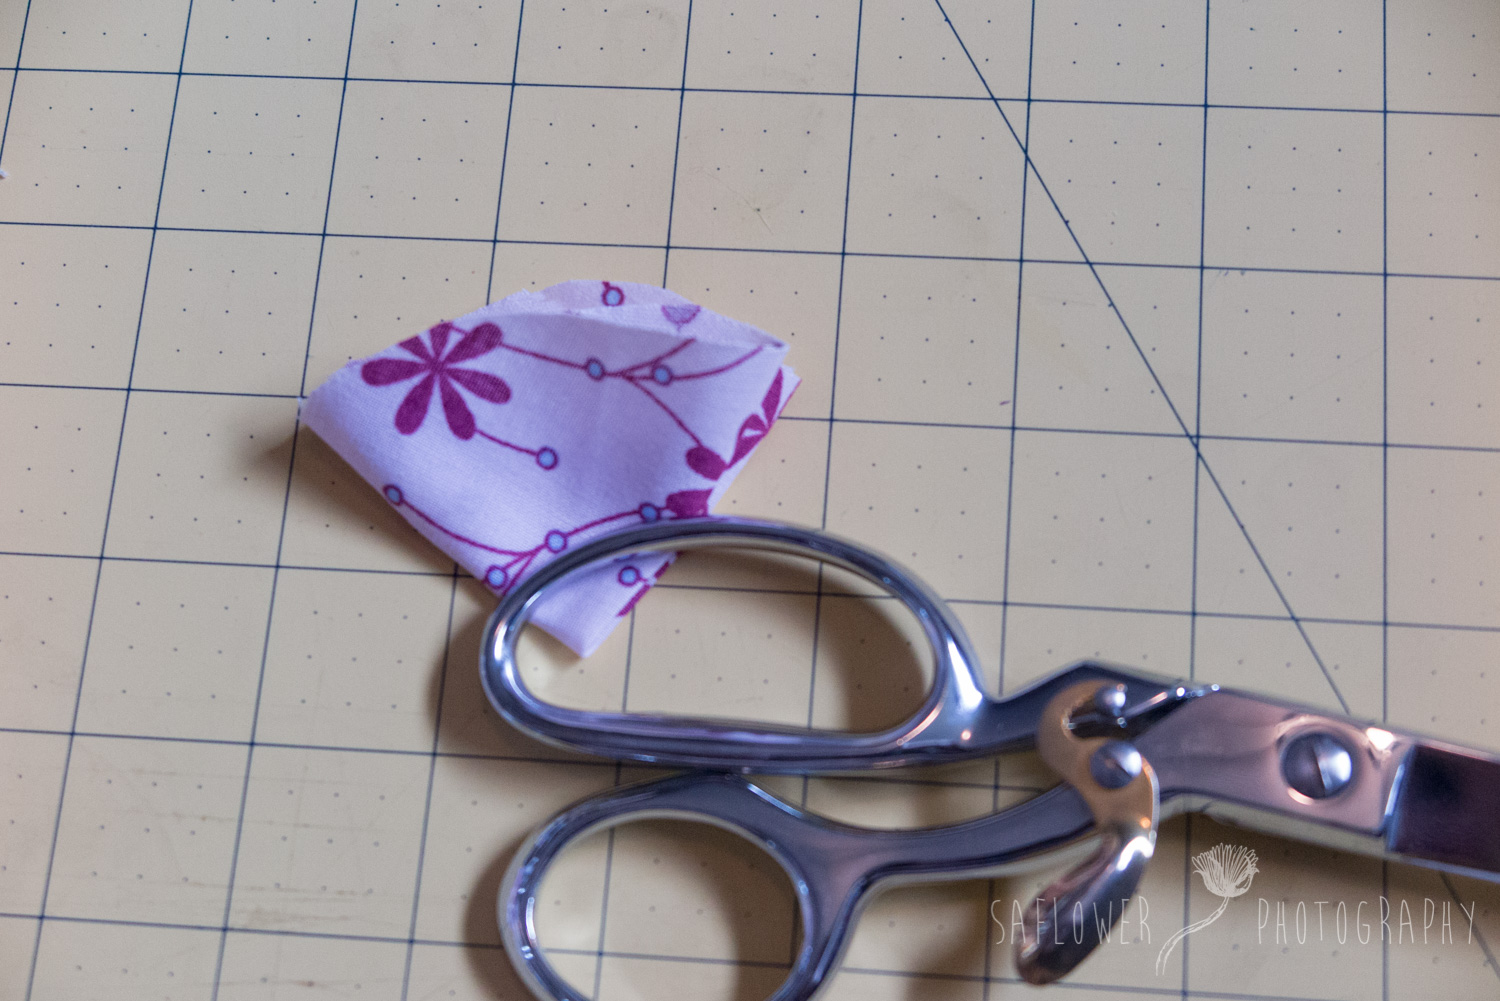


Learn how to use your scraps to make these eco-friendly and fun fabric reversible bowl covers.