
Covered Buttons: A Tutorial and Giveaway!
/Thank you to our friends at I Like Big Buttons and Amelie and Henri for Sponsoring this post!


Today we are going to talk about something that can change the way you add buttons to a garment FOREVER! Two words: Covered Buttons. Do they sound daunting?... they aren't, sound expensive?... not at all, sound time consuming?... first; they are quick to make, but second think of the time you waste driving to the store, searching for the 'perfect button' when nothing is quite right, standing in line to buy the buttons, and then driving back home again - yeah, you could have made a second garment complete with covered buttons in that amount of time!
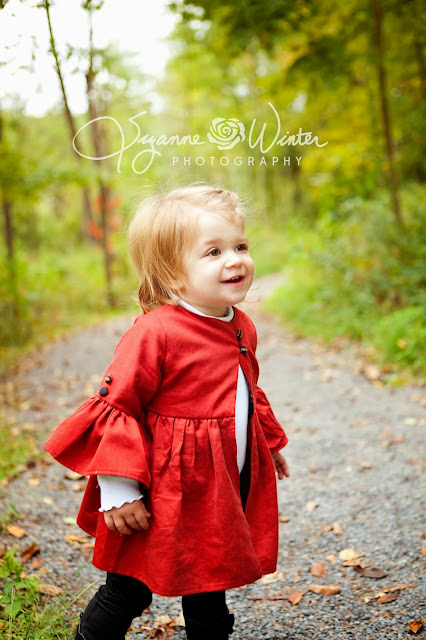
I found myself desperate for covered buttons recently when I tested the Elenora Ruffle Coat by Amelie &Henri - the pattern has 6 buttons (two on each sleeve and two on the front) and I KNEW I wanted them to match the sash & lining to pull the whole garment together. I love the way it turned out!


Here is a collection of the great things I have been able to make with the covered button kit from I Like Big Buttons in the past few weeks. These are the 5/8 size wire back buttons.

Ok... the Anatomy of a covered button:
You have a 'Male' part and a 'Female' part. - these are shank buttons so it isn't that hard to figure out which is which. Got it? Good! Now you also have two parts of the button press (these are also male and female) - the clear part - Female, and the pink part- Male, (do you like my uber technical names here?!!?)

Most button kits then come with a round donut circle - this is your tracing template. Use a fabric marking tool and trace as many circles onto your fabric as you need for your buttons, and cut them out. *when you are cutting your fabric circle, make sure you plan the part of any patterned prints that will be at the center of the circle.*

Now you are going to take one of your fabric circles and place a female button piece in the center (convex side down). Place it over your clear section of the button press, and push down.

Once your fabric and button are inside, you are going to press the extra fabric in towrds the center
Place the Male side on top (shank facing up).

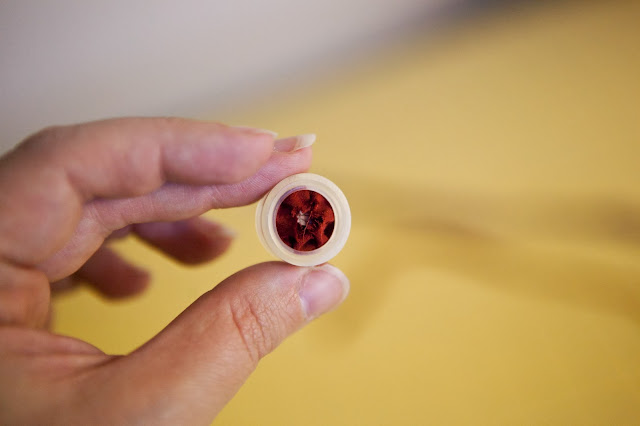
Use the pink part of your press, and press the male side firmly into the female side - you need to press pretty hard, and you will feel the male side 'pop' into place.

Pop out your button and VOILA!!!! Gorgeous Buttons to match any garment.

So what do you want to button up???
Our great friends over at ILikeButtons are providing you with the opportunity to win all the supplies you need to start making awesome covered buttons. And we're pairing it with the adorable Elenora Ruffle Coat by Amelie and Henri to give you the perfect pattern to try out your new button making skills.
For this Prize Pack you will win:
I found myself desperate for covered buttons recently when I tested the Elenora Ruffle Coat by Amelie &Henri - the pattern has 6 buttons (two on each sleeve and two on the front) and I KNEW I wanted them to match the sash & lining to pull the whole garment together. I love the way it turned out!


Here is a collection of the great things I have been able to make with the covered button kit from I Like Big Buttons in the past few weeks. These are the 5/8 size wire back buttons.

Ok... the Anatomy of a covered button:
You have a 'Male' part and a 'Female' part. - these are shank buttons so it isn't that hard to figure out which is which. Got it? Good! Now you also have two parts of the button press (these are also male and female) - the clear part - Female, and the pink part- Male, (do you like my uber technical names here?!!?)


Now you are going to take one of your fabric circles and place a female button piece in the center (convex side down). Place it over your clear section of the button press, and push down.

Once your fabric and button are inside, you are going to press the extra fabric in towrds the center

Place the Male side on top (shank facing up).

Use the pink part of your press, and press the male side firmly into the female side - you need to press pretty hard, and you will feel the male side 'pop' into place.

Pop out your button and VOILA!!!! Gorgeous Buttons to match any garment.

So what do you want to button up???
Our great friends over at ILikeButtons are providing you with the opportunity to win all the supplies you need to start making awesome covered buttons. And we're pairing it with the adorable Elenora Ruffle Coat by Amelie and Henri to give you the perfect pattern to try out your new button making skills.
For this Prize Pack you will win:
Button and Findings Starter Kit:
15x Size 24 Cover Buttons Wire Back (for use with coat) 1x Size 24 Tool and Size 36 Tool 1x Size 24 Plastic Template and Size 36 Plastic Template 15x Size 24 Cover Buttons Flat Back (for use with bobby pins) 15x Size 36 Cover Buttons Flat Back (for use with Snap Barrettes) 12x Snap Barrettes in Vibrant Girl Colors 12x Bobby Pins in Vibrant Girl Colors
AND
The Elenora Ruffle Coat PDF Pattern By Amelie &Henri
|


