
Child's Play Dress by Whimsy Couture
/GOOD morning... today we take a look at the Child's Play Dress by Whimsy Couture. This is an adorable summer dress, that is also perfect for layering for fall. Check out our adorable reviews and grab your own pattern for 25% off (no code necessary)!!!
Here are Erica and Larissa to tell you all about it....
-----------------------------
Hello Friends!! I am here to tell you a little bit about the Child's Play Dress from Whimsy Couture.
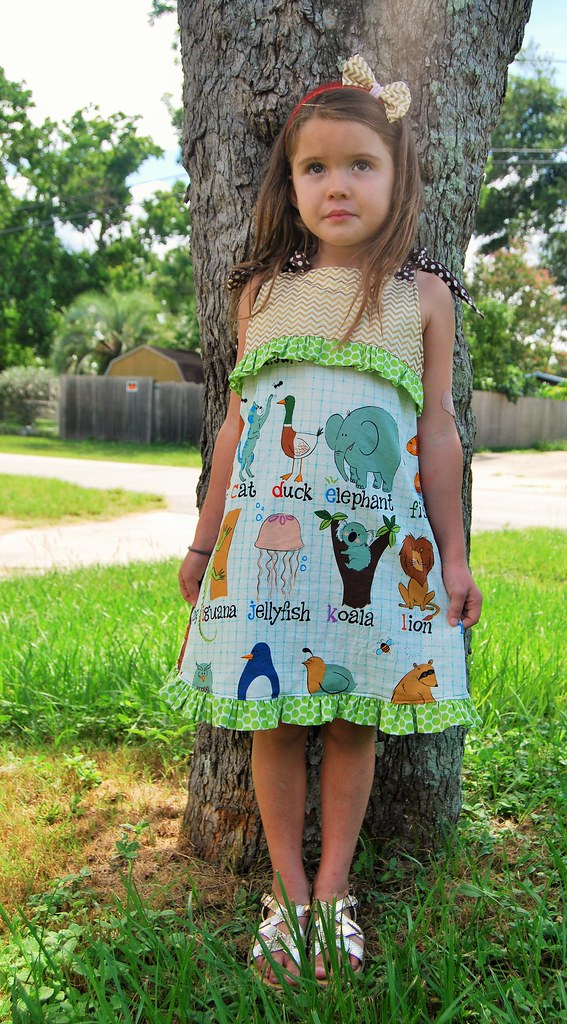
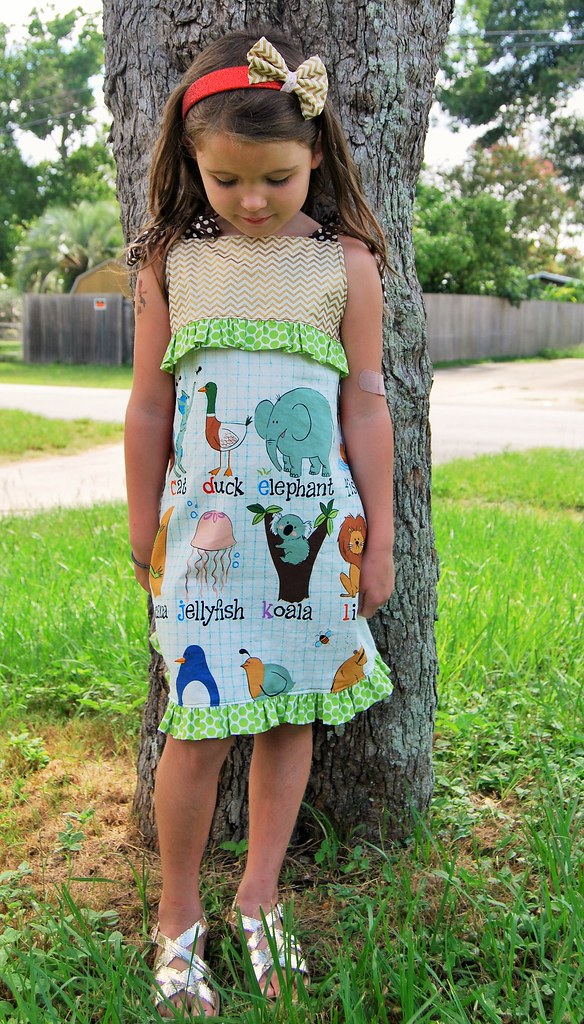
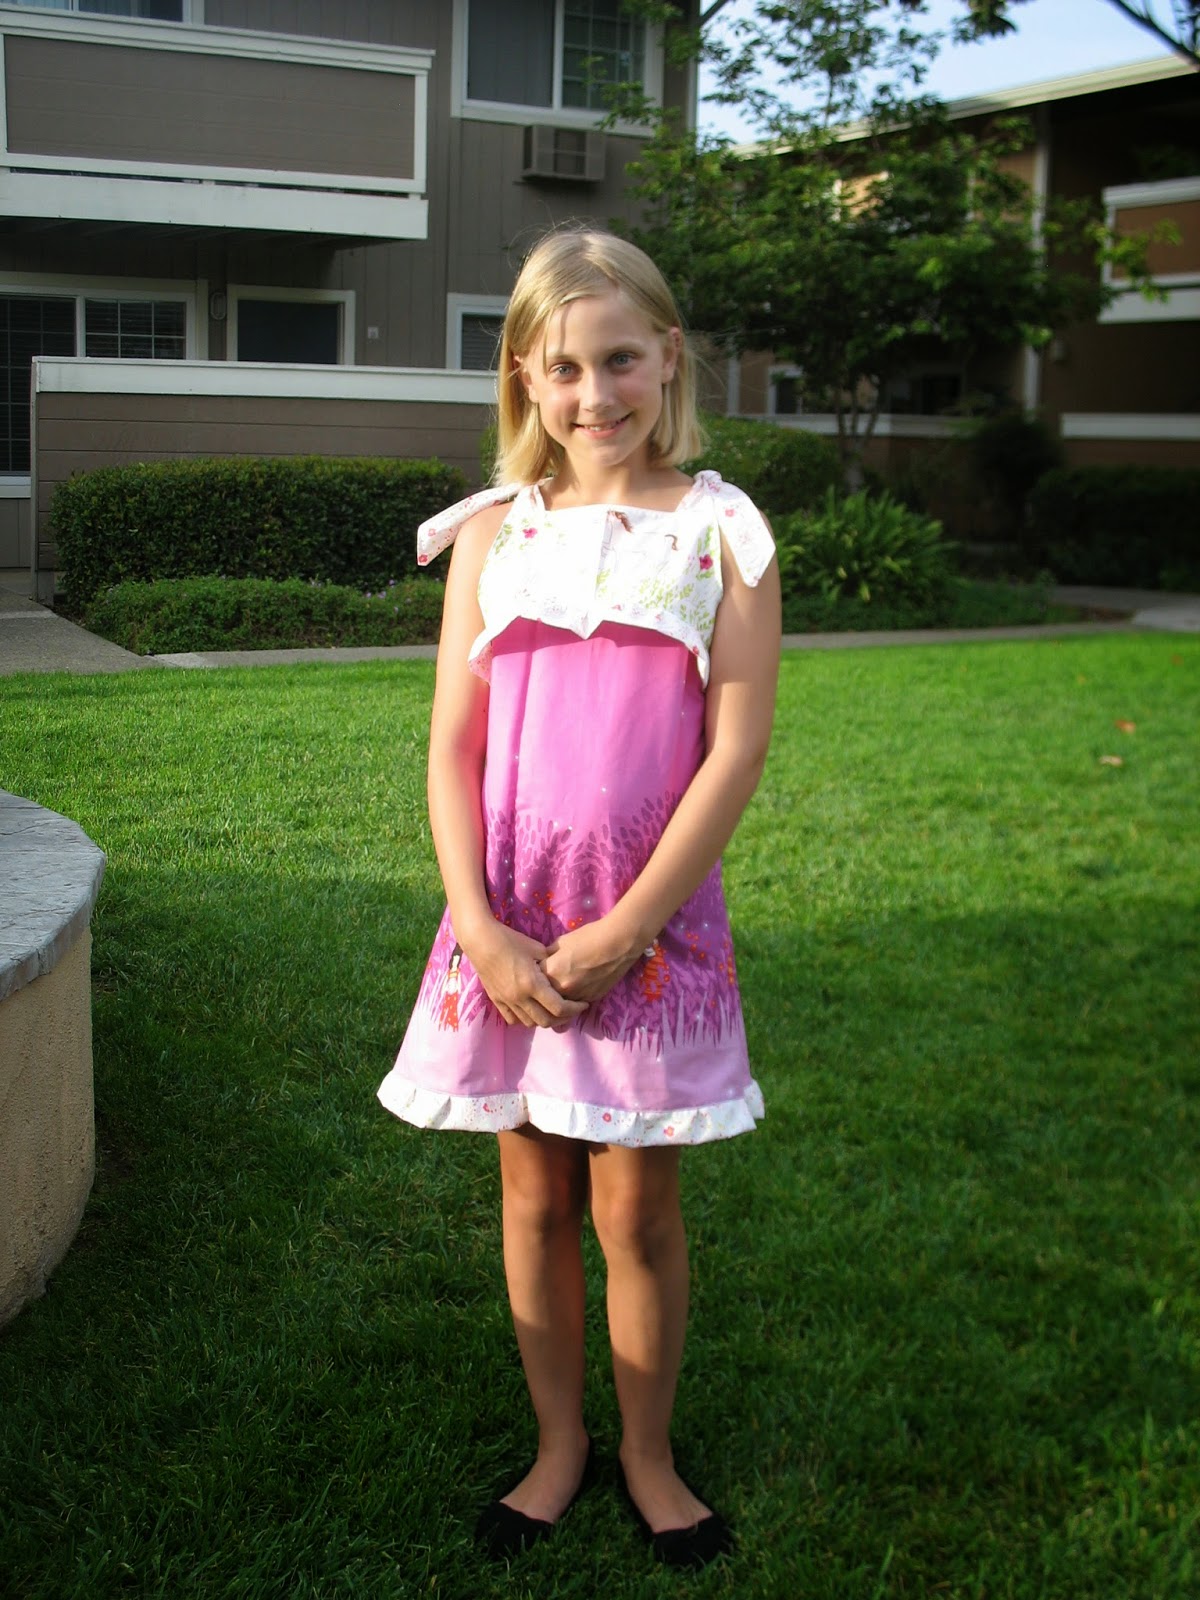
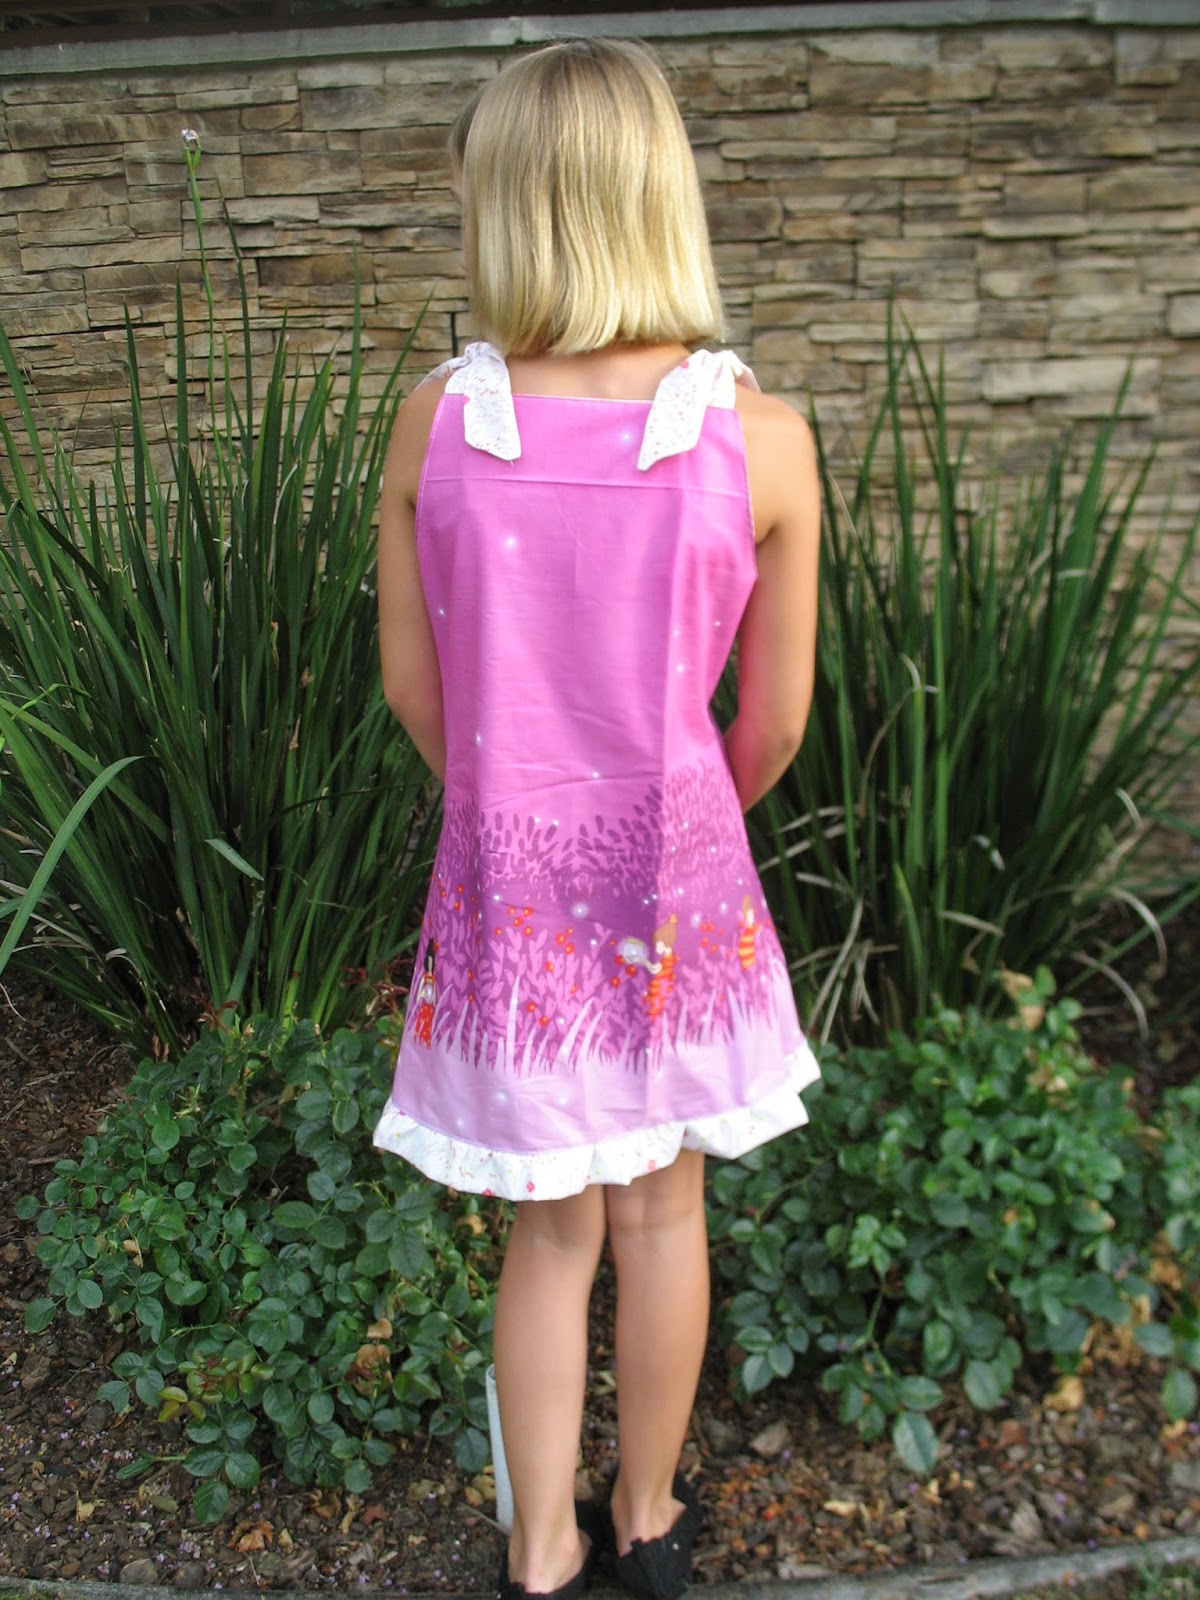
When I first started sewing girls clothes, I started with Whimsy Couture patterns. I have always liked how simple and versatile they are. I have sewed the ruffle leggings, reversible tunic, a-line dresses, peasant dresses, retro romper, and baby bubble romper..to name a few. I have even tested for her in the past. With that said, I might be a little biased. I have not sewn any of the newer patterns so I was interested to see how this one was put together. First of all, there are not a lot of pattern pieces. There is a piece for the dress which is only a few pieces of paper and the piece for the lining. The ties and ruffles are done by measurement. The ties and ruffles are all done at the same time at the beginning, which I would rather do. Then you assemble the pattern and it comes together quickly and easily. TIP- I place my fabric on the wrong side on the measuring board and use a quilting ruler and washable pen and draw my lines in on the fabric and then cut them out. Once upon a time, I used to trace those measurements on paper and cut the paper out, pin it down on fabric, and then cut out again. I would say that this is a beginner pattern. There are no hard techniques used and the assembly is very straightforward and would not cause any confusion to a beginner. From taping pieces to finishing the dress, I would say it took about two hours at the most. I liked how the ruffle pieces were folded and then gathered and attached. For me, it makes much cleaner looking ruffles. The dress fit my daughter right to her knee. The dress overall fits very well, looks clean, and professional.

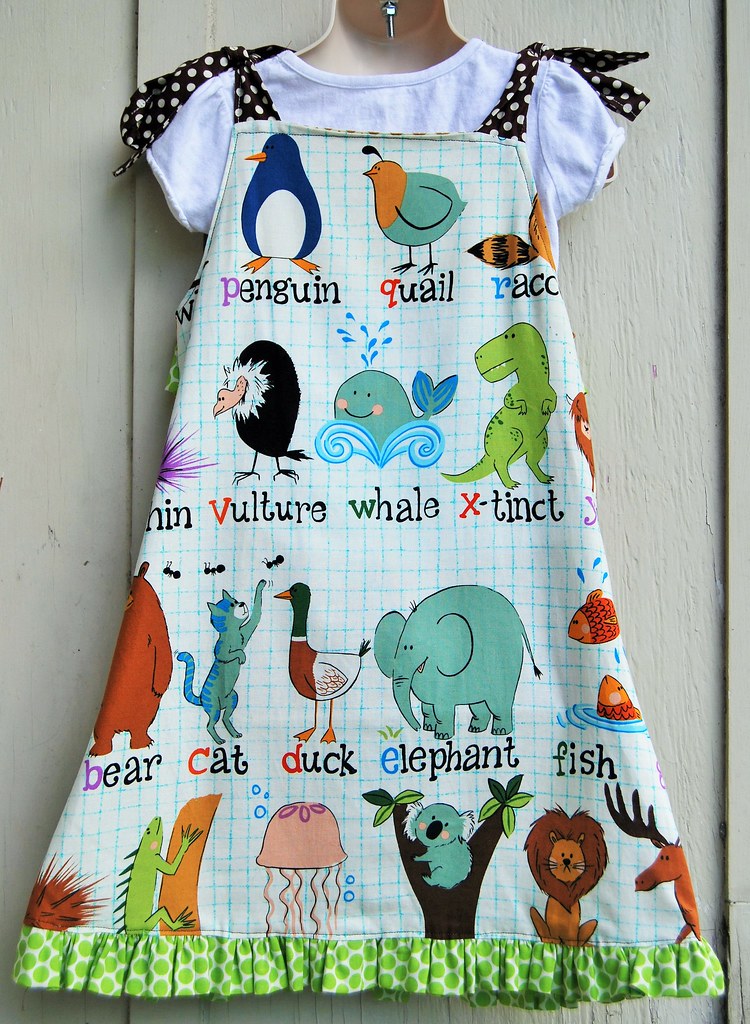
The small front piece would be great for appliqueing or monogramming for a few reasons. One, it is separate from the main print and you can use a solid color for the piece and the applique would stand out better than if it was on a busier print. Two, the piece is added separately and towards the end so you would not ruin your dress if you needed to redo the applique. The waste would be small piece of fabric vs. a yard or so of fabric. You could leave that piece off the front if you wanted and assemble the front as you would the back.
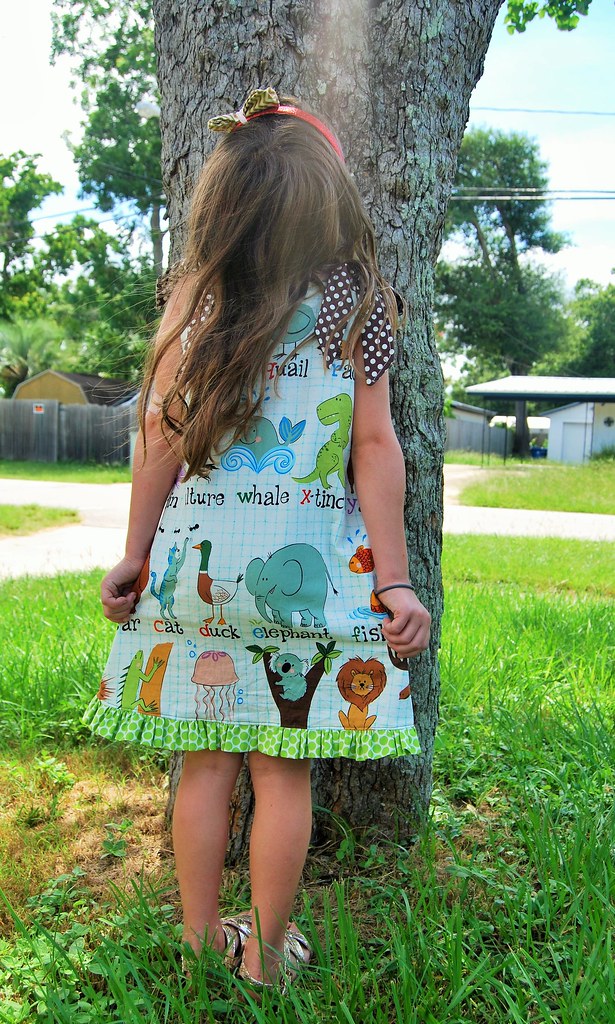
The dress has ties over the shoulder so the dress can be adjusted to fit your child better. I like the option of being able to use a short or long sleeved shirt under the dress so the dress can change for the seasons. Here in Florida, it is like 100 degrees everyday. When school starts, I will layer a short sleeved tee to adhere to the dress code. I plan on making another one and trying to applique on the top. For this dress, I used Alexander Henry fabric found here and the ruffles and front piece were from Joanns. I am excited for the different fabric combos and possibilities..I have some ideas brewing for the fall along with some leftover Christmas chevron fabric that wants to be made into a dress with a cute monogram on the front. Have fun sewing!
When I first started sewing girls clothes, I started with Whimsy Couture patterns. I have always liked how simple and versatile they are. I have sewed the ruffle leggings, reversible tunic, a-line dresses, peasant dresses, retro romper, and baby bubble romper..to name a few. I have even tested for her in the past. With that said, I might be a little biased. I have not sewn any of the newer patterns so I was interested to see how this one was put together. First of all, there are not a lot of pattern pieces. There is a piece for the dress which is only a few pieces of paper and the piece for the lining. The ties and ruffles are done by measurement. The ties and ruffles are all done at the same time at the beginning, which I would rather do. Then you assemble the pattern and it comes together quickly and easily. TIP- I place my fabric on the wrong side on the measuring board and use a quilting ruler and washable pen and draw my lines in on the fabric and then cut them out. Once upon a time, I used to trace those measurements on paper and cut the paper out, pin it down on fabric, and then cut out again. I would say that this is a beginner pattern. There are no hard techniques used and the assembly is very straightforward and would not cause any confusion to a beginner. From taping pieces to finishing the dress, I would say it took about two hours at the most. I liked how the ruffle pieces were folded and then gathered and attached. For me, it makes much cleaner looking ruffles. The dress fit my daughter right to her knee. The dress overall fits very well, looks clean, and professional.
The small front piece would be great for appliqueing or monogramming for a few reasons. One, it is separate from the main print and you can use a solid color for the piece and the applique would stand out better than if it was on a busier print. Two, the piece is added separately and towards the end so you would not ruin your dress if you needed to redo the applique. The waste would be small piece of fabric vs. a yard or so of fabric. You could leave that piece off the front if you wanted and assemble the front as you would the back.
The dress has ties over the shoulder so the dress can be adjusted to fit your child better. I like the option of being able to use a short or long sleeved shirt under the dress so the dress can change for the seasons. Here in Florida, it is like 100 degrees everyday. When school starts, I will layer a short sleeved tee to adhere to the dress code. I plan on making another one and trying to applique on the top. For this dress, I used Alexander Henry fabric found here and the ruffles and front piece were from Joanns. I am excited for the different fabric combos and possibilities..I have some ideas brewing for the fall along with some leftover Christmas chevron fabric that wants to be made into a dress with a cute monogram on the front. Have fun sewing!
Hi! I'm Larissa a homeschooling mom of two. With two kids at very different stages, homeschooling, and working, I am finding it harder and harder to research patterns that my tween will love. I saw this dress pop up for review and immediately thought it would be so cute in my Wee Wander border prints! I pulled my 11 year old over and asked her if she would wear it. I got a yes, and then she started mulling over fabrics......Until I suggested Wee Wander! She was sold. As I started sewing, she had one request...Not to much ruffles. I modified the ruffles by only gathering them how much my machine tension gathered, which was about half the length the pattern called for.
On to the details:


The Dress came out super cute but unfortunately, we ran into two snags! First, it is too short for both her comfort level and our dress code. Second, the arms are a tad big, even though she fits right into the size 7/8 measurements. Next time, I will alter the arms and add to the length.


It is perfect for those border prints! I can't wait to make another!
- Size chart included both shoulder to hem and chest size
- There is a chart to tell you exactly the pages you need to print for the front overlay/back facing piece
- easy to follow step by step directions with photos
It is perfect for those border prints! I can't wait to make another!


