
The Hyde Park Hoodie by Peek A Boo Pattern Shop
/
There were a few moments along the way with this project where I really wasn't sure if I would end up with a wearable garment. This was a challenging one for me - the first time I’ve made anything like this, and it’s the kind of thing which is in danger of ending up on my unfinished projects pile. That would have been a great shame, because the end result is more than just wearable - it's awesome! And now I can say I made my own hoodie, and I’m feeling pretty proud of myself! So stick around and see all my thoughts on our affiliate, Peek A Boo Pattern Shop's, Hyde Park Hoodie.

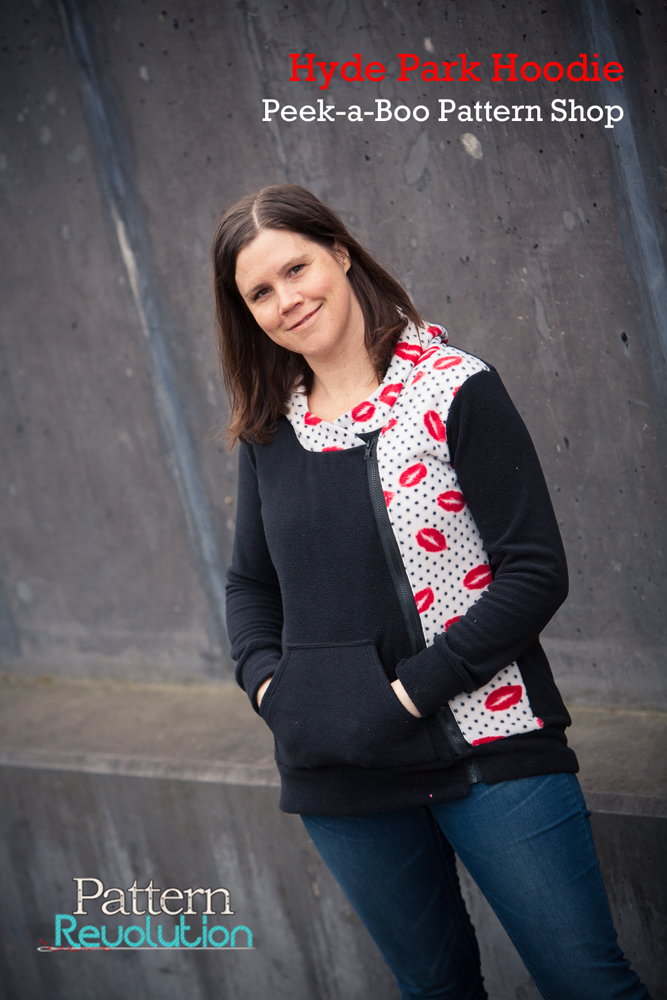
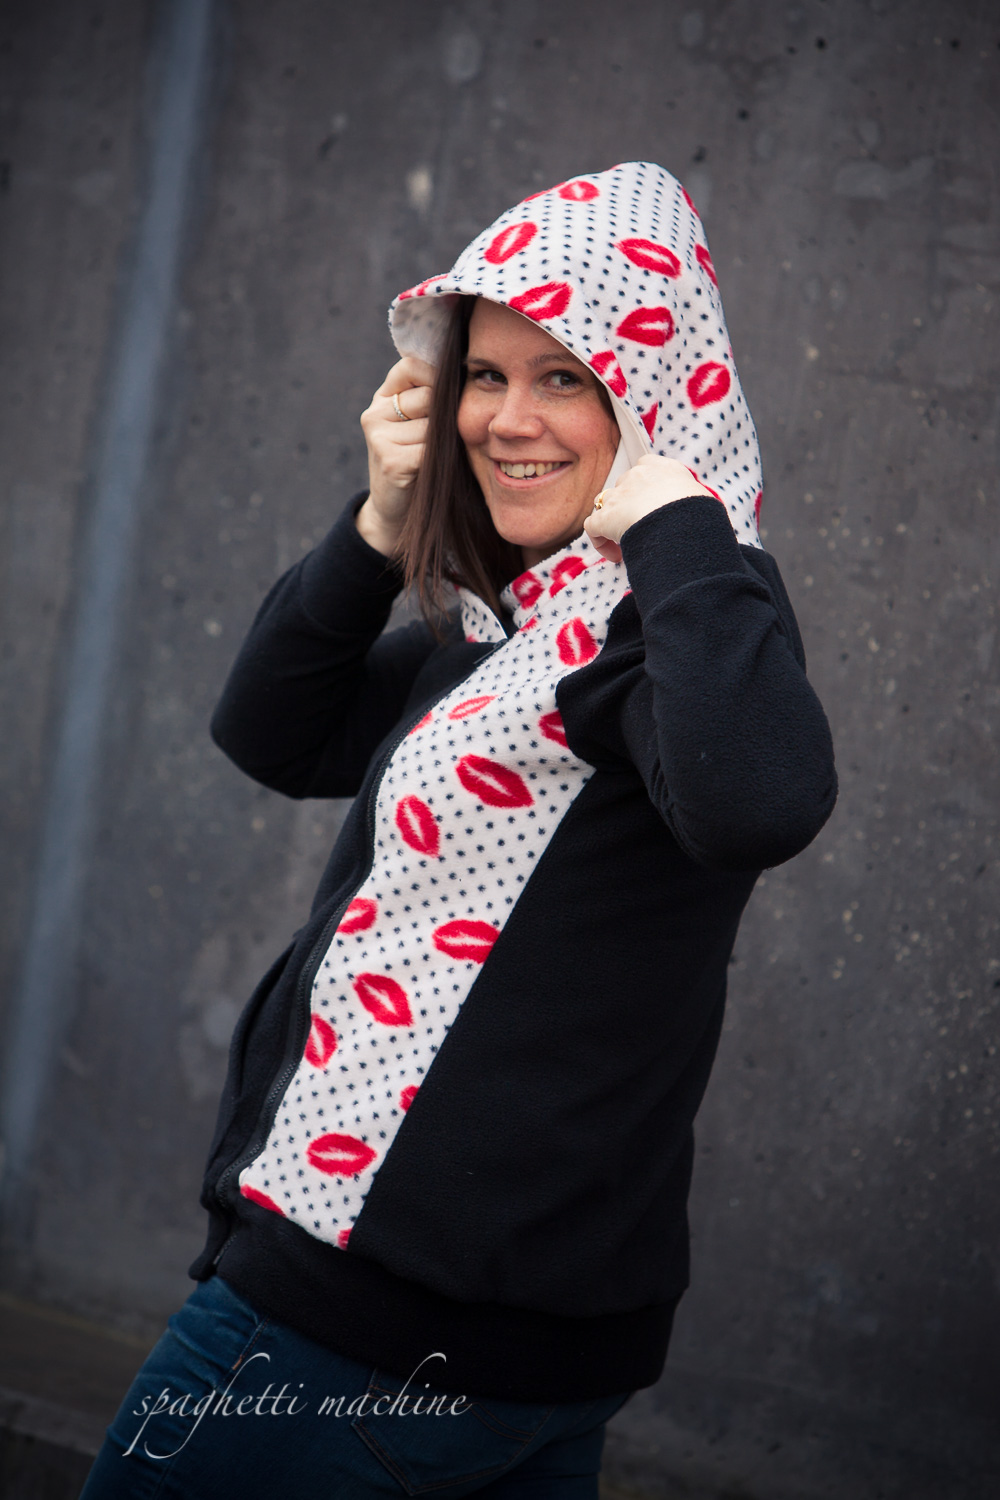
I love the design of this pattern, with the angled front pieces and zipper, which adds an interesting element to plain fabric, or gives you the chance to add a little individuality with a contrasting panel. I've also seen some great pictures of this using a printed lining to add something fun to a solid colour. I’ve used my contrast fabric for the hood and side front piece, and my daughter thinks it looks like I’m wearing a scarf, which is a fun idea. So many great ways to make it your own. One thing I would note about this style is that it is really designed to be worn zipped up. Because of the asymmetrical front panels and the zipper shield, it doesn't really sit easily when worn unzipped.

I found the sizing true to the suggested measurements - I graded out my side seams to one size bigger around the hips to get the right fit for me, which was an easy adjustment to make. It does have a generous ease - designed for layering, with enough room for a long sleeved top underneath.

The taping of the pattern is so quick and easy - even though there are 26 pages to print, it’s all done in sections so you are never taping together more than about 10 pieces at a time (which doesn’t even mean 10 pages, because the small angled edge pieces are just cut from sections of the same sheet), and each section has its own taping guide on the pages. Putting the actual hoodie together is a little complicated in parts - I had some trouble getting my head around how it was coming together when I was adding the lining, but I got there. Attaching the bottom band and not getting the zipper caught in the wrong place between the layers also took some patience. The instructions are written with an intermediate sewer in mind - the steps and photos are clear, but there is not a lot of detail if you are coming to a garment like this for the first time.

The pattern suggests using sweatshirt fleece, french terry, velour or fleece. It's coming to the end of winter here in Australia so I was pretty happy when I picked up a bargain some beautiful thick polar fleece. Unfortunately I paid for it in other ways ....you have to sew through multiple layers of fabric and lining in some places, and this beautiful thick fluffy fleece became quite tricky to work with. The pattern requires bias tape, which is for finishing the seam between the neckline and the hood, so if you are working with a thick fabric, you’ll need to go for a nice wide bias tape to get around all the layers of the seam.

In many ways this is a more difficult self sewing project than making yourself a dress - lots of pieces, and a more complicated construction - on the other hand, the fit is forgiving, and it fits very easily into a casual everyday wardrobe. So if you want to sew for yourself, but you’re not really a dress person, this is a great one to have a go at - you’ll end up with a very professionally made, comfortable, cozy winter warmer. Well worth the time and effort, and I bet at least one person in your life won’t be able to believe you made it yourself!


