
Thumbs Up Tee by Once Upon a Sewing Machine
/Sometimes it seems that basic tee patterns are a dime a dozen in the PDF world. Every once in a while you'll get something with a small new feature, but you basically go with your favorite designer or best fit or another personal preference. So when a tee with a new, fun option comes along, I get really excited about it! Today we're showing off the Thumbs Up Tee by Once Upon a Sewing Machine. There's a lot of great examples to see from our reviewers, to let's get to it!
Hi! My name is Katie and I am here to review the Thumbs Up Tee by Once Upon A Sewing Machine. I was so excited for this one because I have 1 girl and 2 boys (boys who never get anything mama made) for each of which I could make something unique and special!
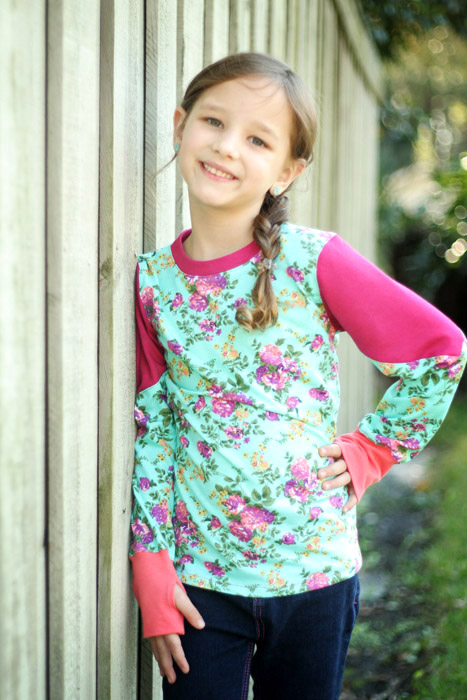
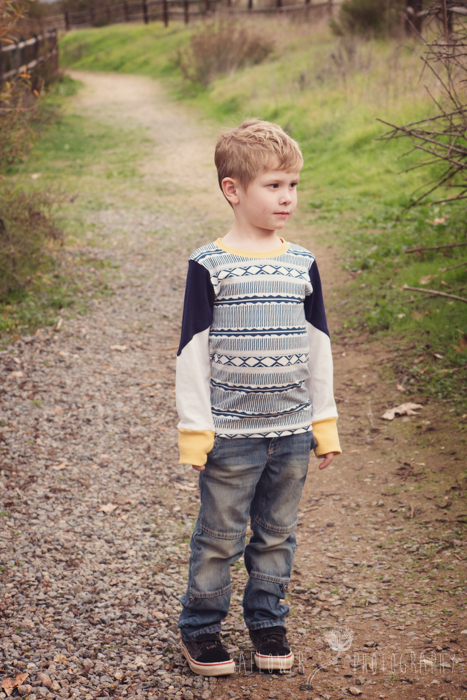
I love the color blocking on this shirt - it allows for many different variations to make so many versions. All the different sections immediately made me think of the pixelated Minecraft characters for my oldest son, and I knew he would love a Creeper shirt (you have to be a Minecraft mama to know what the heck I am talking about). I found a pretty floral for my uber-girly daughter, and a cute owl print for my owl-obsessed littlest. I love making them something special that they will love (plus they were all dying over the thumb hole!).
As soon as my fabric came in from Girl Charlee, I measured my kiddos and compared them to the sizing chart. Definitely pay attention to the sizing chart on this one, as it is a snug fitting T-shirt. My daughter sized into a 4 (I made her a 5, with 6 length). Her twin brother was a perfect 6, and their stockier brother (who is in an 8 RTW), I sized up into a size 10. I cut out the pattern during homework time and spent about 4 hours in total sewing the 3 shirts. Not too bad!

Here are some of the pattern details:
- Comes in sizes 12 month all the way up to 12 years.
- The pattern prints in colored, nested pieces, on 15 pages.
- BUT - this pattern comes with layers. Which means you can select your size layer and only print those lines. You still have 15 pages, but substantially cut back on ink costs. I love this!
- A yardage chart is included, as well as a measurement chart. No finished measurements are included.
- This pattern uses drawings in each step to guide you through the tutorial (with a few pictures thrown in on the harder steps). I personally prefer more pictures, in case I get stuck. There were a couple areas I would have liked more pictures; for example, when sewing together the thumb hole cuffs. The designer referred to it as "sewing origami" and boy was it ever! I probably spent the bulk of my sewing on this step. Once I had my a-ha moment, it was quick and easy.
- The pattern comes with instructions for a plain cuff, minus the thumb hole.
- Generally, a pretty quick sew once you figure out the steps. I'd say, after my learning curve, that it would be an hour project.
- I would suggest this project for an intermediate sewist.


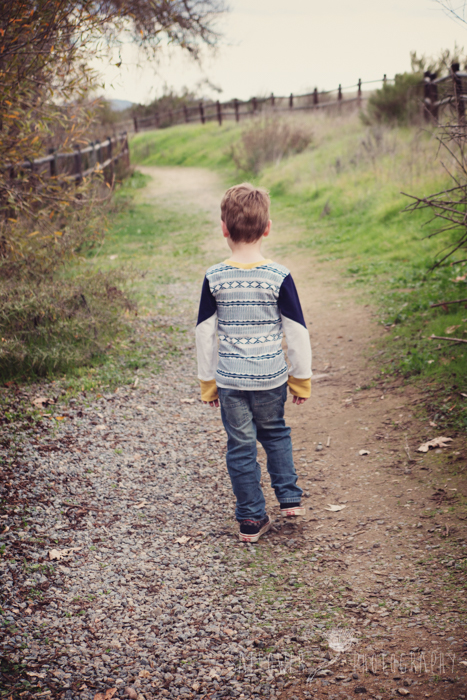
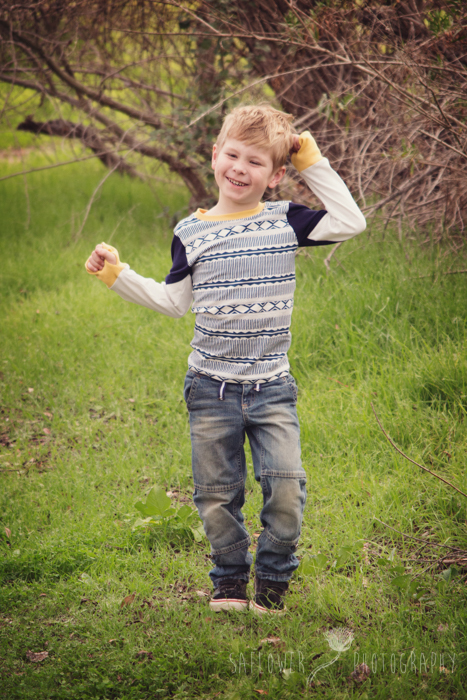
The fit was great on my string bean twins, but a little tight on my stouter 8 year old. I would suggest sizing up if you've got a tummy to fit around. All in all, I am pleased and proud of the special shirts I made for each of my kids. The best part? My kids are IN LOVE with the shirts. Pretty much obsessed with the thumb hole. They wore them to school today and reported back that no one believed I made them. That's a good feeling!
We also have some great pics from Shae!


-------------------------------------------------------------------------------------------------------------------
Hey! I'm Larissa, I have been sewing consistently for about 4 years now, but learned the basics when I was around 9 or so. My grandma used to make little potpourri doll pin cushions, and we would help. Now, I sew for my 12 year old and 1.5 year old. Today, I have the Thumbs up Tee by Once Upon A Sewing Machine. When this review came up, I knew instantly that my 12 year old would want this shirt! As she is heading toward her teen years, it is getting increasingly more difficult to sew for her. I decided to make one for the toddler as well.
This pattern has:
- Sizes: 12 months - 12 years
- Fabric requirements
- Recommended fabrics
- Tips for sewing with knits
- Measurement chart: Child's measurements
- Cut list
- A how to print this pattern page
- 9 pages of step by step directions
- 16 pages to print for the pattern.
I would have preferred a measurement chart to cut the cuffs and neck ribbing rather than printed pieces. I would say this pattern a beginner + due to the technique for the thumbhole. The Designer does link to a video tutorial to show you the steps to create the cuff, which is very helpful!
The toddler was so excited about his "monster" shirt, he didn't want to take it off. I made the size 2 as his measurements fit there and he wears a 2-3T (depending on brand) in RTW. The body was a good fit, but the arms were quite long. I opted for a traditional cuff for him (option is in the pattern) since he would get frustrated with the sleeve on his hand. It was a little difficult to sew the triangle contrasts and get a nice point, but after a bit of pinning and pulling, I got it!
My daughter was a bit iffy on the fabric I picked out of my stash, but really liked it after I finished sewing it. I made her a size 10, where her measurements fell, but I should have either sized up or added length to both the bodice and the sleeves for her. When she would reach for something, she said the thumbhole would pull a bit and the back would come up too high. She is a modest child though, and prefers to be covered.
Look at this awesome detail though!
This is a fairly quick pattern, The first shirt took me 45 min from cutting to finish and the second took about as long, only because I made the thumbhole cuff on it. I think both of my kids will be asking for more of these. My daughter is already asking if I can teach her how to make them, so she can add the thumbhole cuffs to other shirts!


