
Little Lizard King Sew A Long Day 2
/Yesterday's Accomplishments
I don't know about you guys, But it was SO HARD for me to stop sewing yesterday! In fact, I considered staying up past midnight and working along some more, you know, because technically that's not cheating right??? Liz is back today with Day 2- Pages 8-12.
Happy Sewing!
Welcome back! Today we'll cover the Fairy Flutter instructions on pages 8 - 12.
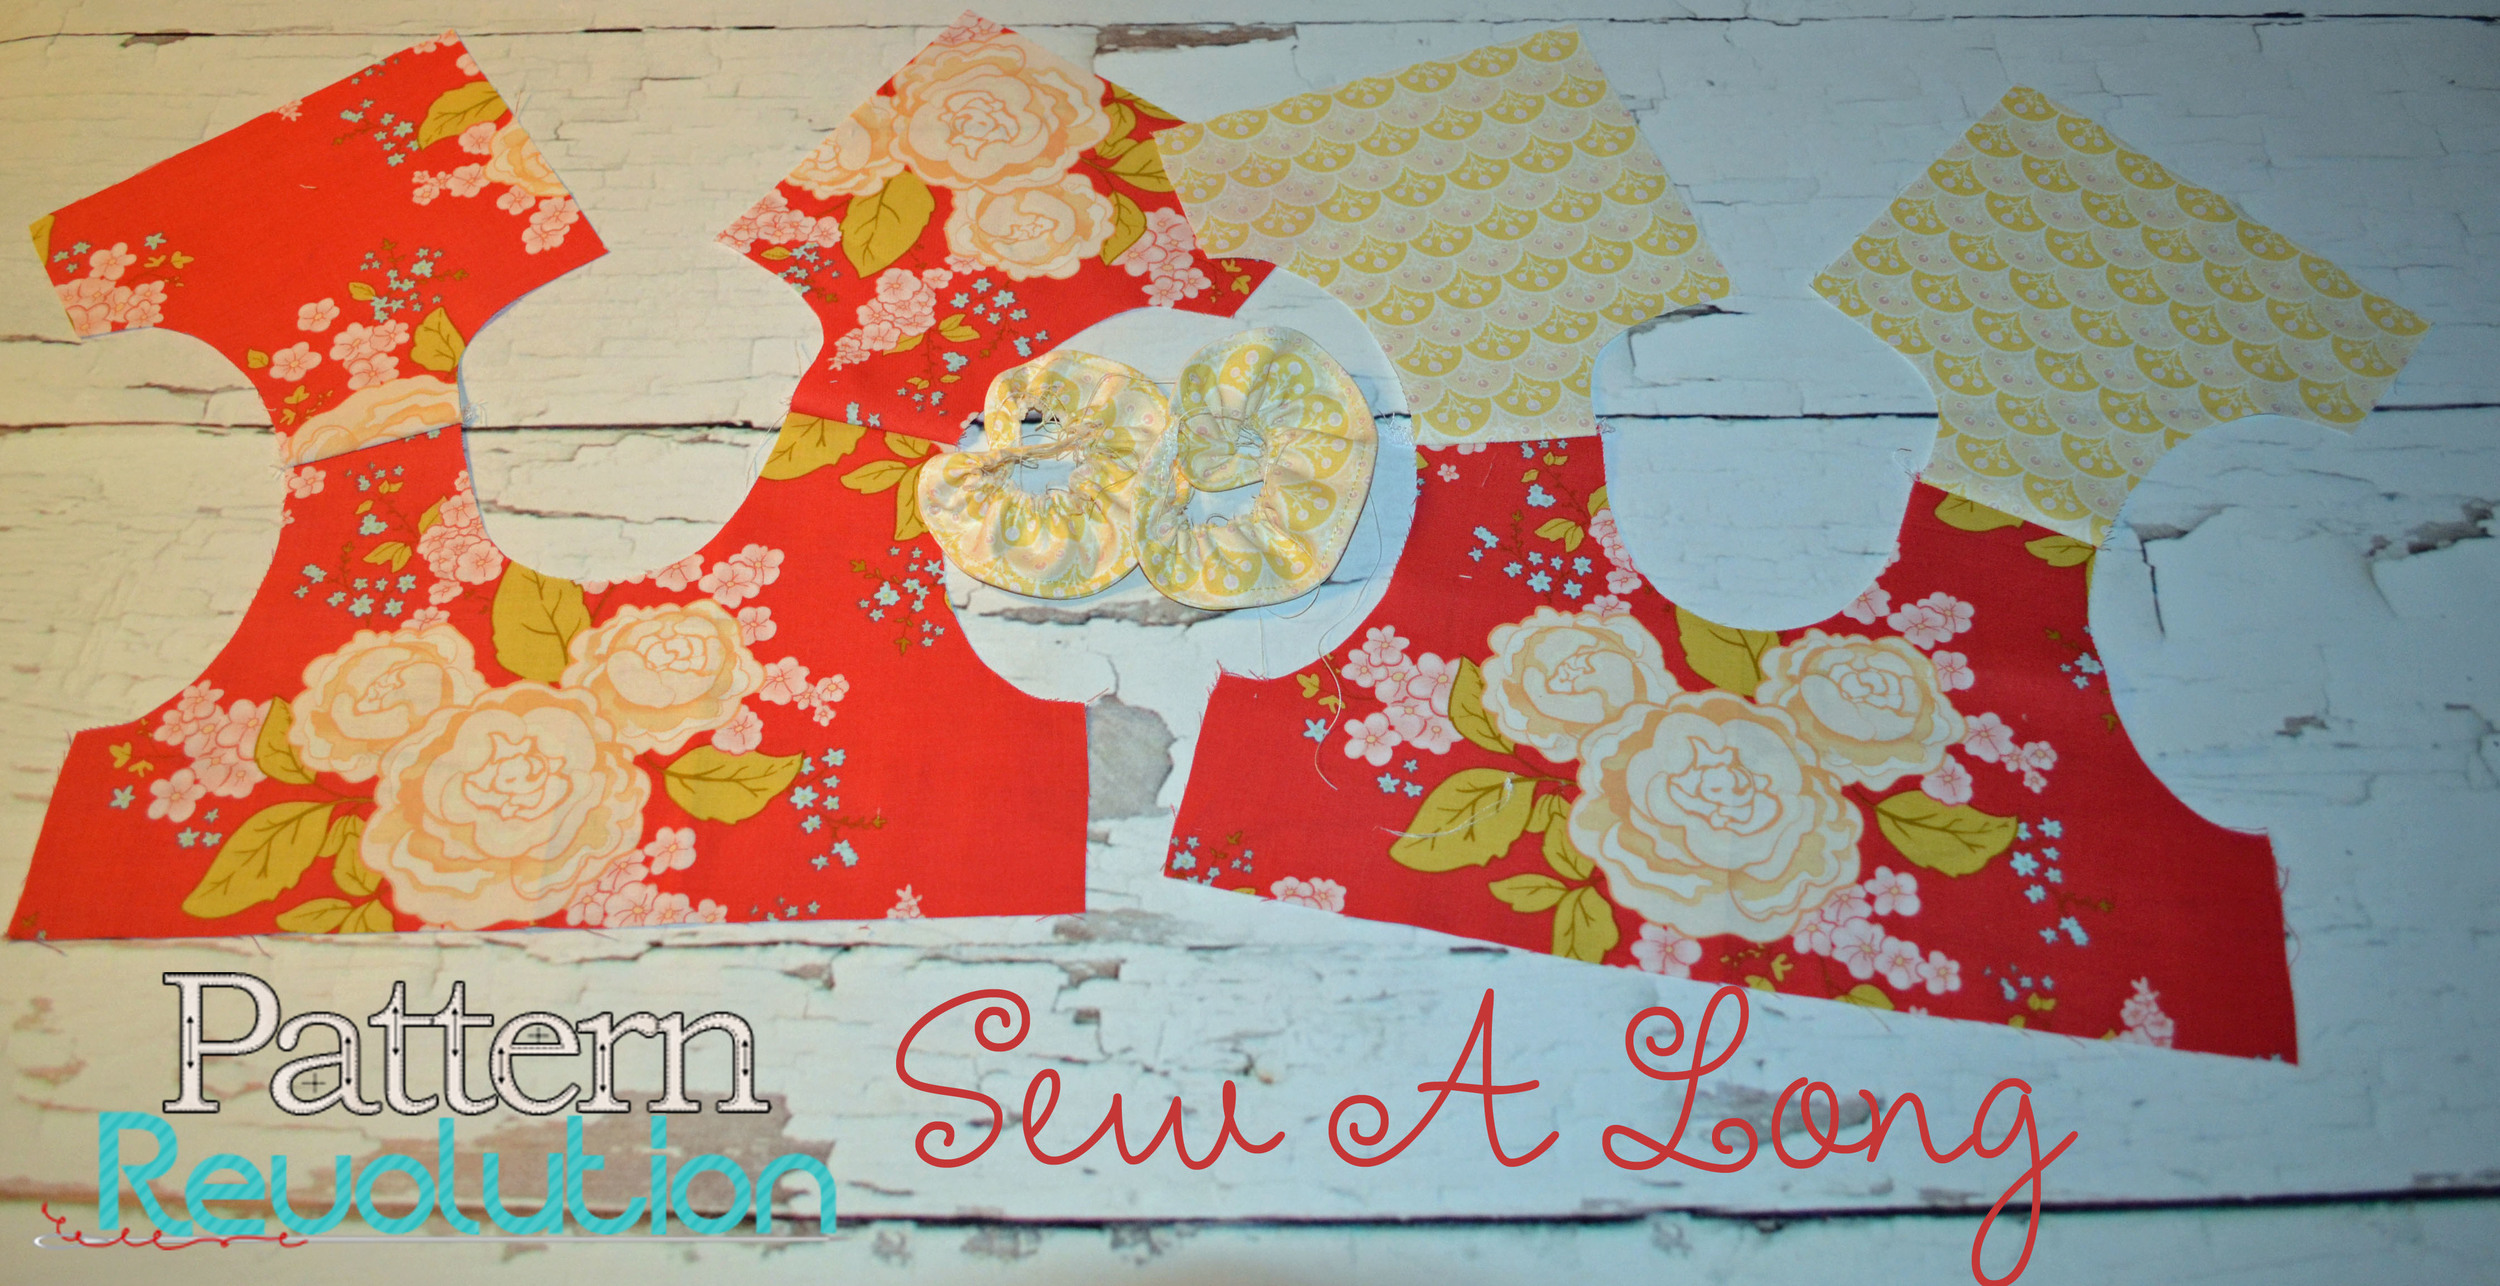
Before we get started with the official tutorial - We want to note that this is a great place to add a tuxedo ruffle to the front/center section of the bodice. To add a tuxedo ruffle, cut a strip of fabric that's 1.5-2 times longer than the midpoint of the bodice and the width of your choice. Hem or serge the long edges. Fold the bodice and the ruffle strip in half to create a vertical center crease. Gather the ruffle strip along the center crease and sew to attach the ruffle to the center of the bodice, aligning the center crease of the ruffle strip with the center crease of the bodice. Sew 1/4-1/2" ribbon or trim on top of the center crease. Sew decorative buttons, if desired. Baste the top and bottom edges of the ruffle to secure.
Before we get started with the official tutorial - We want to note that this is a great place to add a tuxedo ruffle to the front/center section of the bodice. To add a tuxedo ruffle, cut a strip of fabric that's 1.5-2 times longer than the midpoint of the bodice and the width of your choice. Hem or serge the long edges. Fold the bodice and the ruffle strip in half to create a vertical center crease. Gather the ruffle strip along the center crease and sew to attach the ruffle to the center of the bodice, aligning the center crease of the ruffle strip with the center crease of the bodice. Sew 1/4-1/2" ribbon or trim on top of the center crease. Sew decorative buttons, if desired. Baste the top and bottom edges of the ruffle to secure.

Back to the flutter sleeves. Pin the gathered sleeve along the armhole, starting and ending 1-1.5" from each end.
 |
Cover the bodice with the bodice lining, keeping right sides together.

Insert cord elastic 1" from the top corner of the back bodice.
|

Sew to attach along all sections except the bottom edges. Clip along curves without clipping past the seam line.

Flip right side out, and overlap the back bodice sections by 1/4", keeping the cord elastic on top. Sew to secure horizontally and vertically 1-2" from the bottom edge.

This is where it can get a little tricky to illustrate without all our handy-dandy arrows, but we'll give it our best shot. Unfold the lining and main fabric of the bodice front and back sections.

Keeping right sides together, place the lining fabric of the bodice front against the lining fabric of the bodice back. Place the right sides of the main fabric of the bodice from against the main fabric of the bodice back from the bottom of the armhole to the bottom of the bodice. Pin to attach and sew to secure. Repeat on the other side.


Flip right side out. Top stitch along the neckline and armholes, and serge along the bottom edge of the bodice.

Now - we want to hear how things are going. Any questions? How can we help, and how are you doing so far? We're all ears!! If you've already finished (overachievers!!!) post photos of your finished products. Remember - we have PRIZES for participants.


