
Upcycling Jeans
/Hey all! While we’re still on the topic of upcycling, I’m so excited to share this little tidbit with you - Upcycling Jeans.
I've been dying to make these Captain Comfort Jeans from Patterns for Pirates for my little guy, but after searching high and low for the perfect denim (you know, that kind that doesn't make hems look homemade) I temporarily gave up. But then I thought, I recycle shirts all the time, making dresses for my daughter or just a smaller shirt out of something I might not need anymore...So why not do the same thing with the pants? If you're anything like me, there’s a little corner in your closet or drawer of things that you SOMEDAY, MIGHT wear again...or maybe you had a weight loss and have some things still hanging around. Enter the cheapest pants you’ll ever make, FREE!

I’m going to show you how to take an old pair of jeans and refashion them into a brand new pair for your little one. Now, I will be honest, unless you have jeans with a pretty wide leg (maybe men's even), you won't likely get much larger than a 12 or maybe 18 month out of them, but for as quick as they outgrow them, it's perfect!
Here’s what I’m starting with ...

I wanted to keep the original hem, since that's one of the areas I have the hardest time making look store bought.
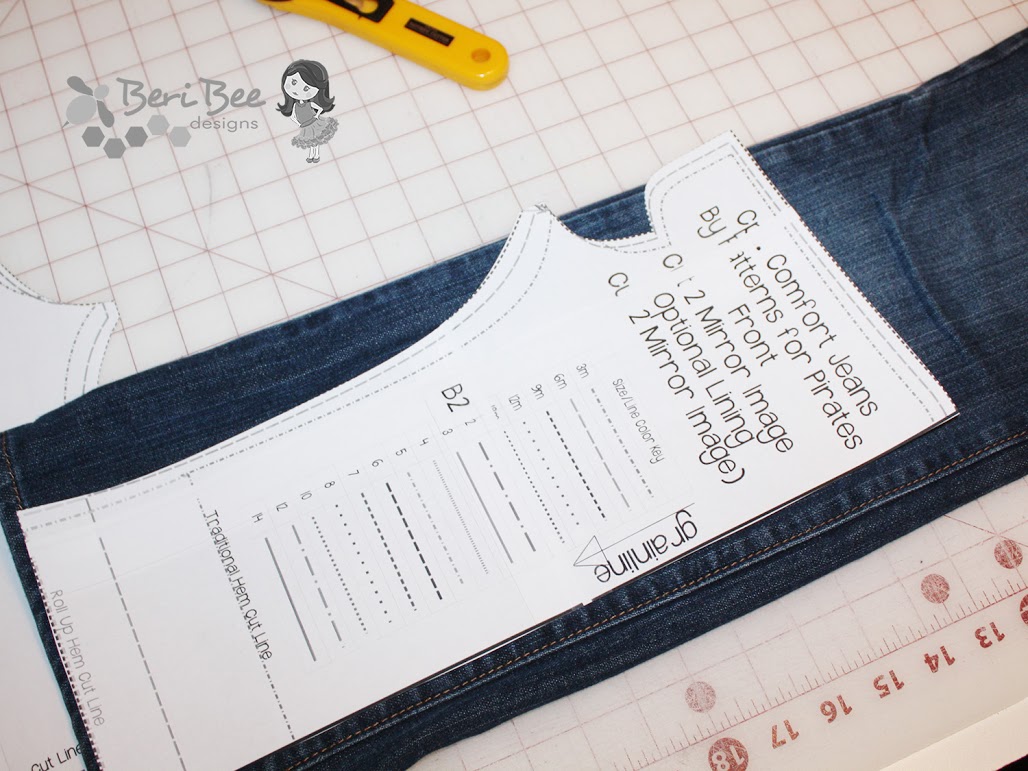
Get all your pattern pieces cut out, and I skipped to the end to see how much we were folding up when it comes time to hem, and it since it says 1⁄2” then another 1⁄2”, I’ll be using the line that is 1” above the original cut line.

Lay out your piece as close to the hem and cut off the legs. Then open each leg up so that they lay out flat like the picture below. Match up that NEW hem line we made at the bottom of the “fabric” and cut out your pieces as directed.

Another piece you can reuse (although I didn't because it seemed a little girly) is the pocket. If you want to keep a decorative stitching, just cut the back pocket pieces out of the pockets on the jeans.

From here, you will continue to assemble per the instructions until you get to the inseam and side seams. You want to be very careful that you get those edges matched up.

After you have the sides sewn, pull back your serger tail (or if you zigzagged just be sure you back stitched here) and press the seam flat towards the back. Then add a small tack stitch across the seam to help keep the hem flat. Be sure to line that up with the existing stitching.
You will repeat that same step for the outer leg also.

After you have that done, you will finish the pants per the pattern instructions. I did forget to take a final picture before my little guy had these on but we opted for the thicker elastic with the knit waist.


Since we are at the tail end of Dr. Suess week, I decided to pair them with a Lap Tee from Brindille & Twig in this adorable custom fabric from Backstitch Designs.
Thanks for following along! If you give this a try please share on our facebook page, i’d love to see them!


