
Photography for Testers: Part 1
/Hey everybody!!! If you get our newsletter, you have probably been waiting all week to find out what I was going to say about photography this week; and if you don't get our newsletter, SIGN UP!!!!

So I am going to spend the next couple weeks talking to you a bout photography for testers. I'm specifically going to be giving you tips for kids clothing, but you can check out my posts HERE and HERE for women's photography tips. In the last couple of months I have noticed a ton of posts where people are asking how to get involved in testing - and this is GREAT!!! As a designer, I am constantly on the look for new talent in my testing pools to keep a fresh perspective.
Now you may be thinking - ohhhhh, this post is about photography, so designers only want professional photographers for their tests. STOP!!! Seriously, stop thinking that. Do we like pretty pictures, heck yeah, but is it the only thing we look for in an awesome tester - NO!!!! Now, in order to test you do need to be able to turn in pictures though - it is a big part of the job. So let's get started.
Step One: Know your gear.
I don't care if you are using a cell phone, a point and shoot cheapie, or some awesome professional equipment that costs over 5k. If you don't know how to use what you have, your pictures are never going to be the best that they can be. So take a day or a couple hours over the next few days and learn how to get the best images out of your equipment. I have the Samsung Gallexy 6 phone, so if I google quickly, I come up with a ton of articles packed with tips that will help me use my phone better....ummmm I didn't know my phone could do hal

Step Two: Knowing When and Where
OK - now you know a bit more about your equipment. You know how to get your focus right and your color right. But even with all that knowledge if you take your pictures in the wrong place at the wrong time those pictures aren't going to be worth much to you or the designer you are testing for.
1 - do not take pictures at night!!! You just aren't going to have enough light (unless you are a professional with a professional studio lighting set up of course). As a designer, I would rather wait until the next morning for better lit images than have you send me dark pictures taken at night to 'meet the deadline'.
2- do not take pictures in a crowded room with tons of stuff. It is just distracting - always. So don't do it, mmmm-kay.
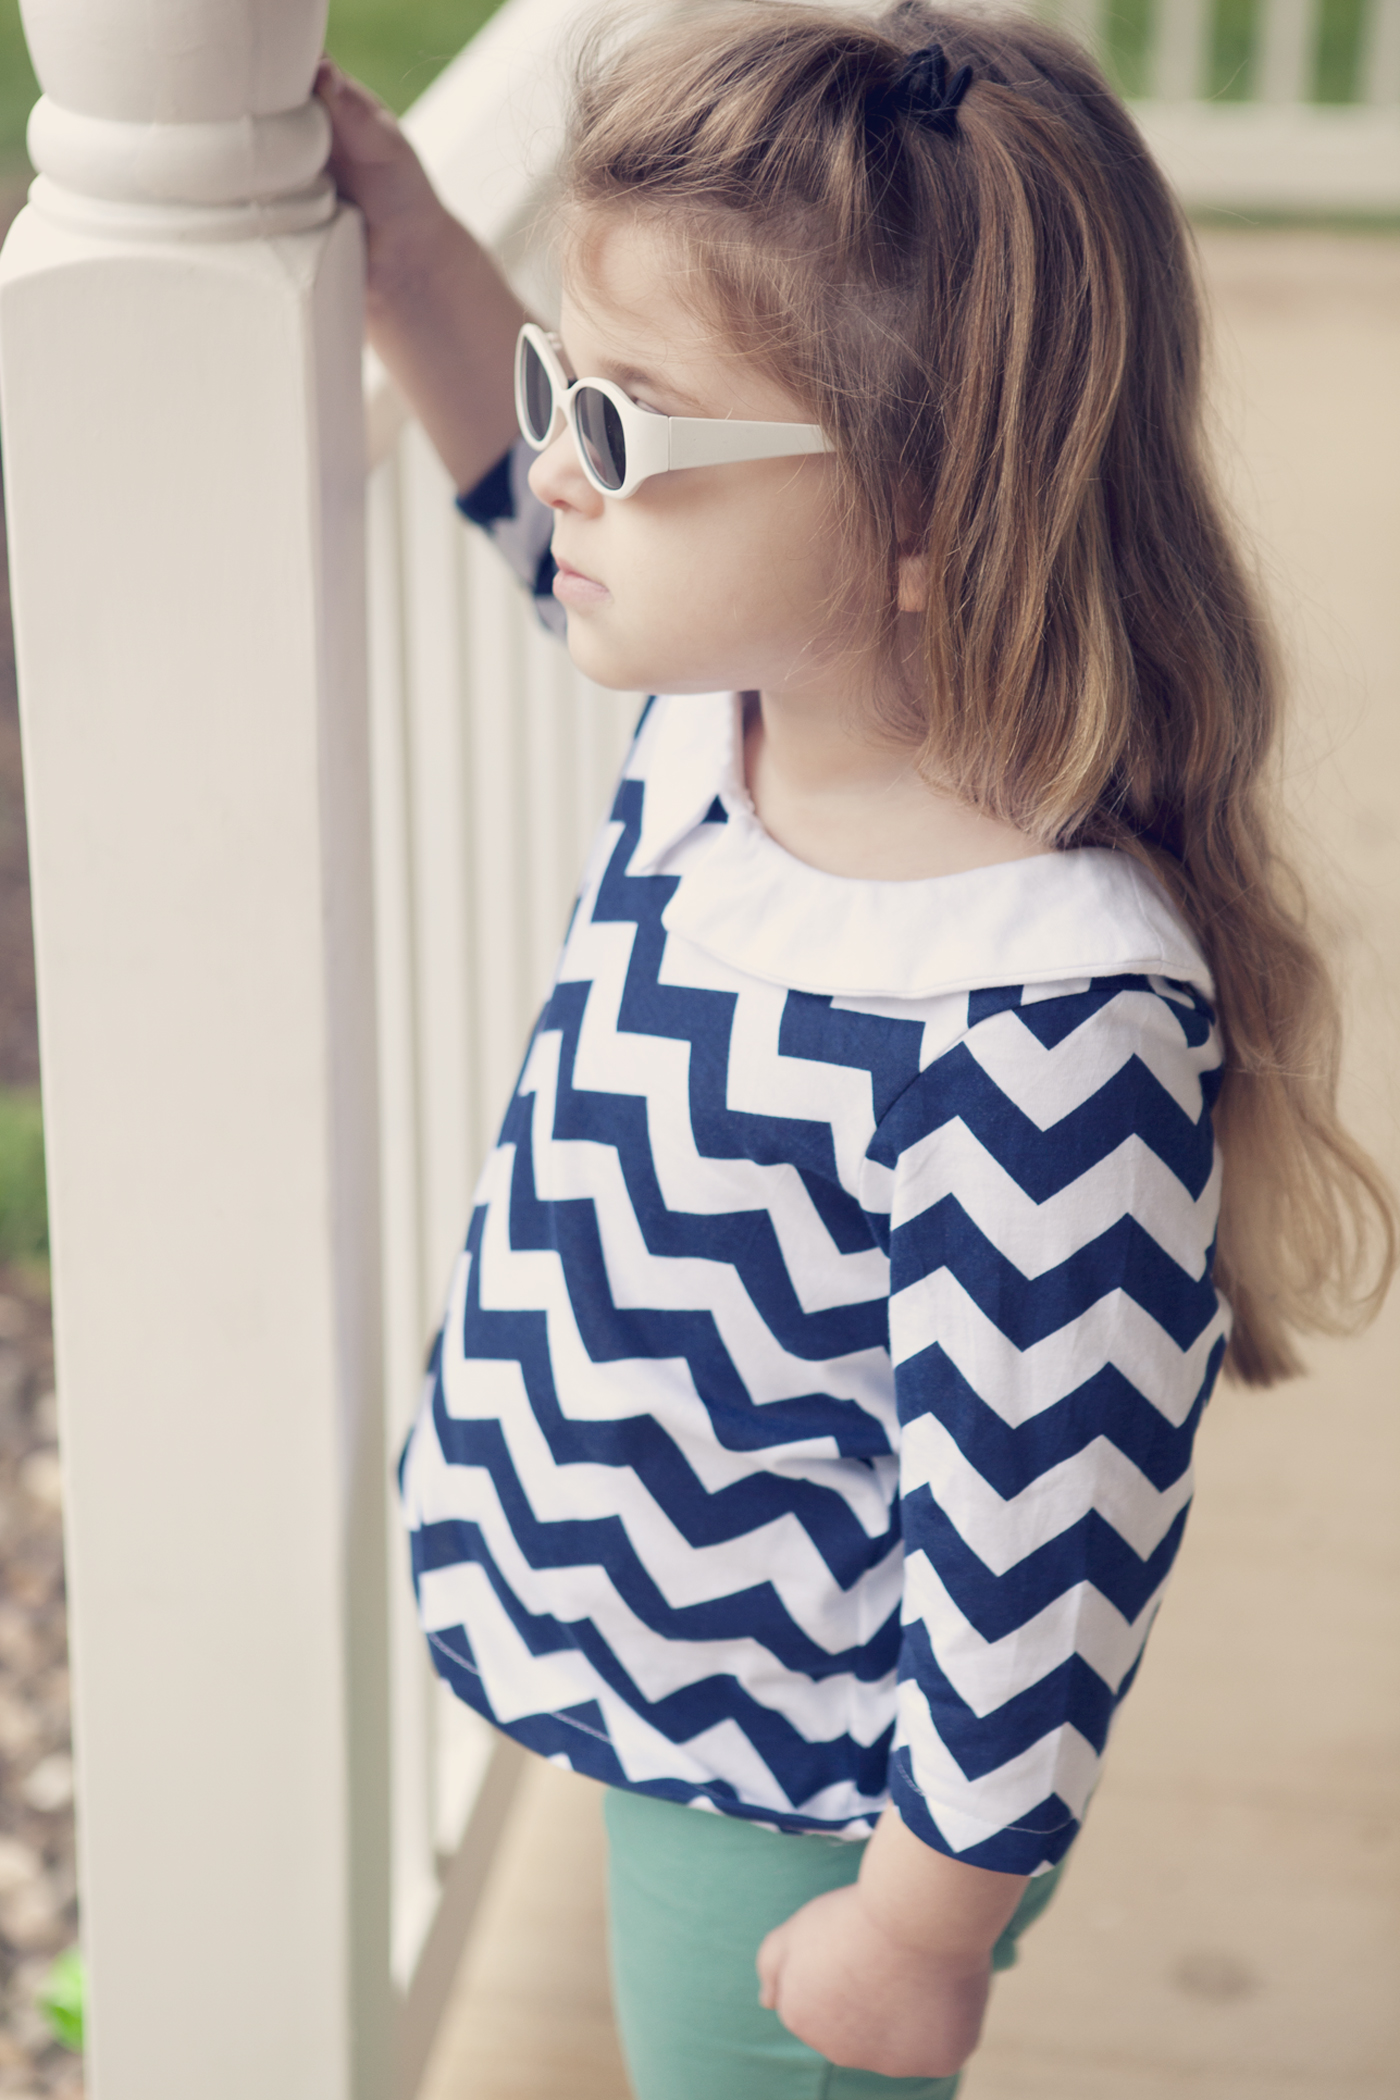
3- DO take photos against a plain wall. I live in PA - we have snow and rain at least 75% of the year, so I HAVE to be able to do indoor photos. I have backdrops that I can use for my kids, but honestly, most of the time I'm in such a rush to fit everything in, that plain walls work just as well. Find the light in your house - there is normally at least one room that gets some decent light from a window.


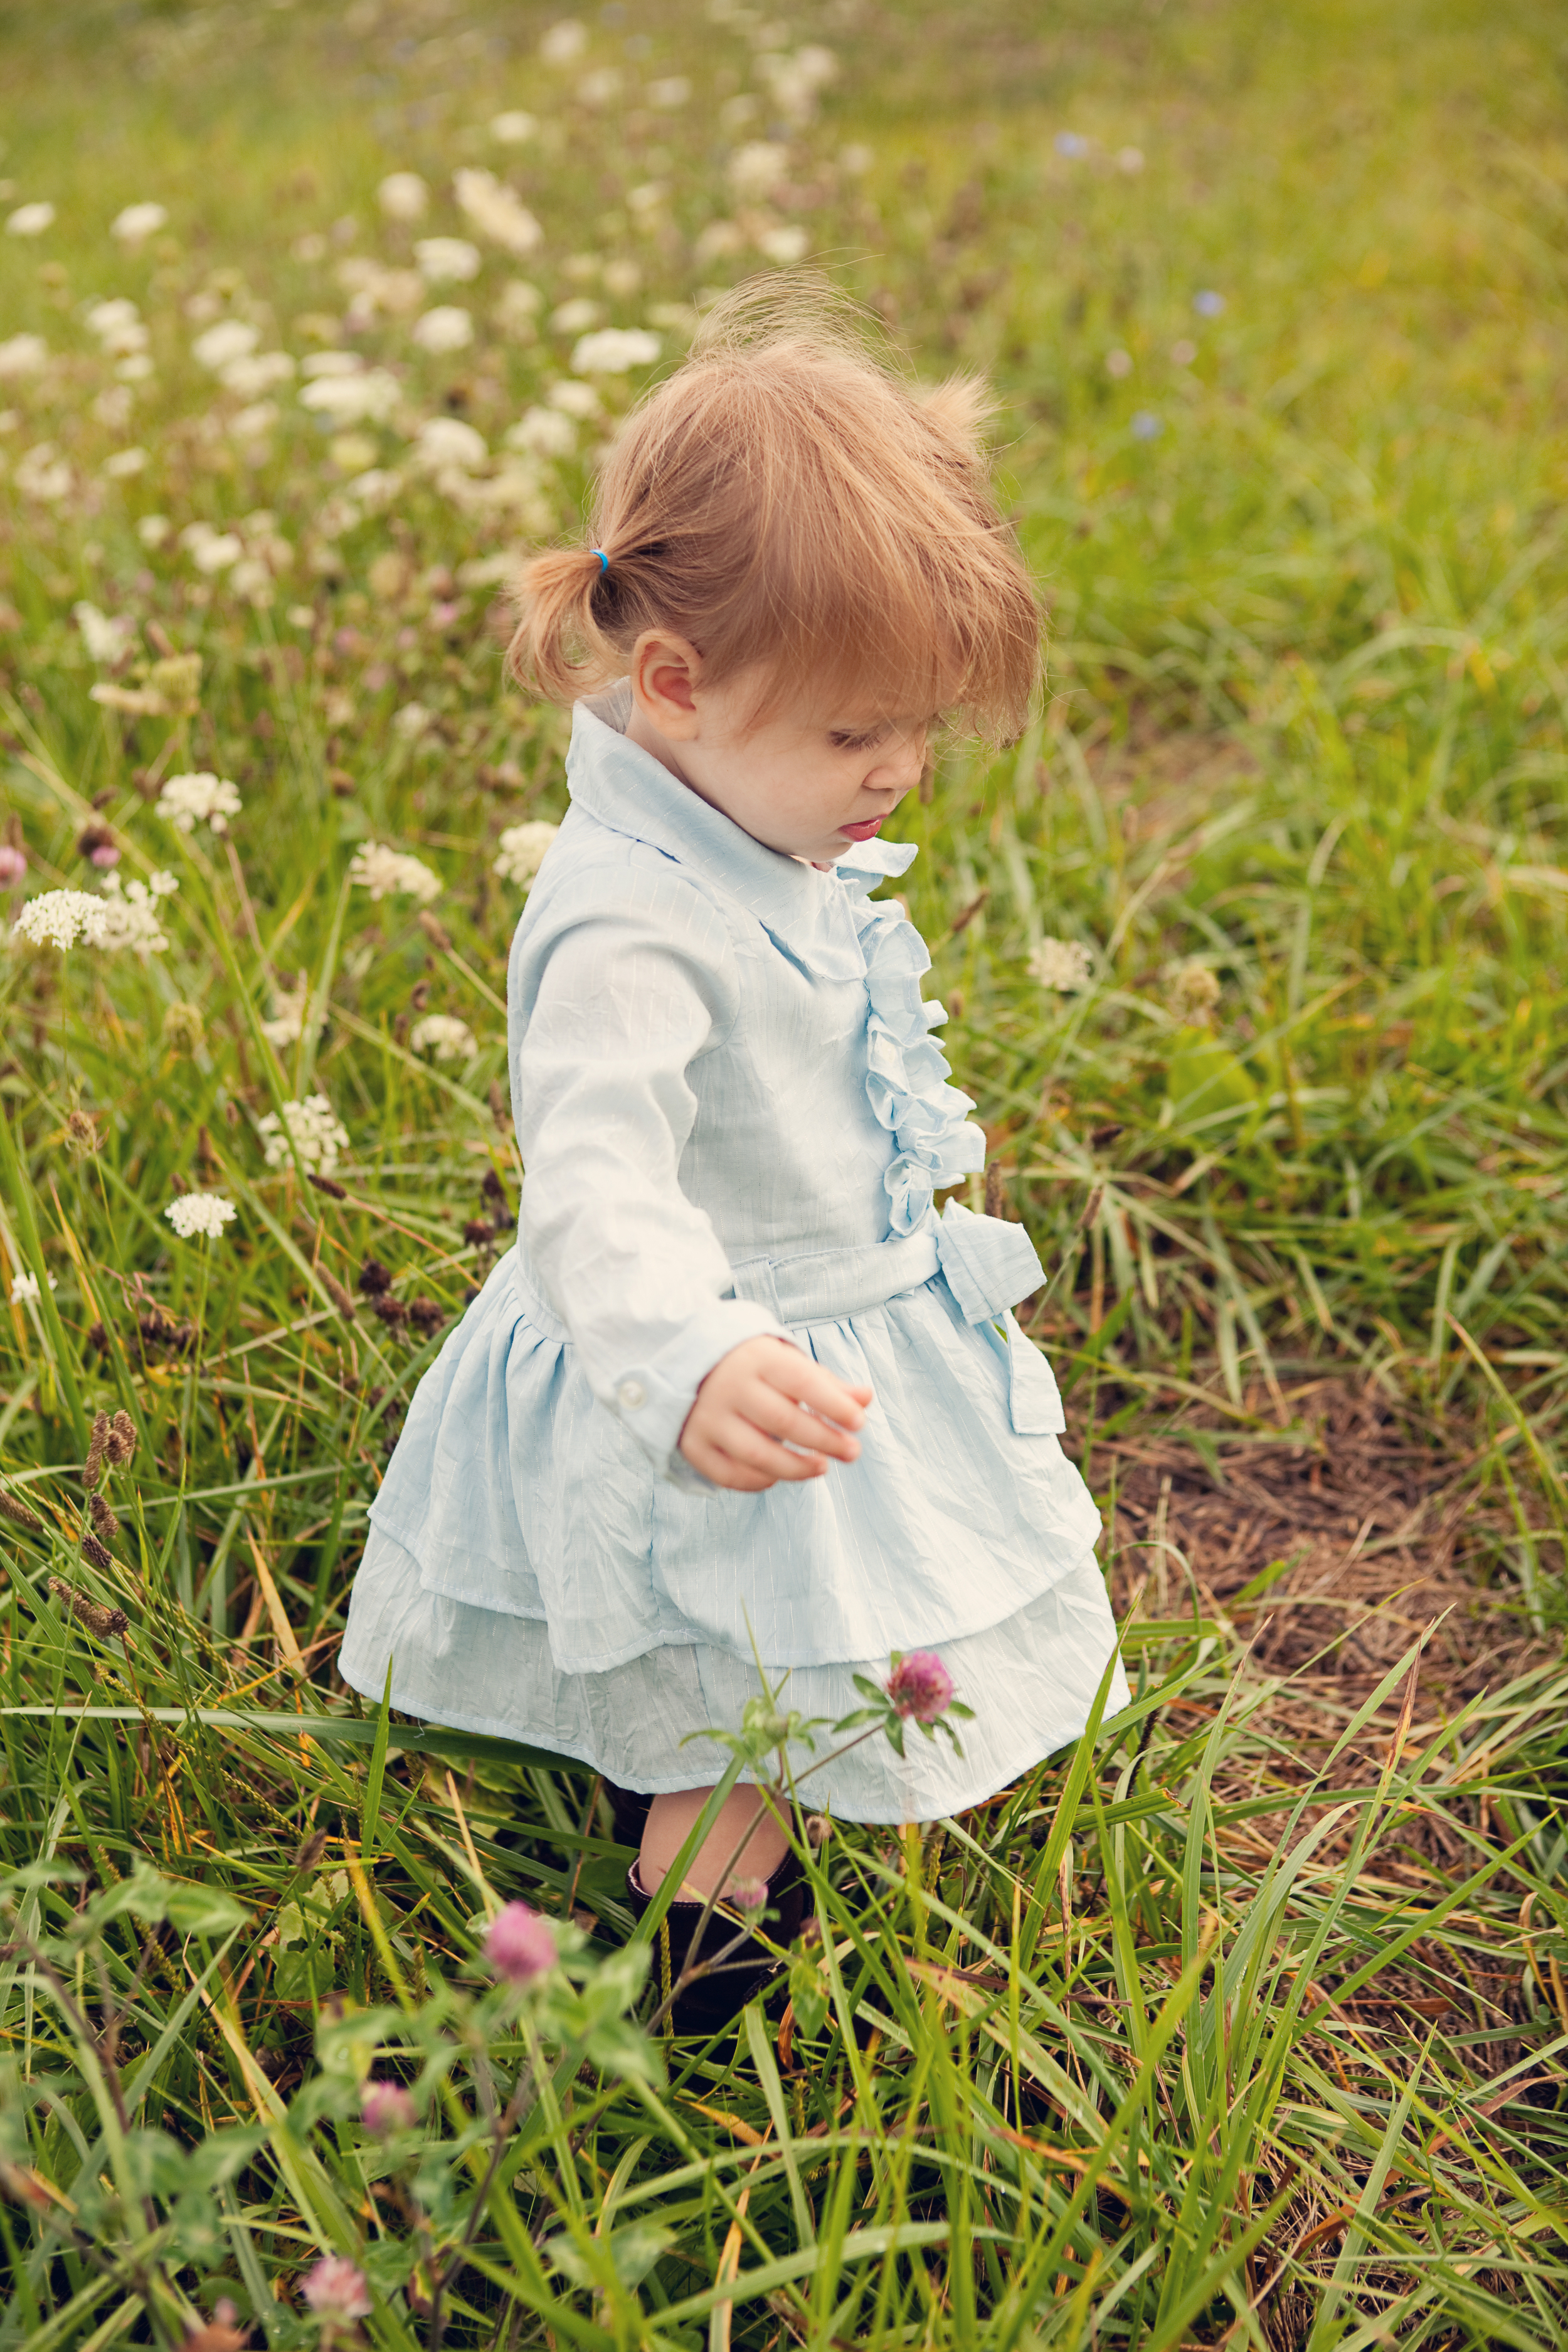
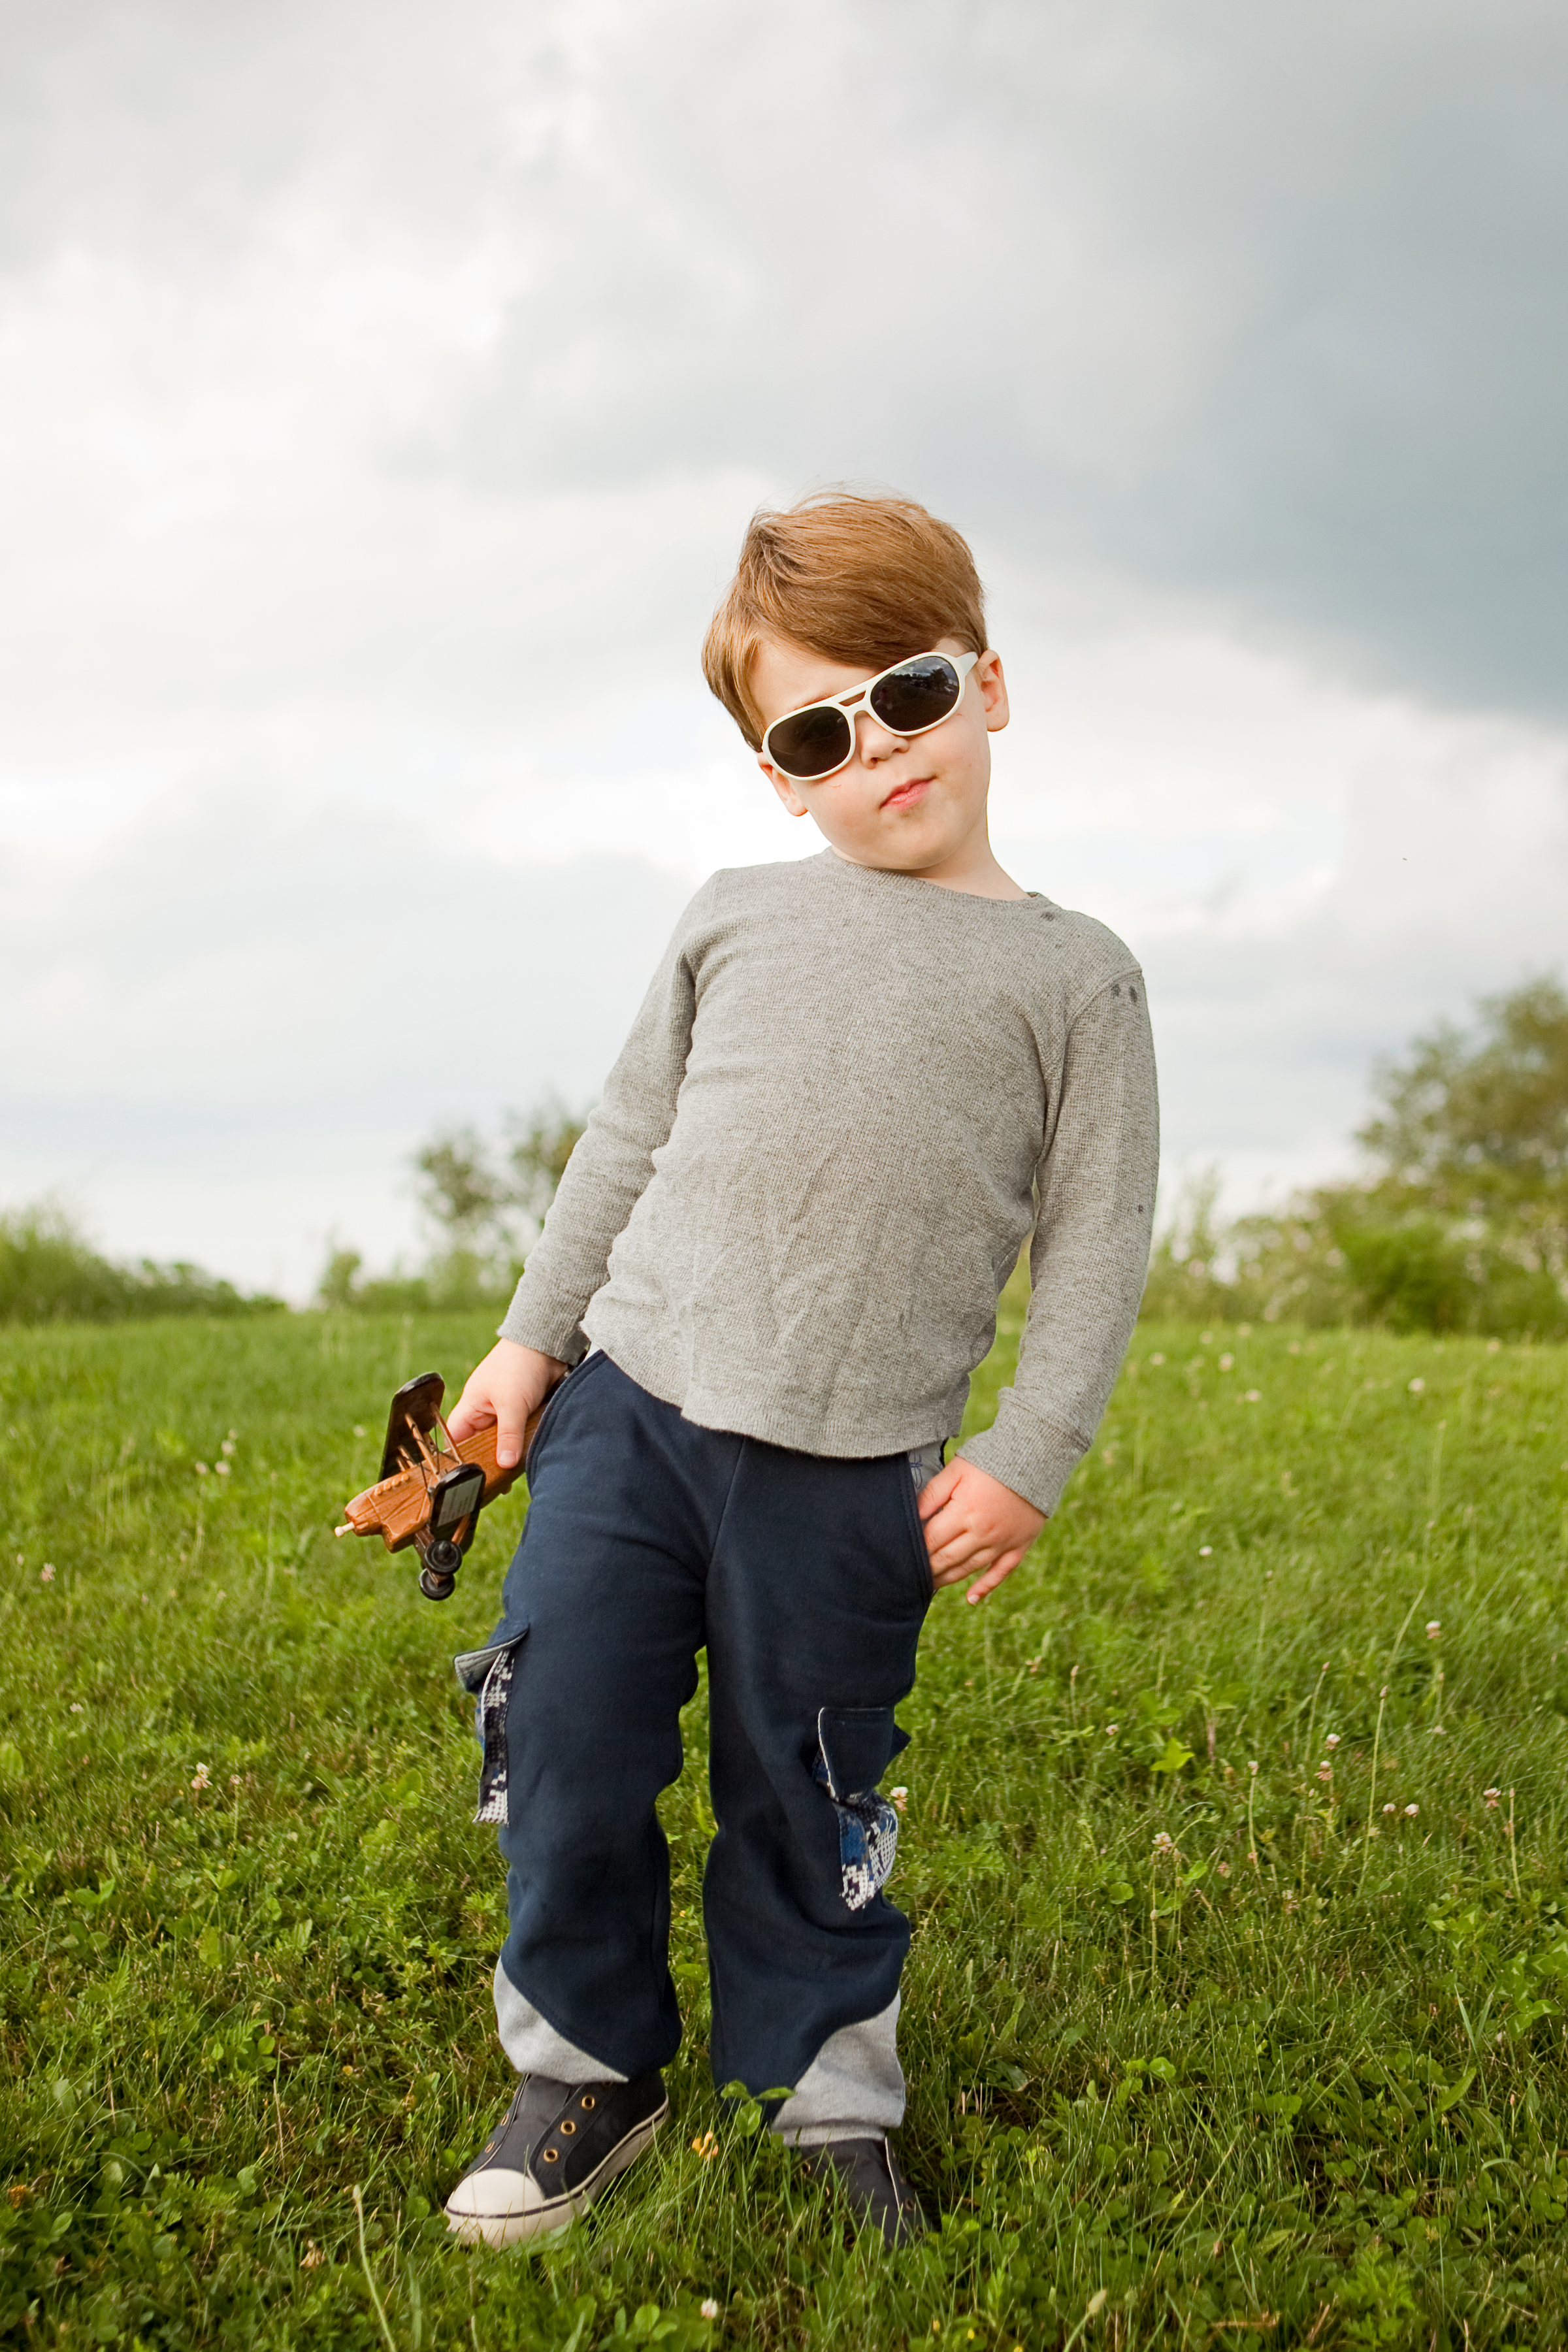
4- Do take photos OUTSIDE!!!! All equipment will preform it's best with good natural light. If it is a super bright day, look for shade. My top places to photograph my kids are: The road in front of our house, the sidewalk in front of our house, and my front yard...... Hmmmm, for a photographer that sounds pretty lame. But here is the thing - it works. My shoots are quick and dirty becasue my life is full. I'm guessing your life is full too. Now I do have some gorgeous locations where I love to shoot when I have time and the weather is nice and the stars align, and they make my photographer's heart go pitter patter - and if you as a tester are able to send me those kids of shots, I will love you forever; BUT they aren't the only photos I fall in love with! When you are outside, go back to tip #2 - I don't want to see pictures in a cluttered room, or a cluttered outdoor setting. SO find something plain - like a road or a field and make it work!


Step 3: Knowing What
So now you might be confused... you have spent the last months or years seeing these stunning pictures on FB from testers and thinking that is the standard that you must achieve, and I've just told you that isn't so. Now you scratch your head thinking 'Suzanne, WHAT do you want???' Hahahah - I'll make it easy. I want at least three pictures from you.
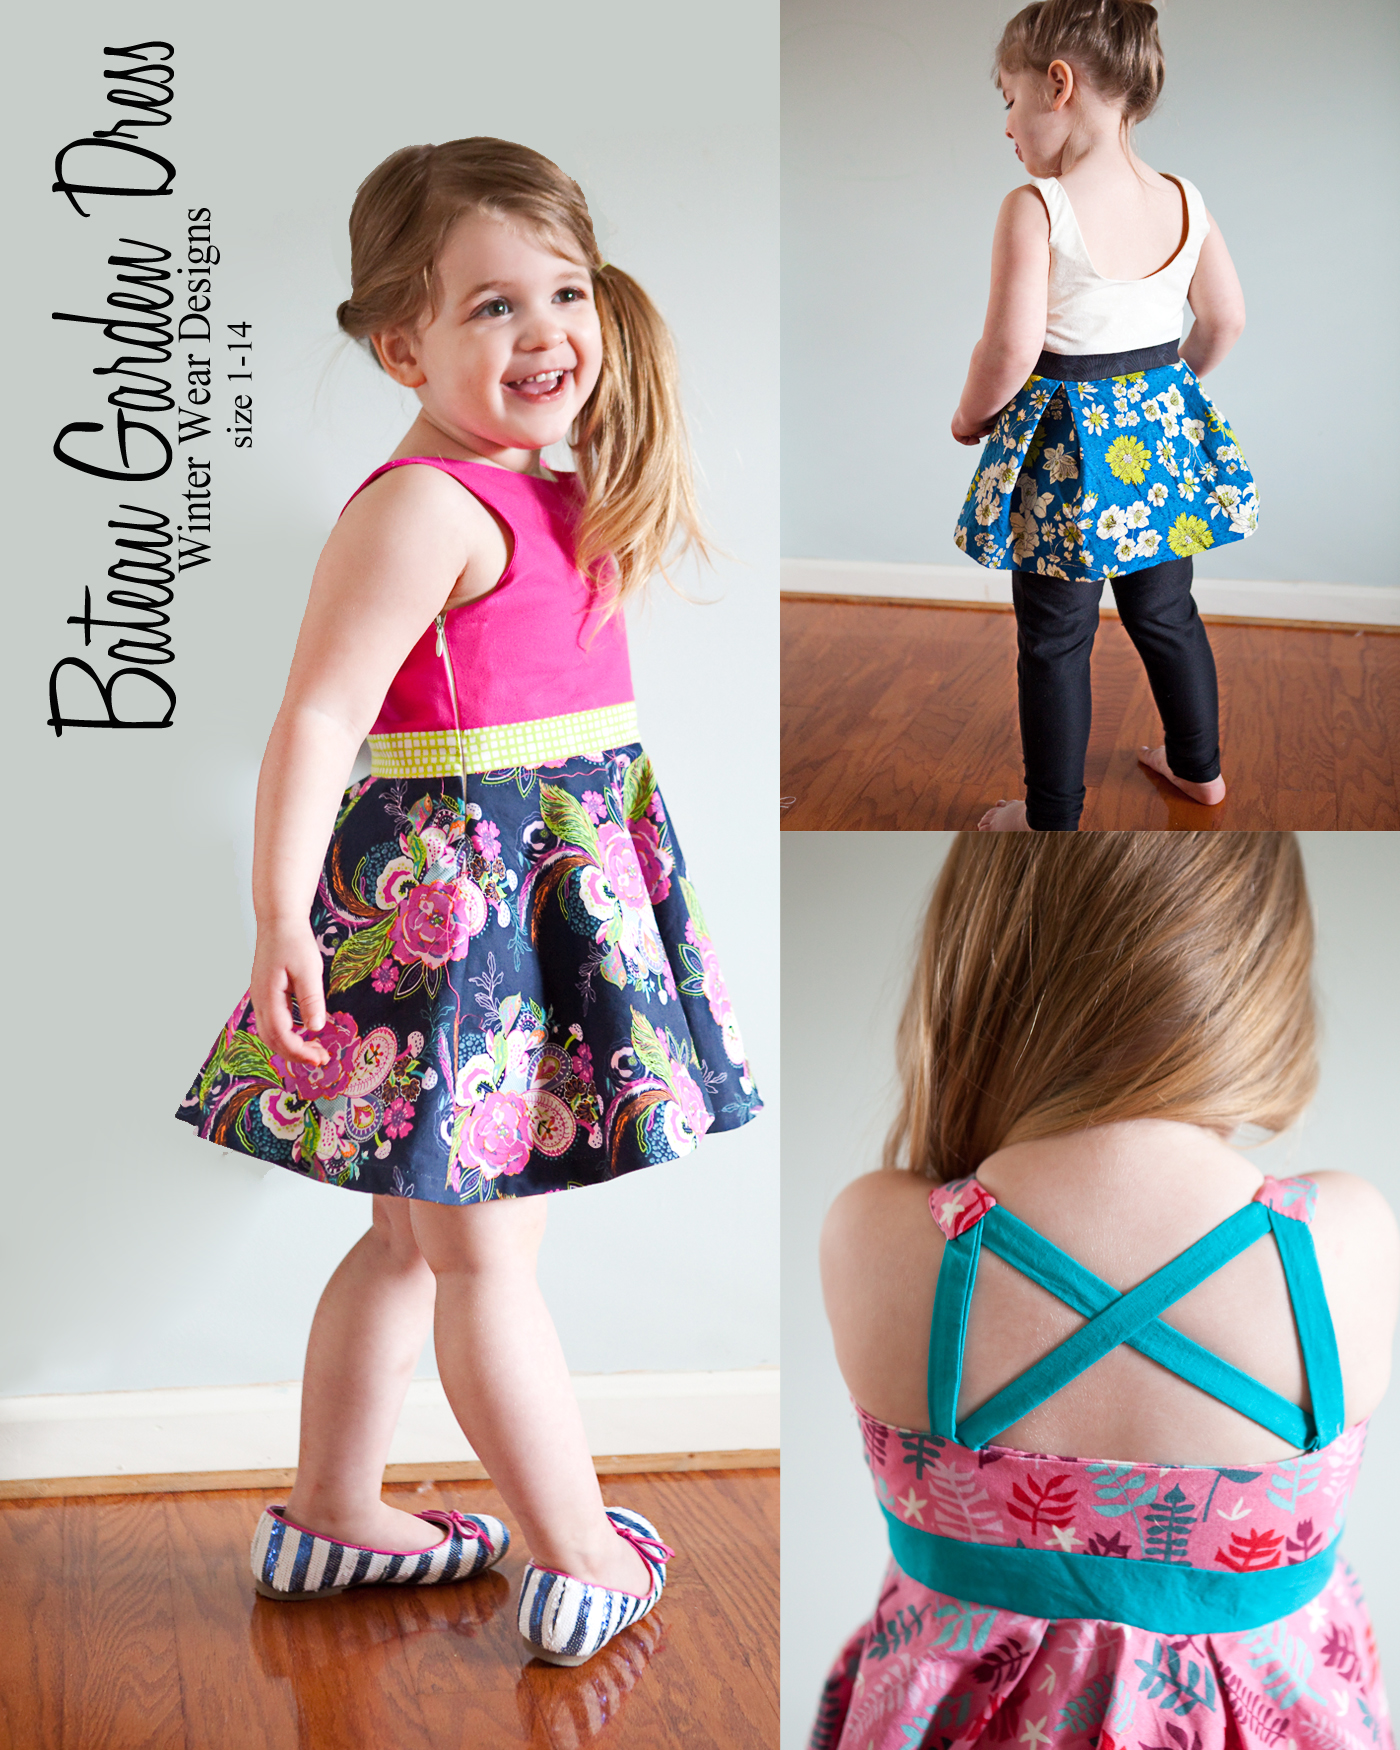
1 - Clear full front picture.


2- Clear full back picture.


3 - A full length or close up shot of the side (bodice if dress or top, waist and hip if pants or skirt).


These three shots are what are required of you as a tester to communicate the fit of the garment with any designer. Now beyond those three, it is also great to show a picture of any details. (If you are having fit issues, make sure to get clear images of where the fit is off and send them to the designer immediately.)


For your final images, make sure your garment is well pressed and any accessories you pair accentuate the pattern and don't cover it up.


