
Sewing with Cricut and Simplicity Patterns
/This is a sponsored conversation written by me on behalf of Cricut. The opinions and text are all mine. This post contains affiliate links. If you use my links to make a purchase, I receive a small compensation (at no cost to you).
I love making my sewing tasks more streamlined and accurate, and with the Cricut Maker and Simplicity patterns, I can do just that! Today I am sharing a couple of projects that I made using the Cricut Maker and Simplicity Patterns 1153E (cosmetic bag) and 1214E (small basket).
When Cricut released the new Maker machine a few months ago, they also partnered with Simplicity Patterns to offer patterns through their Design Space interface. This offers a chance to make projects, some with small or odd-shaped pieces, with minimal cutting and accurate pieces. This is huge for me because I am not always accurate with my cutting and I don't love cutting out small pieces. One great thing about the Maker is that those small cuts and my least favorite tasks a breeze!
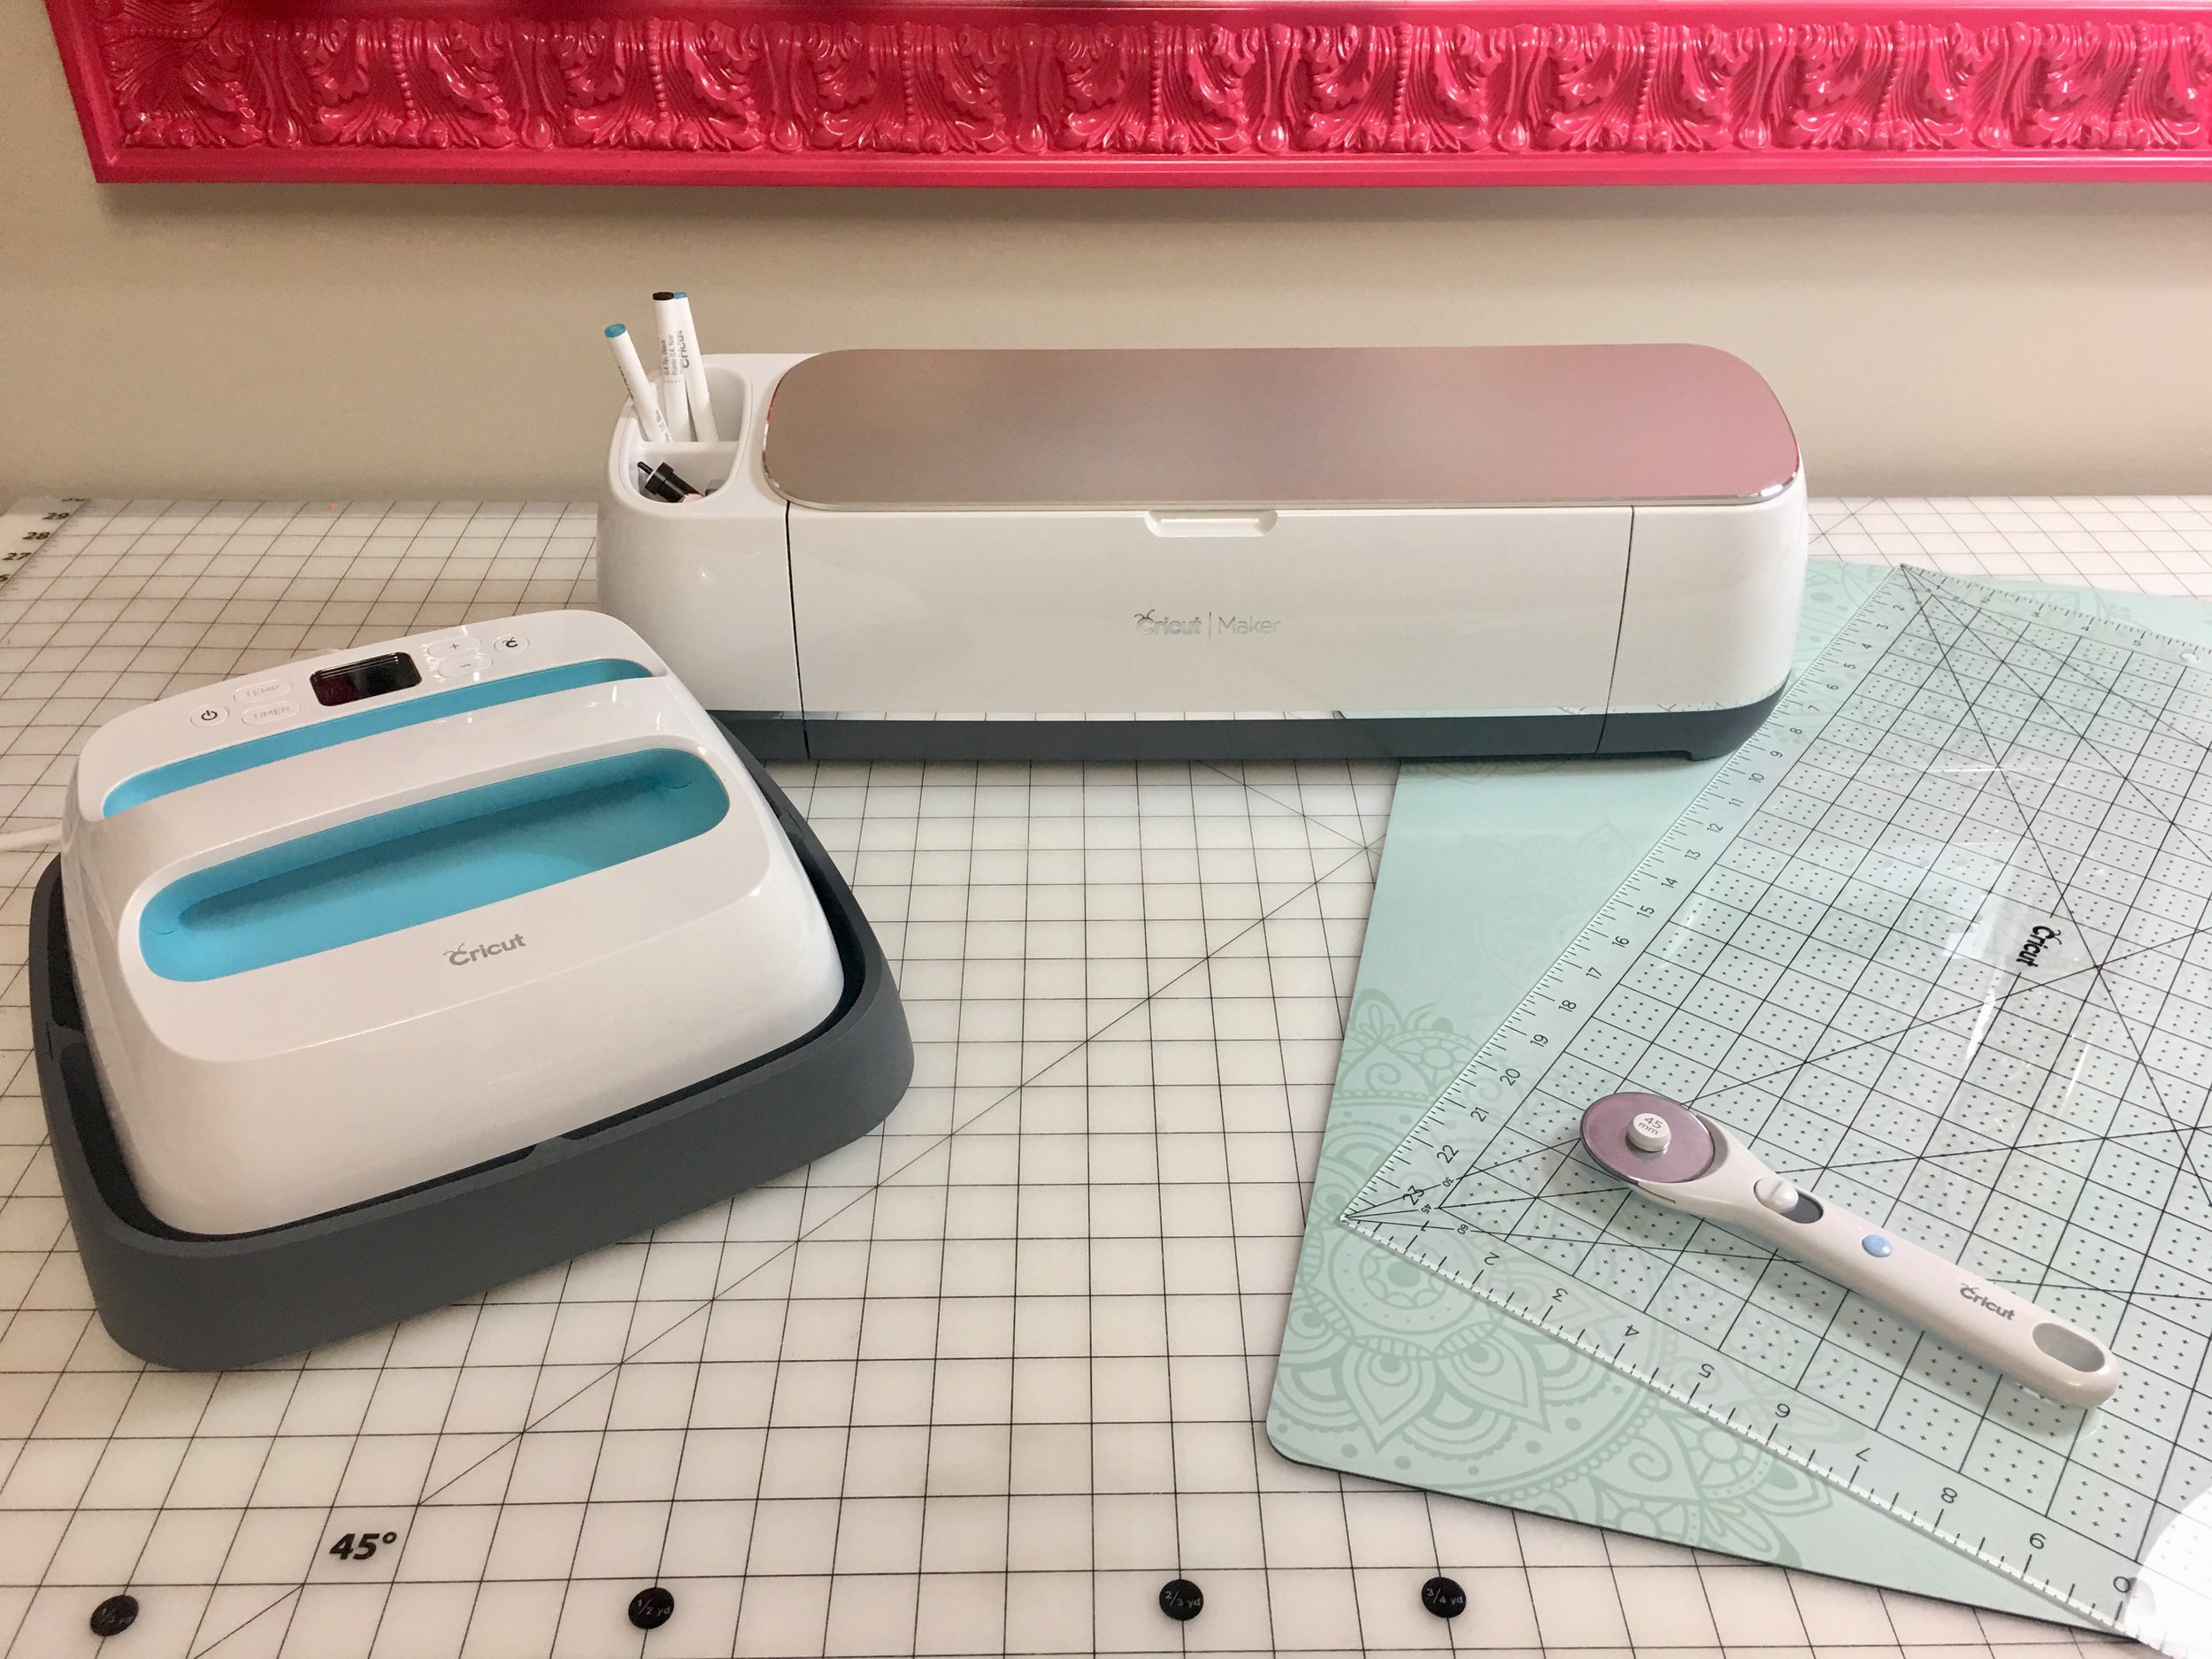
The instructions for the Simplicity Patterns in Design Space include directions for how to prep your fabric and I used the new Cricut Rotary Cutter, 12"x24" ruler and Designer Self Healing Mat to prep those pieces. The other nice thing is you can view the instructions without purchasing the file, so you can review the process and make sure you have everything on hand before you start!

Then you just load your mats, press a button, and your projects are cut out! You can also use the washable fabric marker to mark your cutting lines and mark your sewing points. I did not use the marker because I tend to obsessively iron when I’m sewing and ironing over fabric markers can make them hard (or impossible) to remove, but you can certain make these projects with ironing and take advantage of the fabric marker benefits!
Check out the video below to see just how easy the whole process is!
I made the small basket first and it was very quick to cut and assemble. It uses interfacing to get a nice body to the sides of the basket, so once you have it all cut out, you’ll need to iron on the interfacing to the wrong side of your lining fabric. Then you just sew up the side and add in the round bottom piece for both the lining and main fabric pieces. One thing to note is that the lining piece needs to have a small opening left on the side so you can flip it right side out.
The circle bottom piece is a little fiddly, but just take it slow and you’ll be fine! I pinned my first one and realized that all I was doing was stabbing myself with pins so I only pinned the notches for the lining. You could also use wonderclips to hold the pieces together.
Once your lining side and main fabric pieces are sewn, you’ll put the main fabric (right side out) into the lining (right side in) and sew them around the top edge. Then pull the main fabric through the hole in the lining, stitch up the opening, add your handles and you’re done! I actually think this would be nice without handles or even with one handle so you can hang it from a knob on your cabinet. Mine will be used to hold small items on my vanity in my bathroom. Cute and functional!
The second project I made was the cosmetic bag and actually I made two! I have 2 girls, so duplicates of cute little projects are always a good idea!
For this project, all you need is three pieces of fabric cut on your maker and a zipper. It’s super easy and quick to make.
One thing I did for my bag was finish all of the edges with a serger (you could also zigzag the edges) so that I won’t have any lose threads on the inside. I also did not do the fabric marker for this project (because of my previously mentioned ironing obsession) but that is an option if it makes it easier for you to follow along!
The only (a little) tricky party of this project is the zipper. Zippers are typically intimidating to many people, so if you’re on the fence about putting one in, I’d re-order the steps to put the zipper in prior to sewing the sides to the bottom. That gives you some wiggle room on the install. However, then you will need to top stitch the sides after the zipper is intstalled, so you’ll be sewing it around the middle of the bag. I did this on my second one, which you can see in the video. However, I sewed the zipper in according to the directions on the first one and that worked too! So depending on your comfort level, you could do it either way!
The great thing about both of these projects is that they are quick and turn out really cute. Great for gift giving or keeping them for yourself! They’d also be great for kids to sew and learn some basic techniques like sewing zippers and sewing on round pieces. With the pieces cut out on the Maker, it makes the cutting safety and accuracy a non-issue, which is normally my main concern when sewing with kiddos.
I was really happy with how these turned out and after seeing some of the other Cricut/Simplicity posts, I can’t wait to try a few more!
This is a sponsored conversation written by me on behalf of Cricut. The opinions and text are all mine.


Use your Cricut Maker 3 to craft a personalized Halloween welcome sign.