
Halloween Extravaganza Day 2: The sweet & simple things
/We hope you are getting in the costume and dress up mood. Today we have nursery rhymes and a by-gone era. Enjoy Jeanine's Hickory Dickory Dc and Nicole's 50's sweetheart.
Don't forget to link up your own costume creations for a change to win one of three prizes!

----------------------------------------------------

I am SOOOO excited to show you this "costume" !!! I have been sitting on it for a week and that is WAY toooooo long to hold in this cuteness!
I'll admit I was TOTALLY lacking inspiration when I started thinking of what to make Cheeks for Halloween this year. I think I changed my mind a dozen times. But one thing I knew I wanted was something practical and warm and something that could be worn as an outfit or jammies after Halloween!
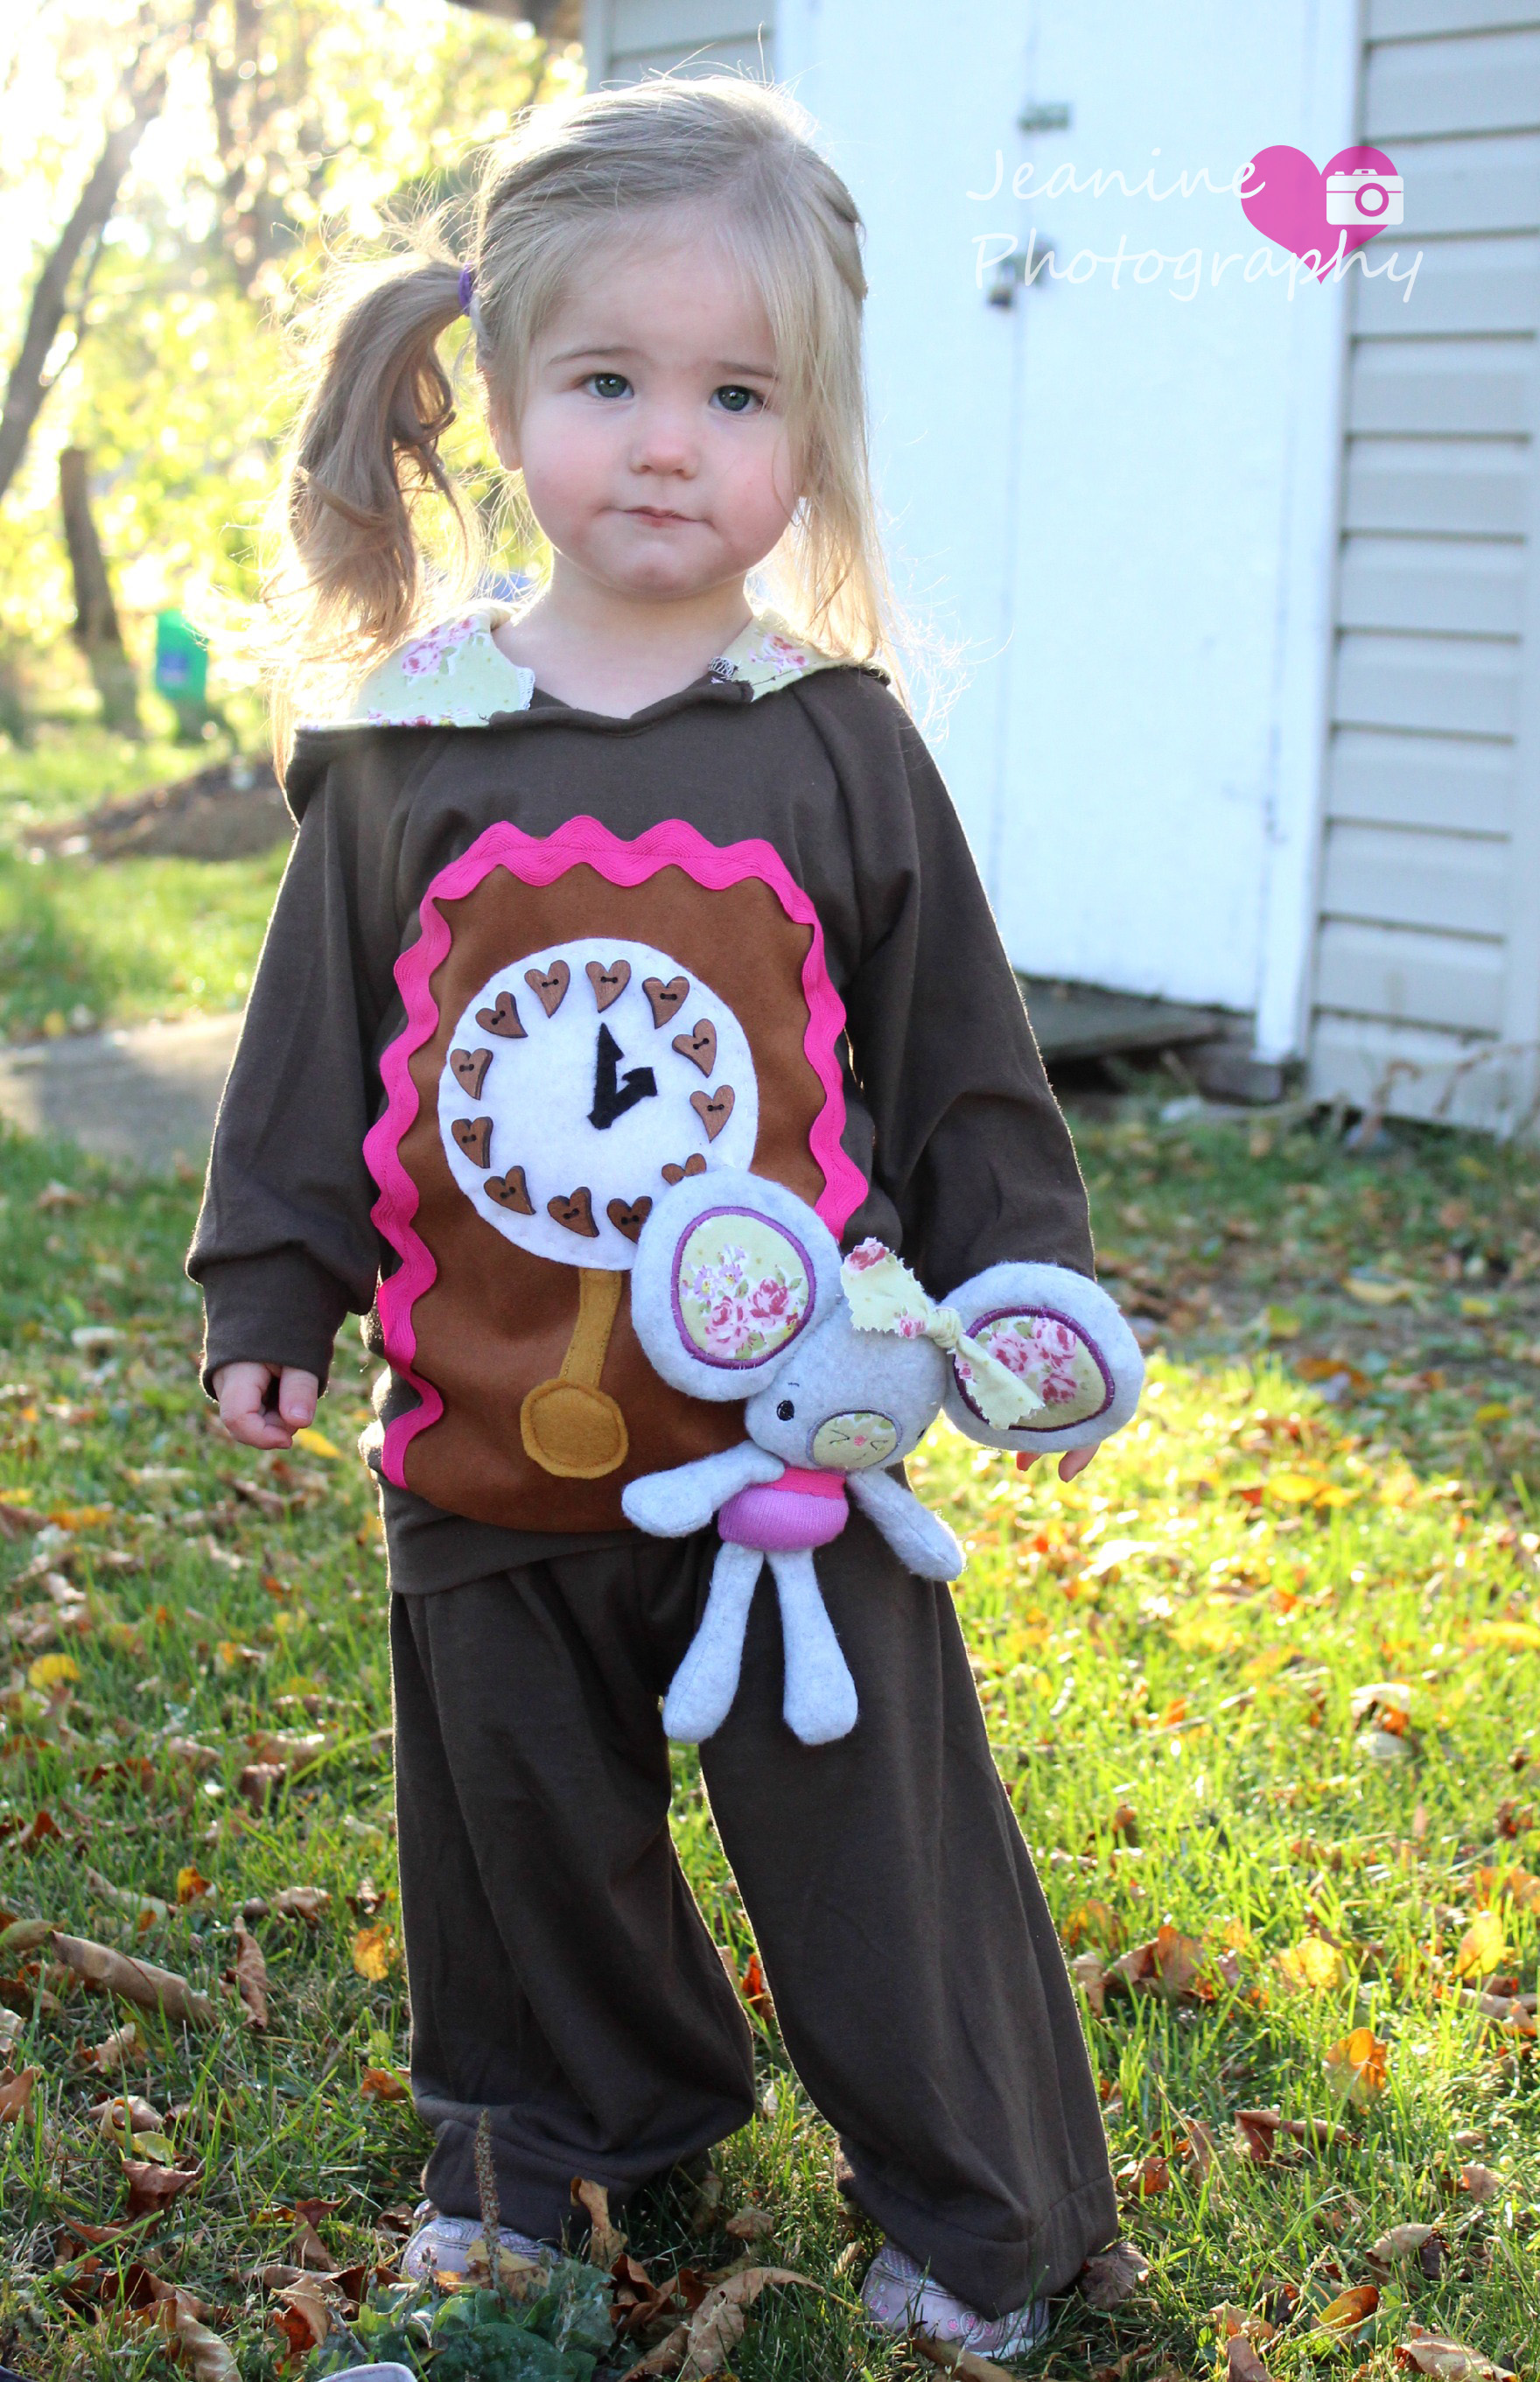
This idea started from my testing the ITH mouse project for Nimplephish as I procraftinated the costume. When I finished the mouse, it was just sooooo cute and the perfect size I thought I wish I could just use this for a costume... and then Cheeks brought me a book of nursery rhymes to read and I KNEW what I had to do!
The clock is a simple hand done applique to the front using felt and buttons and ric rac. I was able to complete this entire costume - including making the applique pattern pieces and cutting everything to sewn in one 4hr evening sewing stretch! I consider that a total WIN!

I used the Scientific Seamstress All the Rage Raglan pattern for the top. I added a little dip and bias to the front of the shirt because I used a flannel lining to the hood which took away the stretch and I added arm cuffs and a hem band to help keep Cheeks cozy! For the pants I used the Scientific Seamstress Easy Fits pattern and made them in knit with a yoga waistband (that tutorial will be on the Scientific Seamstress blog).

AND, that adorable mouse who totally completes the outfit ? That is the upcoming in the hoop pattern from Nimblephish! so keep a lookout for that one to release! (and she will be doing a sewn version as well - not in the hoop).
--------------------------------------------------
Its that time of year.... Halloween. Costumes, candy, spook houses, and pumpkin all over the place. I was so excited to lend my creative talents for +Pattern Revolution and if your children are anything like mine, they LOVE to dress up as their favorite princess, super hero, or anything else they have a special interest in.
My girls live in their everyday princess inspired dresses and I'm here to show you what I've been working on :)
As, I was thinking about costumes I knew without a doubt they would want something from Frozen but, when I asked they gave everything else under the stars but Frozen. It was quite exciting to step away from "Do you wanna build a snowman?? " and "Let it Go."
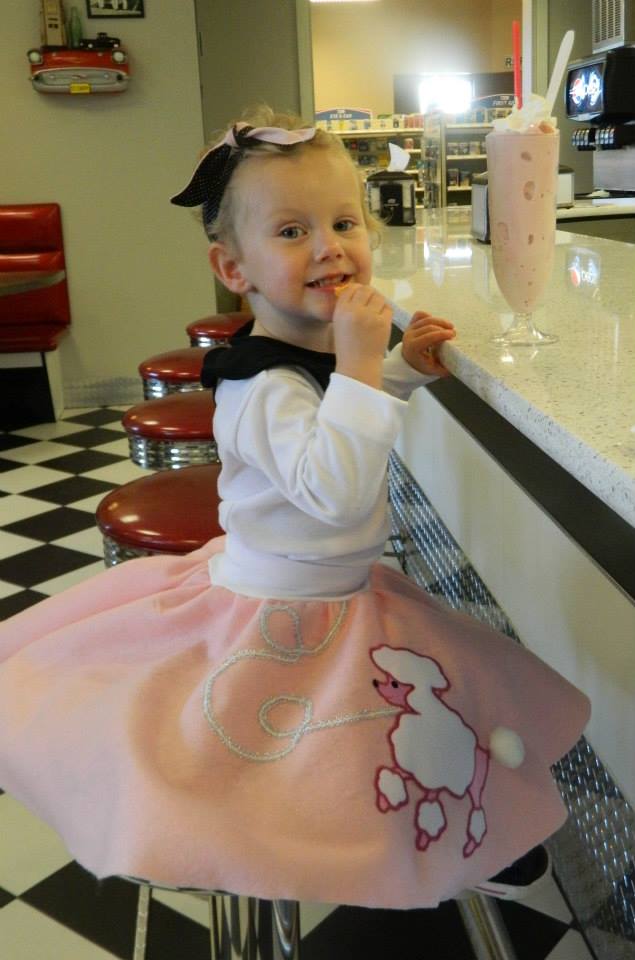
First up is my 50s inspired look. I'm so pleased with how this came out. Simple and classic, and a look that will turn back the decade to the 50s.
My girls live in their everyday princess inspired dresses and I'm here to show you what I've been working on :)
As, I was thinking about costumes I knew without a doubt they would want something from Frozen but, when I asked they gave everything else under the stars but Frozen. It was quite exciting to step away from "Do you wanna build a snowman?? " and "Let it Go."
First up is my 50s inspired look. I'm so pleased with how this came out. Simple and classic, and a look that will turn back the decade to the 50s.

For Clara Mae's costume I used the following designers to create this look.
Headband:
Shirt:
Skirt Portion:
- : Minnie Mouse inspired pattern for the skirt portion { http://www.craftsy.com/pattern/sewing/clothing/minnie-top-or-tunic-everyday-princess/78283 } I also used Everyday Play Skirt for the waistband http://littlelizardking.com/home/100-everyday-play-skirt.html


Materials I used:
- Felt for the skirt {Yay.... I didn't have to hem ;) I used this kind of felt http://www.joann.com/craft-felt-72in-wide-10-yards-/prd14843.html#q=felt+by+yard&start=1}
- Ponte Roma Knit { http://www.joann.com/sew-classic-knits-ponte-roma-solids-many-colors/xprd728576.html }
- Pin dot black { http://www.joann.com/keepsake-calico-fabric-small-dots-on-black/1101955.html#q=calico+black+fabric&start=10 }
- Kona Baby Pink { http://www.joann.com/kona-cotton-solid-quilt-fabric/10548352.html }
- Silver Trim {I got mine at Joann and picked what I thought best suited my style. They have many different styles to choose from. }
- Poodle Applique { http://www.walmart.com/search/?query=poodle%20applique&typeahead=poodle%20a }
I can not say how much I love LLK and the Rockabilly wrap. Seriously.... the quickest pattern with the perfect flair. No pattern pieces! Sews up fast and I love that you can mix and match every combo under the sun to create a one of a kind head wrap. Gave my 50s inspired look the perfect finishing.


I did make slight mods to the Tee x3 with the back key hole, neckband finish, and the peter pan collar. For Clara Mae's I made the size 18 months and then made the collar to the 3T size. After attaching the collar as stated. I decided to just overlap my excess collar pieces and stitch then together so there was a still a gap to create my key hole. I then folded my neckband in half stitched up the side and then folded the neckband over to create my finishing. I attached it and sewed it to my shirt. I love how it came out. If you choose to create a finishing like mine please note I used 4 way stretched knit that have a great recovery and a great % of stretch. Everything else was sewn as per the wonderful directions Melissa provides.
I hope you have enjoyed seeing my 50s creation and hope I see a lot of poodle skirts!!
I did a mini mash up with the Minnie Mouse and Everyday Play Skirt. I took the main skirt using Megan's pattern and mix it using the knit waistband measurements from the LLK skirt. I gathered my skirt as well. Another option if you didn't want to mix is LLK Take 5 circle skirt. I wanted more fullness and to have a gathered look to my skirt so I choose to do a mash up.
For the Applique poodle I found my applique at Walmart for $2 and it came in 2 different sizes and also came in a black stitching if the pink isn't your thing. My local Walmart had them on sale and they only had the sew on applique and not the iron on. This was the most time consuming part of the entire costume. I went with a satin stitch to sew my applique to my dress. ***Little tips if you do a similar costume. Please remember you need to have a stabilizer under your project I love using the water soluble stabilizer sulky or pellon brand. I also love wash away tape. When I create my leash I used the wash away tape to hold my trim in place and also used it to hold my poodle in place. That way you can position your trim until it's in the perfect place then stitch into place without having to use pins.


