Hello everyone. This is Sarah again and I am back today with another tutorial for a princess garment. If you remember the Sofia dress tutorial, then you know we love the Disney princesses in our house. The newest princesses are no exception! We were about 10 minutes into the new Disney movie Frozen, when my younger daughter pointed at the gown Anna is wearing for her sisters coronation and asked me to make her one. "I want a dress like that momma. Can I wear it tomorrow?" Um, no. Not tomorrow. But we did have a big Disney trip on the horizon, so my "too-due" list got one item longer with the addition of and Anna dress.
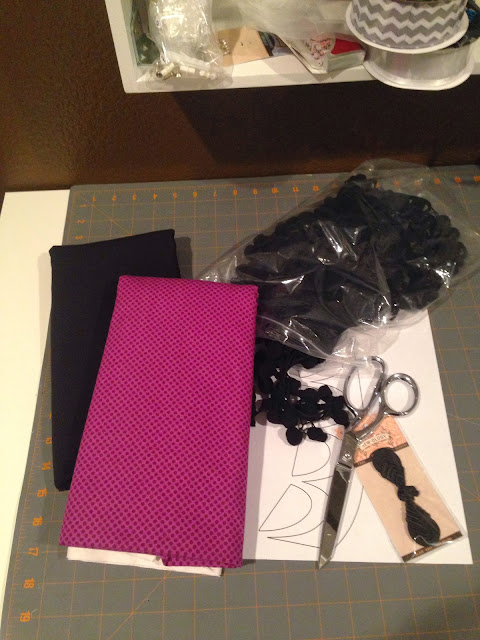
The capes Anna wears during the movie are big components of the overall look, so today I've tackled an Anna cape to complete the look. The pattern I began with was the
Gwendolyn Cape by
Ruby Jeans Closet.
I made two versions of the cape for the tutorial; one for the coronation gown cape and one for the cape Anna wears for the majority of the movie. Both capes have similar looks, with a few variations. You can pick and choose your variations to come up with a version that fits your little Anna :)
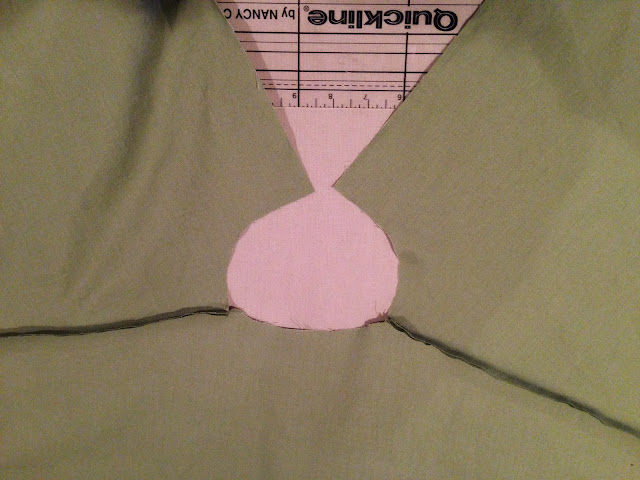
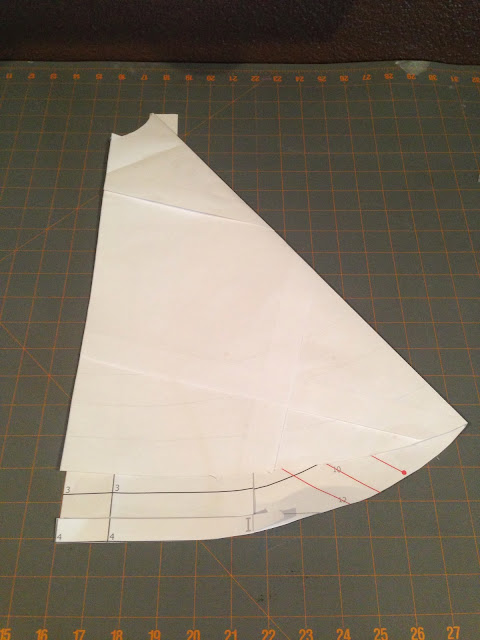
For both versions, I made slight variations to the cut of the cape. I'll start with the coronation cape. This cape is a longer cape, but that's not particularly practical for a three year old :) so I kept it the original length of the pattern. Since the front of the cape is very rounded, I cut the corner off the front piece so it was more rounded. Like this:
I did the same cut to the lining piece:
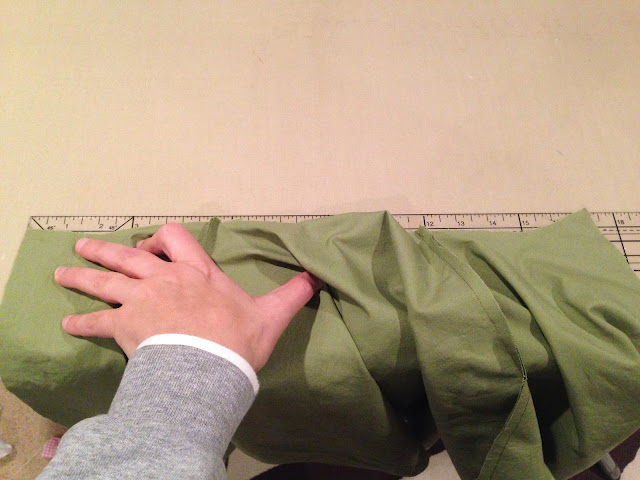
Then I assembled the cape main and lining pieces by joining the shoulder seams.
From here, I made the collar for the cape. The collar is a distinctive feature of the cape, so I definitely wanted to include that on my version.
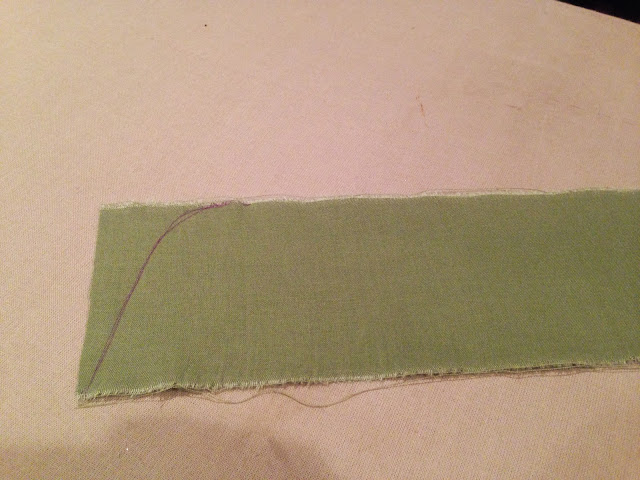
To make the collar, I measured the flattened length of the neckline and subtracted 1 inch.
Then I cut a strip 3.5" wide and 17" long (my neckline measured 18" for the size 4).
I folded this piece in half lengthwise and marked and cut a curved edge.
Then I cut another strip of black fabric, slightly shorter than the folded measurement of the collar strip, and used wonder under to apply it to the collar piece.
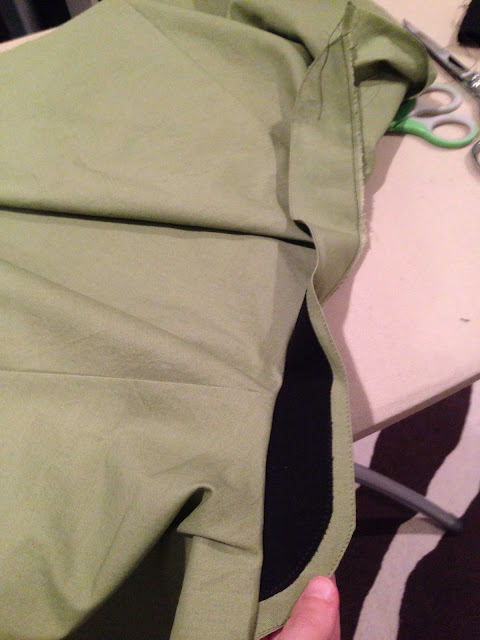
I applied the black fabric to one half of the collar piece and stitched around it. Then I sewed along the edges of the collar piece, right sides together, and turned it right side out. You'll need to clip the curves to make it sit nicely.
Once the collar piece is assembled, mark the center of the cape neckline and the center of the collar.
With right sides together, pin and then stitch the collar along the neckline.
From here, I cut a 4" strip of fabric along the whole width. I cut that in half used it to make two ties for the front of the cape. I simply folded them in half, stitched around both long edges and one short edge, then turned and topstitched them. I added those just below the collar on the front right side of the cape, right sides together with the long edge to the inside of the cape. (I forgot to take pictures :( but you can see this in the finished pictures).
Then I assembled the rest cape according to the directions.
The final step to the coronation cape was the decals. I designed the shapes on my Silhouette Studio software and printed them on printable iron on transfer paper for dark fabrics. I cut them out and ironed them along the the neckline according to the manufacturers directions. *Note: I finessed and shaped each piece according to what I needed to fit the curve of the neckline. I also used a pressing ham to press the decals on the curved areas.
And this is the finished product:
She LOVES it. I can barely keep it off of her, but I am holding out for our Disney trip before giving her free reign in it!
But WAIT! You wanted the purple Anna cape you say? Well as I mentioned at the beginning of this post, I actually did both capes for you. A two-fer, so to speak :)
So moving onto the second style of cape...
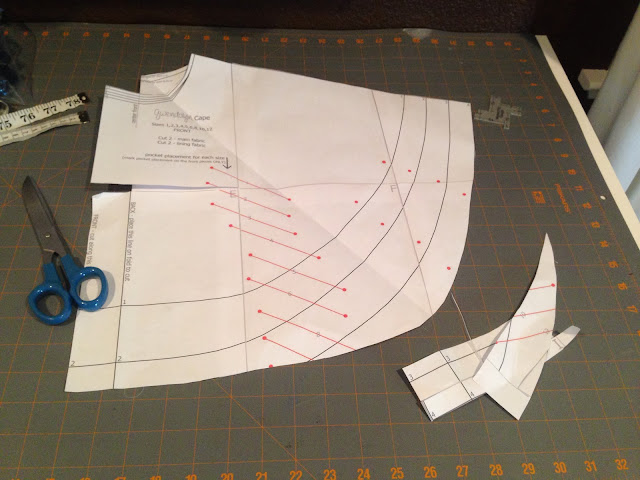
Since this cape was a shorter cape, I cut the cape to the shortest side of the pattern for the whole circumference. To do this, I just folded the pattern...
And then I cut off the longer edges along the same curve. Easy peasy! I also cut both the front and back along the center back line, just adding the 1/2 seam allowance for the front edge. This way the edges of the cape butt up together instead of over lapping.
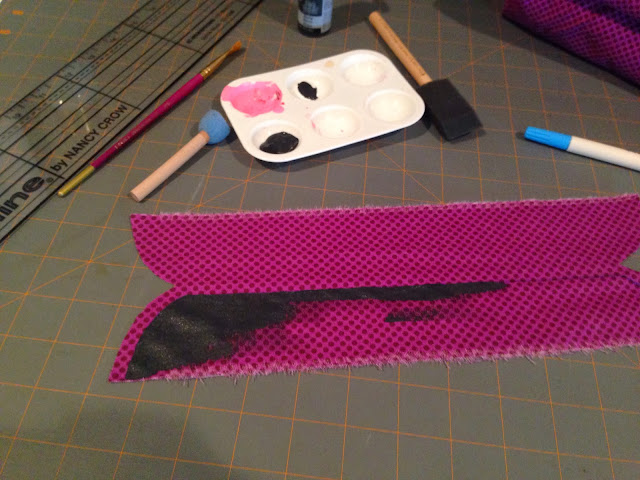
I made another collar; I followed the same steps as above for the green cape with the exception of the black piece, for this one I painted it on with fabric paint just to see how it would go.
In case you don't believe the whole "put something under it" thing on the package...
 |
| Nothing a little magic eraser can't take care of! |
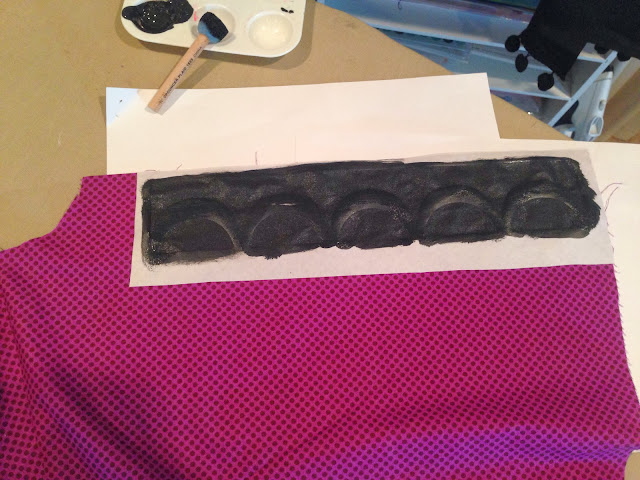
On the cape itself, there is a scalloped pattern that I decided to incorporate into mine. Again, I used the silhouette studio software to come up with a design and then cut it out of freezer paper.
I ironed the freezer paper, shiny side down, onto my cape (only assembled at the shoulder seams)...
And then used my fabric paint again to fill in my freezer paper stencil.
 |
| Didn't take any chances this time! I put some heavy card stock under it. |
And this is what it looked like when I removed the freezer paper stencil. Pretty cool, huh?

I just continued stenciling around the edges and then filled in the blank areas with a small brush after I removed the stencil. Then let it dry according to manufacturers directions.
While I was waiting for it to dry, I added ball trim to the right side, but upside down to the lining of the cape (so it is facing inward).
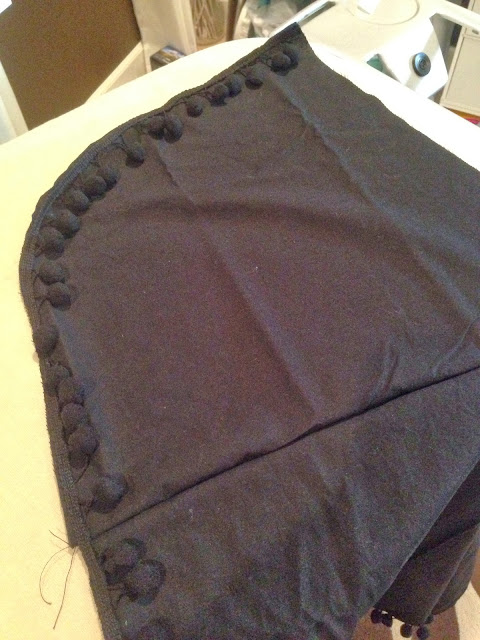
Once the stencil was dry, I applied the collar following the same method as the green cape and then assembled the cape according to the instructions. To finish it off, I added a little decorative closure I found at hobby lobby.
No modeled pictures of this one, since I haven't made the other version of the Anna dress yet...
I am making the shapes I used for the decals and stencils available for your use in making your own Anna cape. You can find downloadable PDF's of the decal shapes in the Pattern Revolution Facebook group.
Interested in the Anna Dress shown with the green cape? Keep an eye on my blog, BlogsLikeAMother.blogspot.com, for the tutorial for that coming in February 2014.
Happy sewing and see you next time!
Sarah