
Boy's MashUP- Vest + Jacket = One Dapper Dude
/Make this look- exclusive sales codes for our readers! At our affiliate Blank Slate Blazer20 will get you 20% off the Basic Blazer through Wed 3/4/15. And at Sew Much Ado you can get 20% off the Schoolboy Vest PDF Pattern with code PATTREV20 through Monday 3/2/15.
Sometimes inspiration hits. And it hits you so hard that you can't think about any other project until you at least put pen to paper (or bust out a Picmonkey collage) and get your thoughts down before you forget. That is exactly what happened with my latest MashUP!
I was sitting at home, flipping through boring, Friday night TV, and I noticed that Whose Line is it Anyway had returned to TV. I watched it when it was hosted by Drew Carrey and thought I'd stop to have a laugh. Then I saw this AMAZING jacket worn by the hilariously awesome Wayne Brady and I knew this was going to be my next MashUP! So I did what every red-blooded 21st century girl would do.
I whipped out my cell phone.
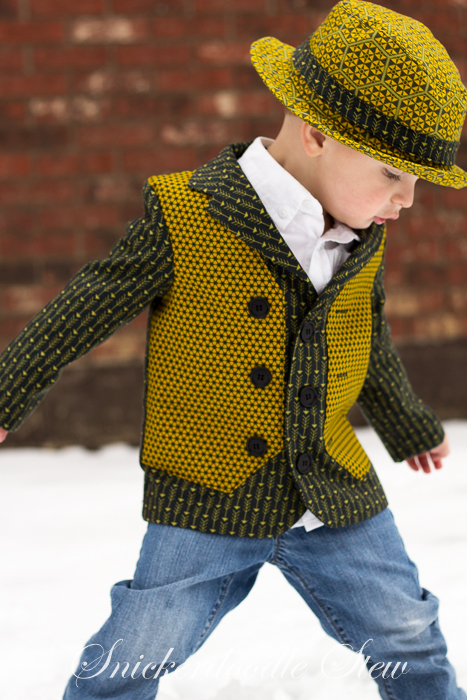
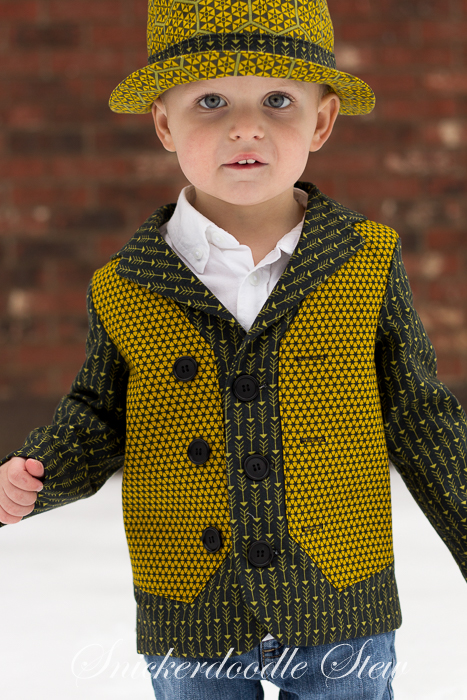
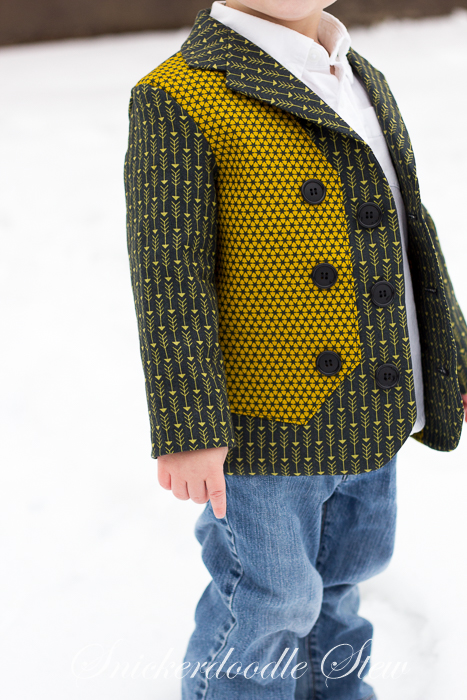
I also knew that I was going to be working with Parson Gray prints from Free Spirit Fabrics, because they are awesome and wanted to sponsor this post, so I picked some fabrics that I thought would work well together from David Butler's latest line, Shaman. I chose to use the School Boy Vest pattern from Sew Much Ado, along with the Blank Slate Patterns' Basic Blazer (affiliate link). The end result: this very dapper jacket that my 2 year old was GIDDY to put on and even wore it out to dinner after our photo shoot. He said, "Is THIS for ME?!?!"
He's pretty much the cutest thing EVER.
And he was totally loving his new hat made from the Fedora Hat Pattern by Elegance and Elephants.
I'm going to just really quickly show you how I got this look. I originally thought I'd piece it out, like you would make a quilt, but I thought that might get too cumbersome with all of the angles on the vest. This tutorial will work for any vest pattern, but I really loved the angles on the School Boy pattern, so that's why I chose it.
The School Boy pattern has a wider size range than the Basic Blazer, so the overlap is sizes 18M-8. I am using quilter's cotton, so I used Pellon 101 to back all of my main fabric pieces to give the garment more structure.
In addition to your 2 patterns and ALL of the fabric requirements and notions for the jacket, you will need 3/4 yard of accent fabric for your "vest", pieces of Wonder Under large enough to cover your 2 vest front pieces, and vest buttons (optional). You will not use the back or the lining of the vest pattern for this jacket, only the vest front (times 2!). You will also need a pen or marker in a color NOT on your pattern pieces, as well as a pencil.
Print and tape your pattern pieces together according to each pattern's directions. Cut all of your pieces EXCEPT your vest front piece. On this piece, cut everything BUT the top of the shoulder and the armscye. The piece is flipped front side down, but you can see that I've cut the bottom and most of the sides of the vest piece.
Decide how far over you want your vest piece to be from the edge of the jacket. This is totally up to you, but make sure that you clear the button placement on the jacket. Tape the vest piece to the jacket piece so that it won't move, but don't totally tape it down because you need to be able to pull them apart.
Take the whole unit and flip it so that the front side of the vest piece is sticking out and you're looking at the back side of the jacket piece.
Take a marker and trace the jacket lines on to your vest piece. I used red so I could see exactly what I needed to cut. These 2 patterns print in black and white, but if you use another pattern, it might print in color, so plan accordingly.
Cut along your new line and voila! You have your new vest overlay. Cut out your 2 mirrored pieces from your accent fabric. This is going to be a giant applique, so you will need to turn under the raw edges 1/4" and press. You will need to do this for the angled parts of the vest on the front, but not the sides or the shoulders.
Place your pieces on top of your Wonder Under with the paper side up and the right side of the fabric down.
Trace around your fabric with a pencil.
Cut it out, cutting just inside your line. You will have 2 mirror images of both fabric and Wonder Under at this point. Take one of your vest pieces and put the Wonder Under on top, rough side DOWN, and iron according to the instructions that came with the Wonder Under. This is really important so that you don't end up in a sticky situation (whomp, whomp!). Seriously, though. That stuff's messy. Double and triple check if you must!
Take your jacket pattern pieces and cut your front main fabric pieces. Remove the paper backing from your vest piece and lay it right on top of the jacket piece. This is right side of the jacket fabric to the wrong side of the vest fabric. You're going to be able to see the right sides on both fabrics at this point. Iron the vest piece on according to the directions on the Wonder Under, and then topstitch 1/8" on the vest piece along the outside edges.
This is also a great time to put your buttonhole markings on one of the sides. I chose to use the same distances on both the vest and the jacket, but the buttonholes on the jacket are not functional, so I did not open them up.
I also wanted to show what these 2 patterns looked like paired together as a 2 piece set. My 7 year old was just beside himself. He likes to dress up and the only thing he was upset about was that I didn't have time to make him a fedora, too.

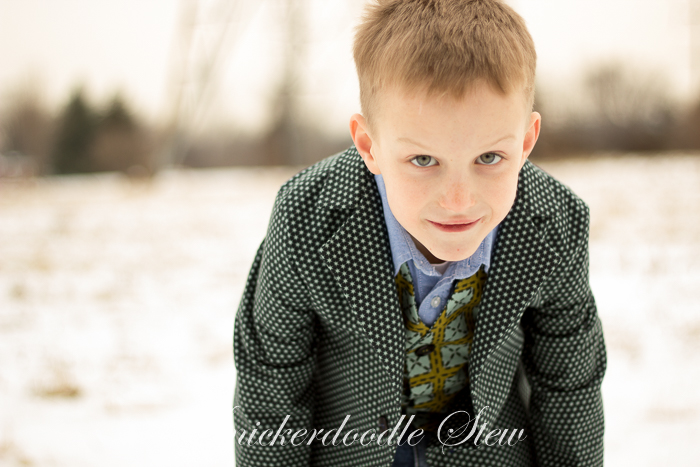
My dashing duo.


