The Tulip Dress and Tunic by Ellie and Mac
/
It’s always fun to keep up with the trends like this tulip dress from Ellie and Mac, especially when you can sew and have it sized perfectly!
Read More
Pattern Revolution Blog- PDF Pattern Sales and Promotions, Free Sewing tutorials, techniques and advice.
It’s always fun to keep up with the trends like this tulip dress from Ellie and Mac, especially when you can sew and have it sized perfectly!
Read MoreToday Weatherly and Heather show off the amazing Jessie Pattern by 5 out of 4 Patterns. This pattern has a lot of variations and is a great single pattern to produce lots of styling options!
Read MoreToday Heather and Rebecca are featuring a pattern set from Honeydew Kisses. This outfit is stylish, modern and most importantly super comfortable for busy young ladies.
Read MoreToday Crystal and Tasha sew the top and dress version of the Mila by the Simple Life Pattern Co. These patterns with the adorable tulip sleeves are a must have.
Read MoreToday on the blog we are continuing with our Sew Ready for Fall Feature. Ellen and Teronia are sewing up some lovely and versatile tunic length tops featuring patterns from 5 out of 4 and Patterns for Pirates.
Read MoreToday we start our week long Sew Ready For Fall feature. First up is Ellen sewing the Ladies Magnolia by Little Lizard King and Shae sewing the Dublin Dolman by New Horizons Designs.
Read MoreKatherine shares her version of the Scarlet Swing dress by Greenstyle Creations. This dress accents the positive body features and provides coverage for the trouble spots. With several different styling options and fits, combined with a quick sew, this is sure to be a favorite.
Read MoreAre you having fun with us in our Upcycle week???? Share your own upcycle escapades with us on Facebook and here in the comments so that we can be inspired!!!
Rachel is here today to showcase how adding your own details can turn a standard upcycle into something extraordinary. She is pulling our the glitter Heat Transfer Vinyl, and by george I think I'm going to have to place an order now!!! If you don't have a cutting machine, you can embellish with embroidery, free motion applique, fabric paint and more!
-------------------------------
Read MoreThanksgiving week, thanksgiving week, I give thanks for thanksgiving week!!!! As I think about things I am thankful for, it would be remiss to not say THANK YOU to you, our readers! Without an audience a blog would be pointless, without readers we wouldn't have the growing community of seamstresses that keep us going and doing what we are doing. All of your comments and support keep us motivated as we move on to the next project and put our creations out for your viewing pleasure. Thank you for reading our blog!
Read MoreHey guys! My name is Hayley and I blog over at Welcome to the Mouse House. I was so flattered when these lovely ladies asked me to pop over and share a few tutorials for all of you.
I was even more excited when they sent me a few Lilybird Studios patterns to try out because I had been eyeing these up for quite a long time. Swoon! Not only does she have amazingly cute patterns, Cecilia from Lilybird Studios is just so sweet and friendly. I can't wait to try out more of her patterns.
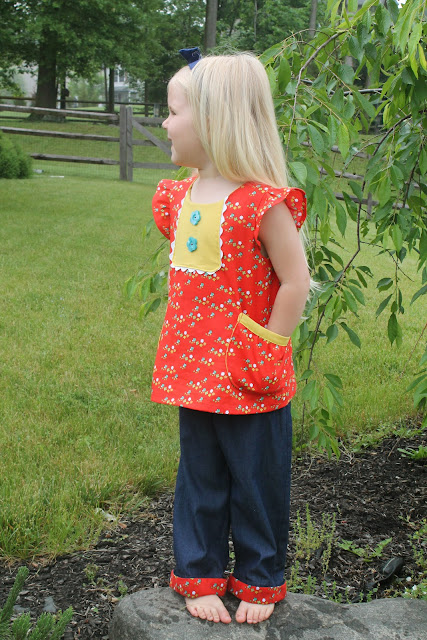
For this post, I was asked to take the Kate Dress and turn it into a tunic top with pockets. I can't even tell you how long I have wanted to try out this pattern and I wasn't disappointed.

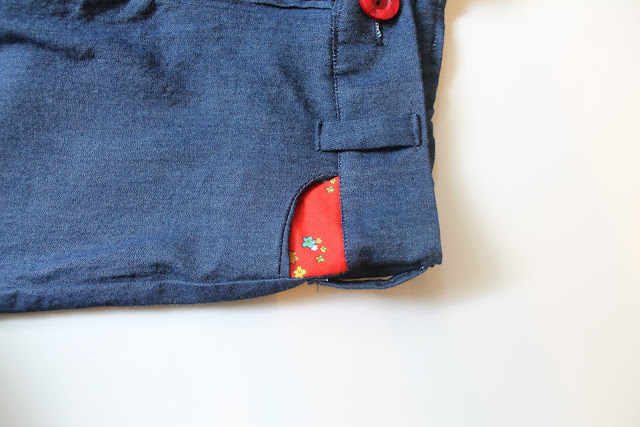
I was also given the pattern for the Adjustable Waist pants and I will share a tutorial another day for adding a cute little peekaboo cuff, so stay tuned for that!
Peek a boo!


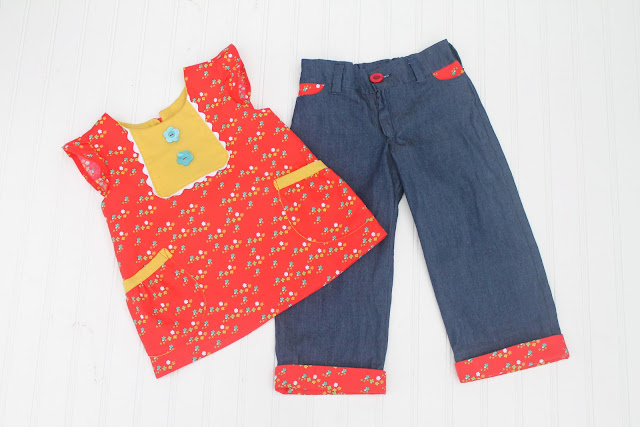
This outfit is going to be perfect for when Ainsley returns to school in the fall.
Okay, let's get started on taking the Kate Dress and turning it into a tunic top with pockets.
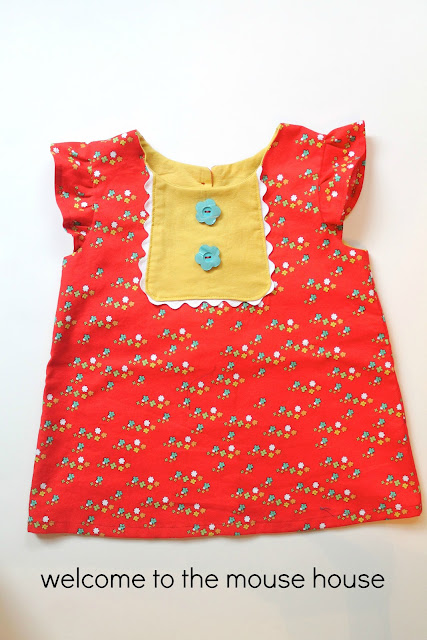
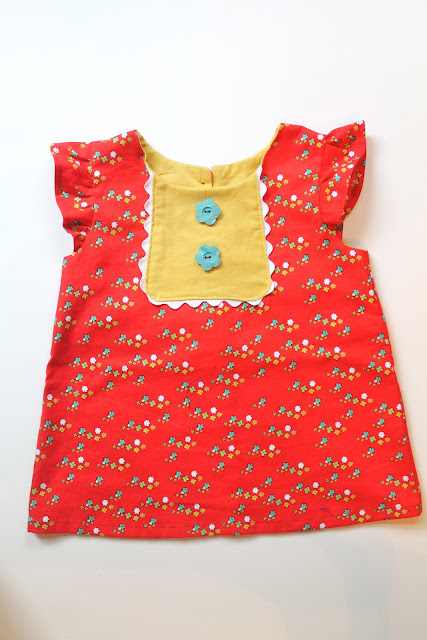
Start with this… super adorable top...
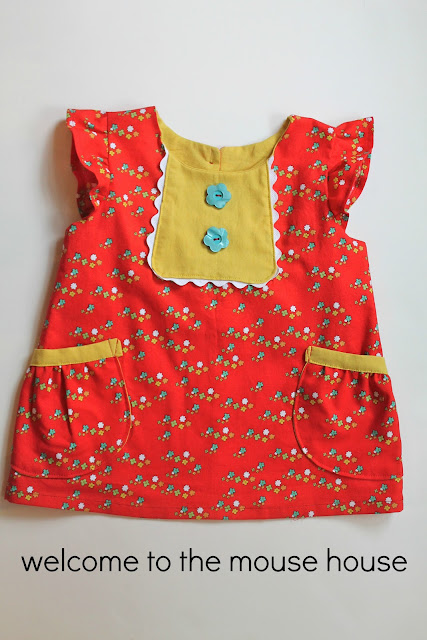
and end up with this… extra adorable top with pockets!
Print out your pattern. Grab a shirt from your child's closet and lay it on top of the pattern piece. Pull the shirt 1/2 inch down from the top shoulder piece.
(Lily Bird seam allowance is 1/4 inch)

You are now going to make this a tunic length that hits the child around the hip area. Cut the pattern piece 2-3 inches below the hem of the tshirt. Double check the size by holding the pattern piece up to your child. You will want the finished product to land at your child's hips and you will need 1 inch for hemming.

Sew up the pattern according to the directions. Make sure you pay attention to the 1/4 inch seam allowance ( a lot of pdf patterns tend to be 1/2 inch, so you always want to check this!)
You will end up with a super cute top!
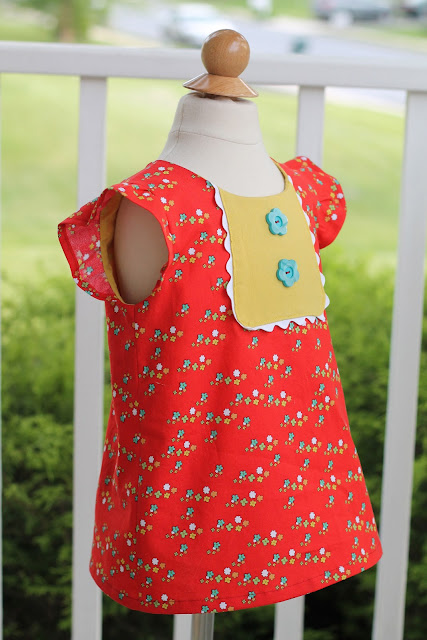
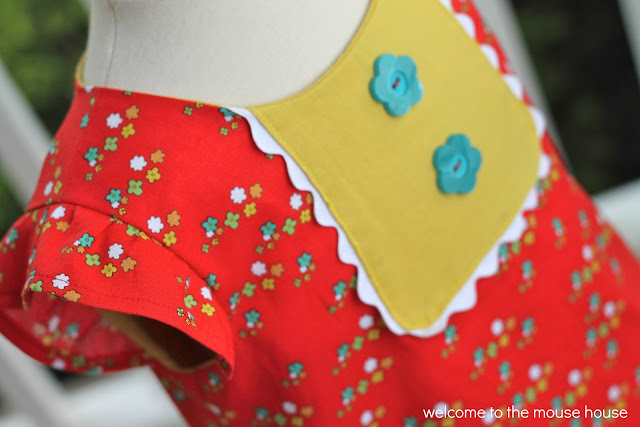
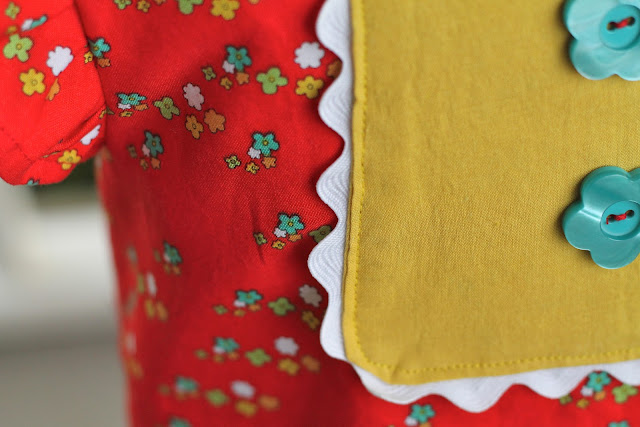
Now, I should note that I did add ric rac instead of piping and I only did 2 buttons instead of the 6 that she calls for. These are all easy switch ups that anyone can do and they create a unique product!
Let's move on to the pockets!
These are super easy… I promise.
Print out the pattern pieces I have provided HERE.
If you are doing a size 12 months, I suggest you slightly reduce the % when printing so that they aren't giant :)
Cut your fabric according to the pattern.
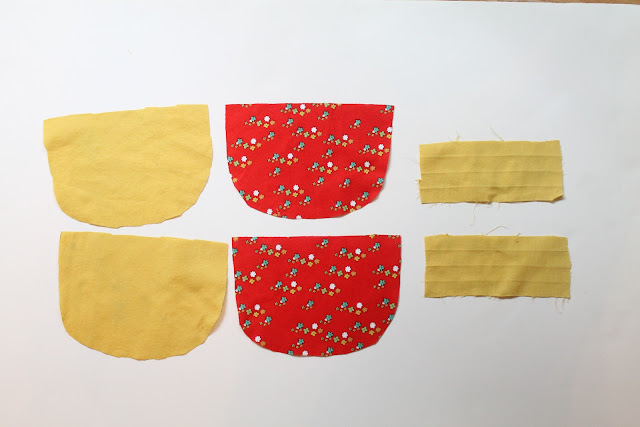
Grab a lining and a main pocket piece.
Sew them together, right sides together. Follow the red line below.

Turn right side out and press.
Using a gathering stitch, gather the top of the pocket.

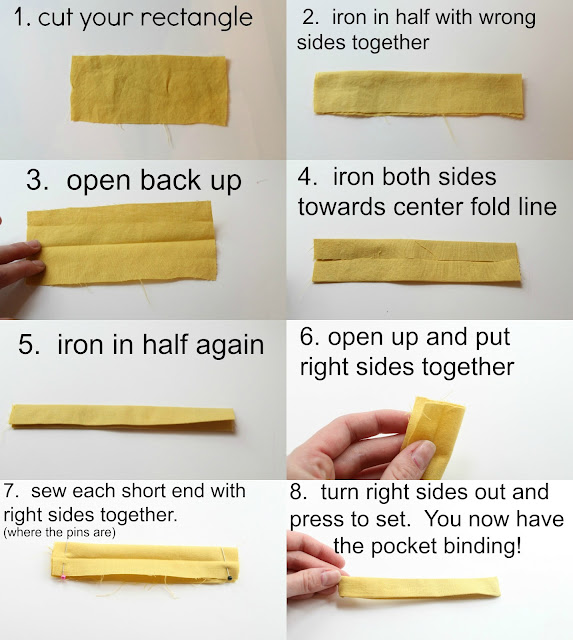
Make your pocket binding pieces
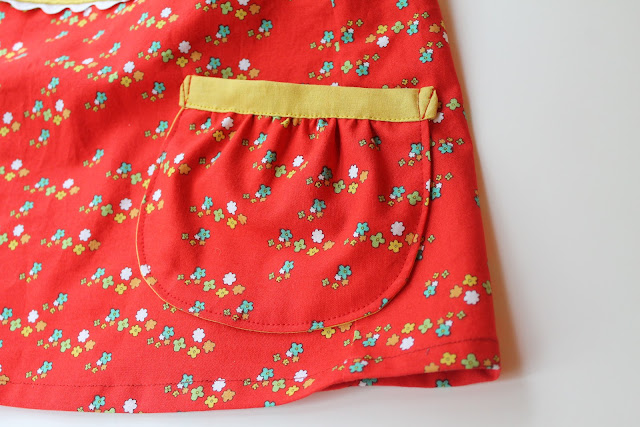
Slide the pocket into the binding and adjust the gathering until it fits perfectly. Sew the binding as close to the edge as possible.

Sew the pockets onto each side of the tunic. Try to angle the pockets back a bit, so that it is comfortable for the child to use.
Only sew the sides and curved edge… not the top! You want your child to be able to use it and not be all angry that you sewed your pocket shut. My daughter would probably flip her lid if I put a pocket on her outfit and then she couldn't access it :)
Also, it is a bit hard to tell because I am just so awesome at matching up side seams ;), but I actually put the pocket about 1/3 of the way past the side seam…. Can you tell? It puts the pocket a bit more to the side, rather than the front.

That's it! You now have a cute shirt with pockets

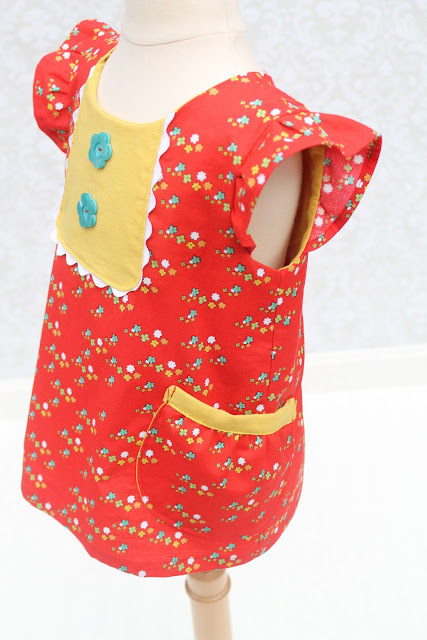
Ainsley loves loves loves it!
Welcome to Pattern Revolution! We're a collective of women focused on encouraging and educating the modern sewist. Our team is made up of moms, shop owners, hobbyists, and masters of the trade. Our skill levels and project interests may vary, but our love of electronic PDF patterns are the same. Read more about the future of sewing patterns, or dive right in and let our posts inspire you

Disclosure of Material Connection: Some of the links in the posts on this site are “affiliate links.” This means if you click on the link and purchase the item, Pattern Revolution will receive a small affiliate commission. These commissions help keep the lights on at Pattern Revolution and we appreciate all of our readers for using them to purchase when possible. A complete list of our affiliates can be found on the "Sponsors and Affiliates" page. Pattern Revolution also receives a copy of the patterns featured on this blog free of charge. All reviews and options are the those of the reviewer alone and they receive no compensation for their review. Pattern Revolution only recommends products or services we use and believe will add value to our readers. Pattern Revolution is disclosing this in accordance with the Federal Trade Commission’s 16 CFR, Part 255: “Guides Concerning the Use of Endorsements and Testimonials in Advertising.”


