The Four Seasons Dress and Top by Foo Foo Threads Three Ways
/
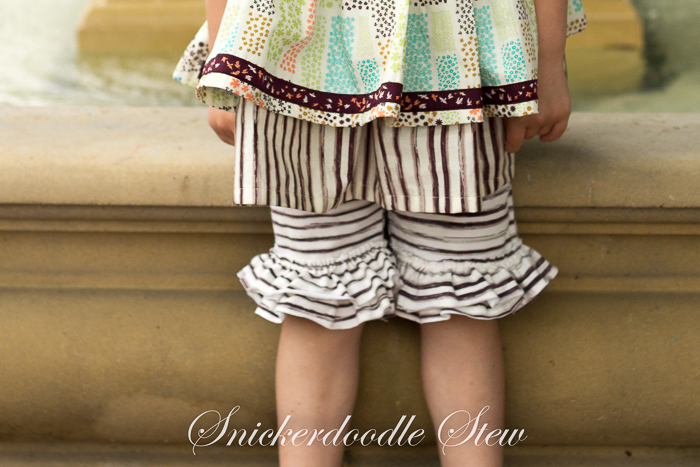
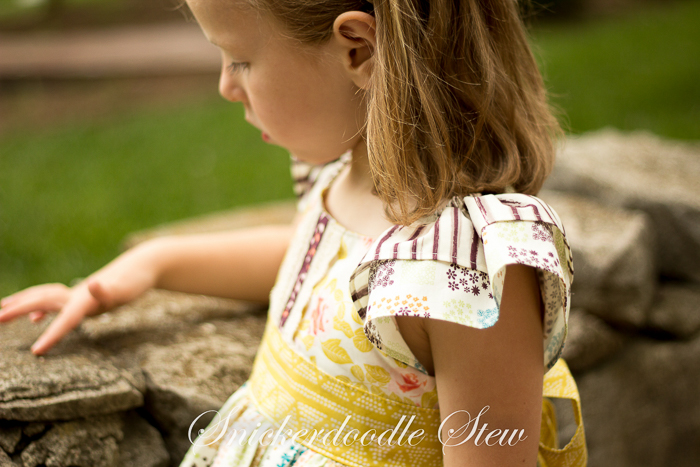
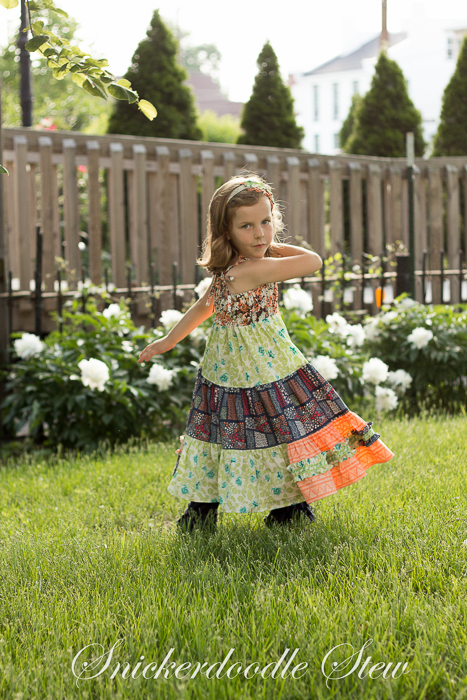
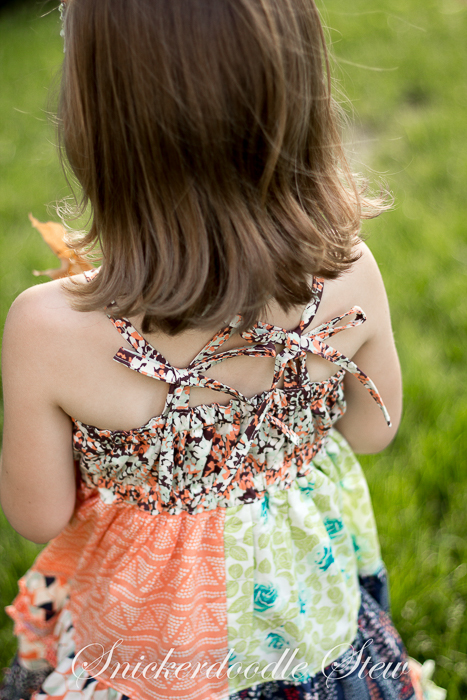
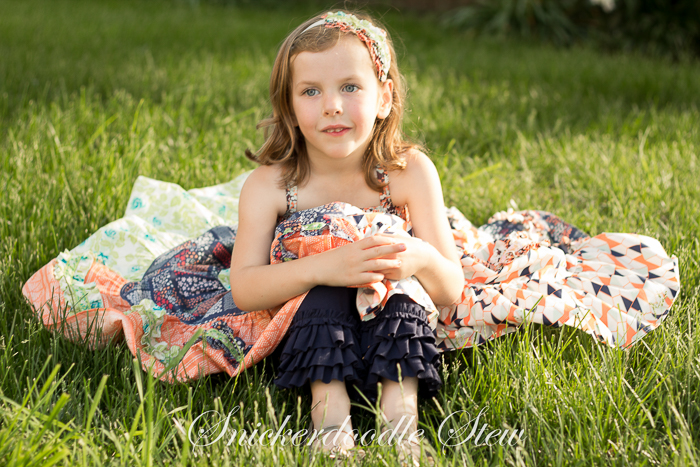
The seasons are a changing and there are lots of fun holidays to sew for on the horizon. Try the Four Seasons dress and Top for your next project.
Read More
Pattern Revolution Blog- PDF Pattern Sales and Promotions, Free Sewing tutorials, techniques and advice.
The seasons are a changing and there are lots of fun holidays to sew for on the horizon. Try the Four Seasons dress and Top for your next project.
Read MoreIt's that time again! I have the privilege of introducing our latest MashUP bundle to you! The Trendy Rose combines the Trendsetter Pattern from our very own Cassie, who designs for Little LIzard King, along with Gypsy Rose Dress from Foo Foo Threads Patterns. We've also thrown in the Rings of Ruffles Pants from LilyGIggle to as an add on to the bundle to make it even more versatile! There are so many options, you'll have something different to sew for every week of the year.
So what IS MashUP, you ask? MashUP is a specially curated collection that enables you to take the bodice from one dress or top pattern and add it to the skirt from another pattern. Sometimes you have to make an adjustment to the length on certain components, but we also include an exclusive tip sheet that helps you know where you can make those changes. We offer special bundle pricing in that you can get the two MashUP patterns for $10 (that's $5 each!) and add on the Rings of Ruffles pants for an additional $5! If you just want to buy one half of the MashUP, that's OK, too! You still get the tip sheet and the pattern for $7. If you were to buy these separately in the individual shops, it would cost you almost $25!
Let me give you the breakdown on the patterns. You get a span of 8 sizes with this mashup, including sizes 6M-8! There are 2 basic styles of bodice, that each have several options for sleeves or straps and other details. The skirts? There are a variety of ways you can sew those up as the patterns dictate, but then you can add or take away details or length to give you exactly what you need! The best part of this is that it's really a four season mash in that you can go from really strappy, to full length peasant sleeves.
I want to take a moment to thank our amazing sponsors for this project. The fabric is from the Cultivate line, designed by Bonnie Christine for Art Gallery Fabrics. This fabric has the most AMAZING feel and weight to it. It's soft and breezy, and really lends itself well to these tiers that can get bulky with the tuxedo ruffle and trims.
I also want to mention Renaissance Ribbons, who sent this amazing jacquard ribbon from their Winged and Sweet as Honey lines, also designed by Bonnie Christine. I love how the colors work across different collections! If you are looking for something smaller than yards of fabric to hoard....er...I mean....collect, this is the way to go. You'll thank me.
The ribbon also makes a beautiful addition to any headband!
Did I mention that Art Gallery also has KNITS?!?! They are the dreamiest and softest knits around. The white and eggplant stripes are from Bonnie's Cultivate line and the navy is from their line of solids. Just perfect for those Rings of Ruffles pants, which come in four lengths!
Serena and Kim from our review team also sewed up versions of the Trendy Rose and I know you'll love them, too!
Don't miss out on this great sale! It only lasts through May 25th, so don't wait!
So this week we are doing a series of tutorials that will show you how to get the most use out of your Bundle UP! patterns. Yesterday I showed you how to get 3 in 1 with your Rachel Dress, today we have Gloria here to share how to make the Adeline Dress by Foo Foo Threads with a fabric Panel Front. These fabric panels are soooooo popular and can be found on Etsy or through other custom fabric shops. Check out the tutorial and have fun!
Read MoreWelcome back to our costume tutorial series. Today we have Sarah here to share her gorgeous Princess Sofia dress created with the Tasha Dress by Foo Foo Threads. It is adorable, and I can imagine many princesses from this pattern! (*Don't miss out on the pattern for the Sofia Emblem HERE.)
------------------------------------


 |
| You can barely see it, but there are lines there! |

 |
| Leave a bit of room at the top to allow for the seam allowance. |
 |
| Finished front bodice. |


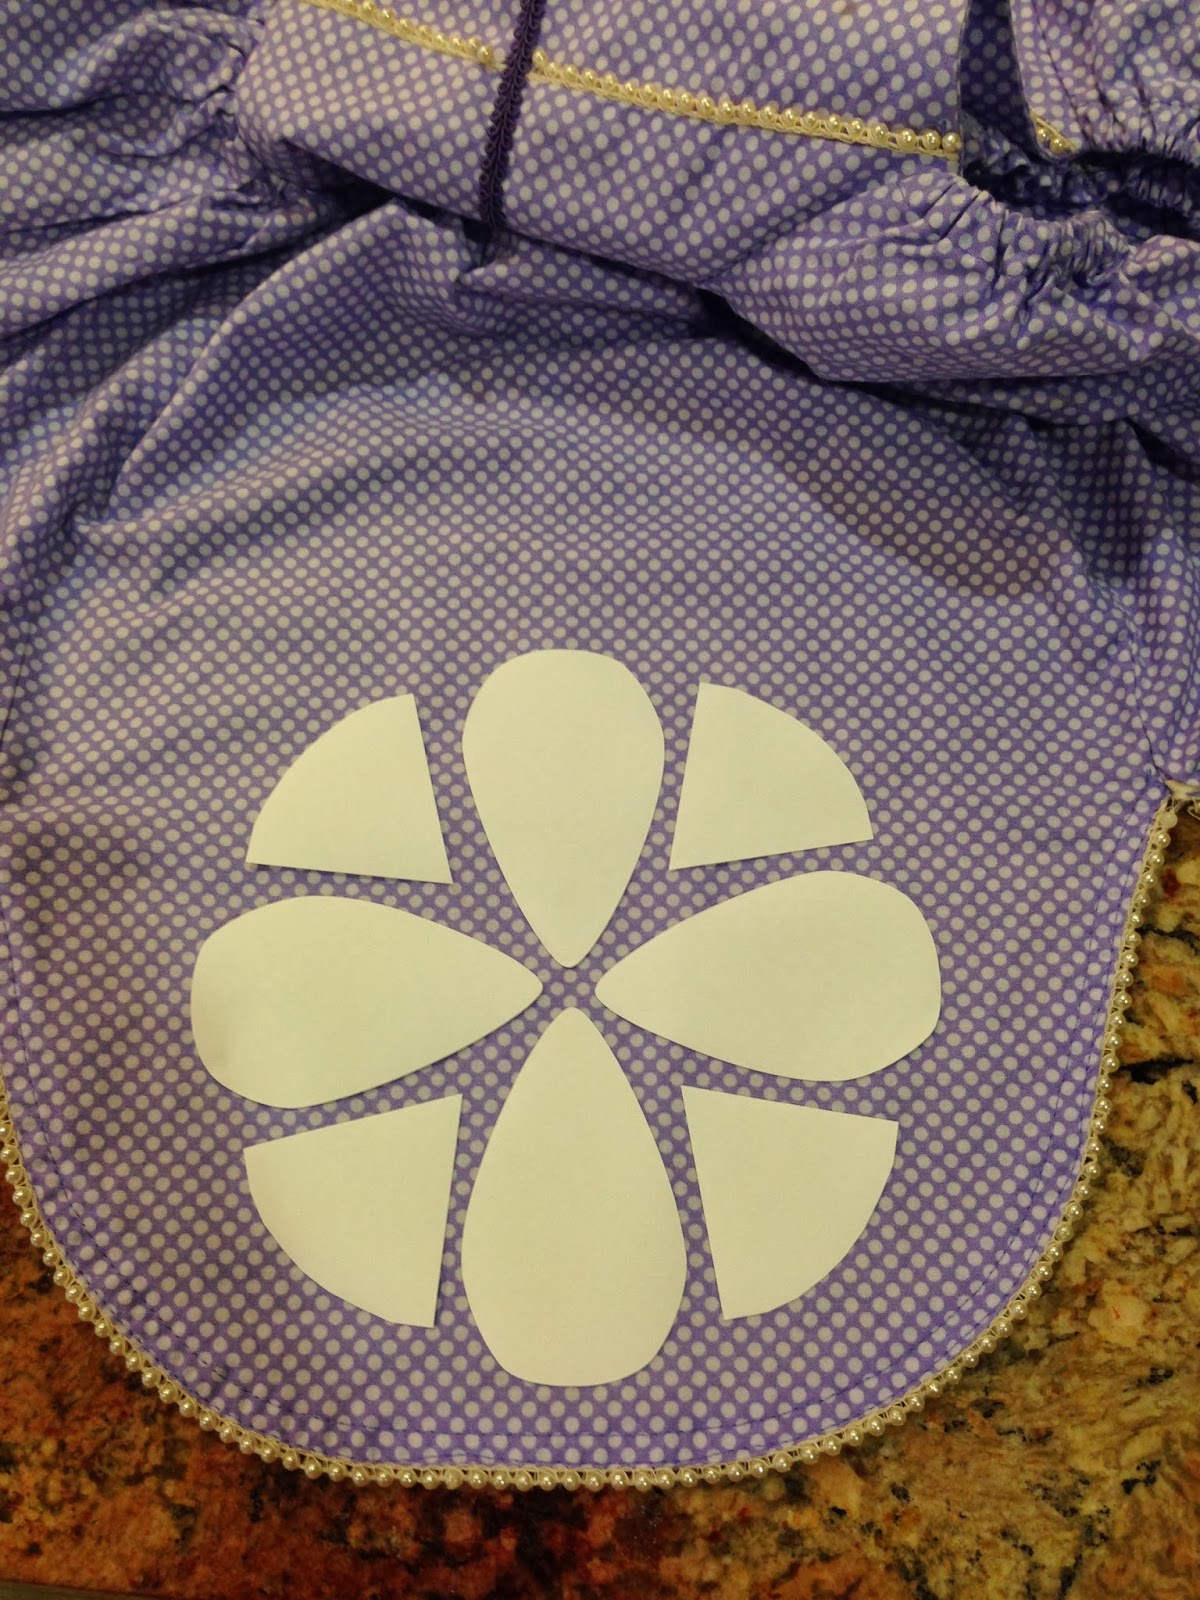


------------------------
Thank you so much Sarah - that is so perfect! No Sofia is finished without the iconic emblems, and Sarah has generously created a pattern for YOU. Head over to our facebook group and download the file!
I am a child of the 80’s. I had my Cabbage Patch Preemie, my Strawberry Shortcake decorated room and, of course, copious amounts of Barbies. I did make clothes for my dolls with the sewing knowledge I learned from candlewicking embroidery with my mom, but I think the thing that prepared me most for life as a boutique owner would have to be Fashion Plates. You could mix and match tops and bottoms and fun prints to make your very own creations! Who would have thought 30 years later that you can use the same(ish) techniques to mash up PDF patterns to come up with new combinations?
Today’s post is going to be a quick breakdown of the mash up. If you’re brand new to PDFspeak, a mash up is taking two patterns (or more!) and switching the pieces around to make a new look. You can swap a halter bodice for a peasant top or a romper bottom for a skirt. It’s a great way to stretch the PDFs you have and also breathe life into your sewing if you just can’t find that perfect look you’re going for. It’s also great for adding coverage to a garment for modesty or seasonal needs. The possibilities are only as limited as your imagination...or your Paypal funds and Dropbox storage!
I was given the opportunity to mash two great patterns. I have wanted to try the Happy Herringbone pattern from Jocole for some time and I was looking for just the right time to add it to my shop. While I love the design, I really wanted a bodice that would put this unique dress over the top. I went in search of a pattern with a bodice that mimicked the “V” shape of the skirt, and landed on the Allison Dress from FooFoo Threads Patterns. The best part about these two patterns is that they are from two designers with two totally different looks
Foo Foo Threads "Allison" dress bodice
Jocole's "Happy Herringbone" dress skirt
The end result is this beautiful dress.
The lines on the bodice are simple and classic, but they literally direct your eyes to the magnificent piecework featured on the skirt.
I’m here today to give you a beginner’s guide to mashing up patterns. It’s really not hard, but it does take a little time and thought. In the end, it’s definitely worth it! These are general guidelines, meant for beginners, and not set in stone rules. I’m sure there are people that would do things differently than I would, but here are my tips for you if you are just getting your toes wet!
Keep things simple and swap piece for piece. If one of your patterns has longer bodice, look for another pattern with a long bodice. Same thing with short bodices. When you get a little more comfortable with it, you can do some math, but sticking with this in the beginning will keep you from having the skirt portion too short or too long.
Use patterns you are already comfortable with sewing. This will save you time and headache and allow for a pleasant mash up experience. This will also prevent you from ruing the day you let me talk you into doing this!
Just like anything else that has to do with sewing, once you start, you WILL get addicted. You will go to bed at night planning out your next mash and look for the next moment you have to squeeze it in. Again…just a heads up!
Most of all, have fun. These are definitely a challenge, but very doable for an enthusiastic beginner. If you really want to do one and can’t choose between patterns, have a sewing friend pick them out for you!
And just in case you wondered what the dress would look like if you totally swapped the pieces and sewed up the parts that didn't get invited to the party, here’s the bodice from Happy Herringbone and the skirt from the Allison Dress.
The gorgeous fabric used in this mash up was from the Urban Mod line from Art Gallery Fabrics. Photos were taken, dodging rain, by the talented Rebecca of Prima Luce Photography in Charlestown, Indiana.
Welcome to Pattern Revolution! We're a collective of women focused on encouraging and educating the modern sewist. Our team is made up of moms, shop owners, hobbyists, and masters of the trade. Our skill levels and project interests may vary, but our love of electronic PDF patterns are the same. Read more about the future of sewing patterns, or dive right in and let our posts inspire you

Disclosure of Material Connection: Some of the links in the posts on this site are “affiliate links.” This means if you click on the link and purchase the item, Pattern Revolution will receive a small affiliate commission. These commissions help keep the lights on at Pattern Revolution and we appreciate all of our readers for using them to purchase when possible. A complete list of our affiliates can be found on the "Sponsors and Affiliates" page. Pattern Revolution also receives a copy of the patterns featured on this blog free of charge. All reviews and options are the those of the reviewer alone and they receive no compensation for their review. Pattern Revolution only recommends products or services we use and believe will add value to our readers. Pattern Revolution is disclosing this in accordance with the Federal Trade Commission’s 16 CFR, Part 255: “Guides Concerning the Use of Endorsements and Testimonials in Advertising.”


