
The Lorelei Dress by E-Beth Designs
/Is your countdown to Easter On? Are you in a sewing frenzy to get it all done in time for the big day, or are you cool as a cucumber with everything finished? I'm pretty happy that I have something new for each of my kids for this Easter... I didn't go Matching this year, but I think that is ok ;o) I do need to whip up some cute bloomers for under baby girl's dress still, but that shouldn't take too long (says the lady who will probably sew them up Saturday night!). Share all of your Easter/Spring creations with us over on Facebook - we want to see what you have been sewing!
Today, we take a look at a beautiful new dress from E-beth Designs. Check out what Theresa and Carrie have done with the Lorelei...
---------------------------------


----------------------------------------------------
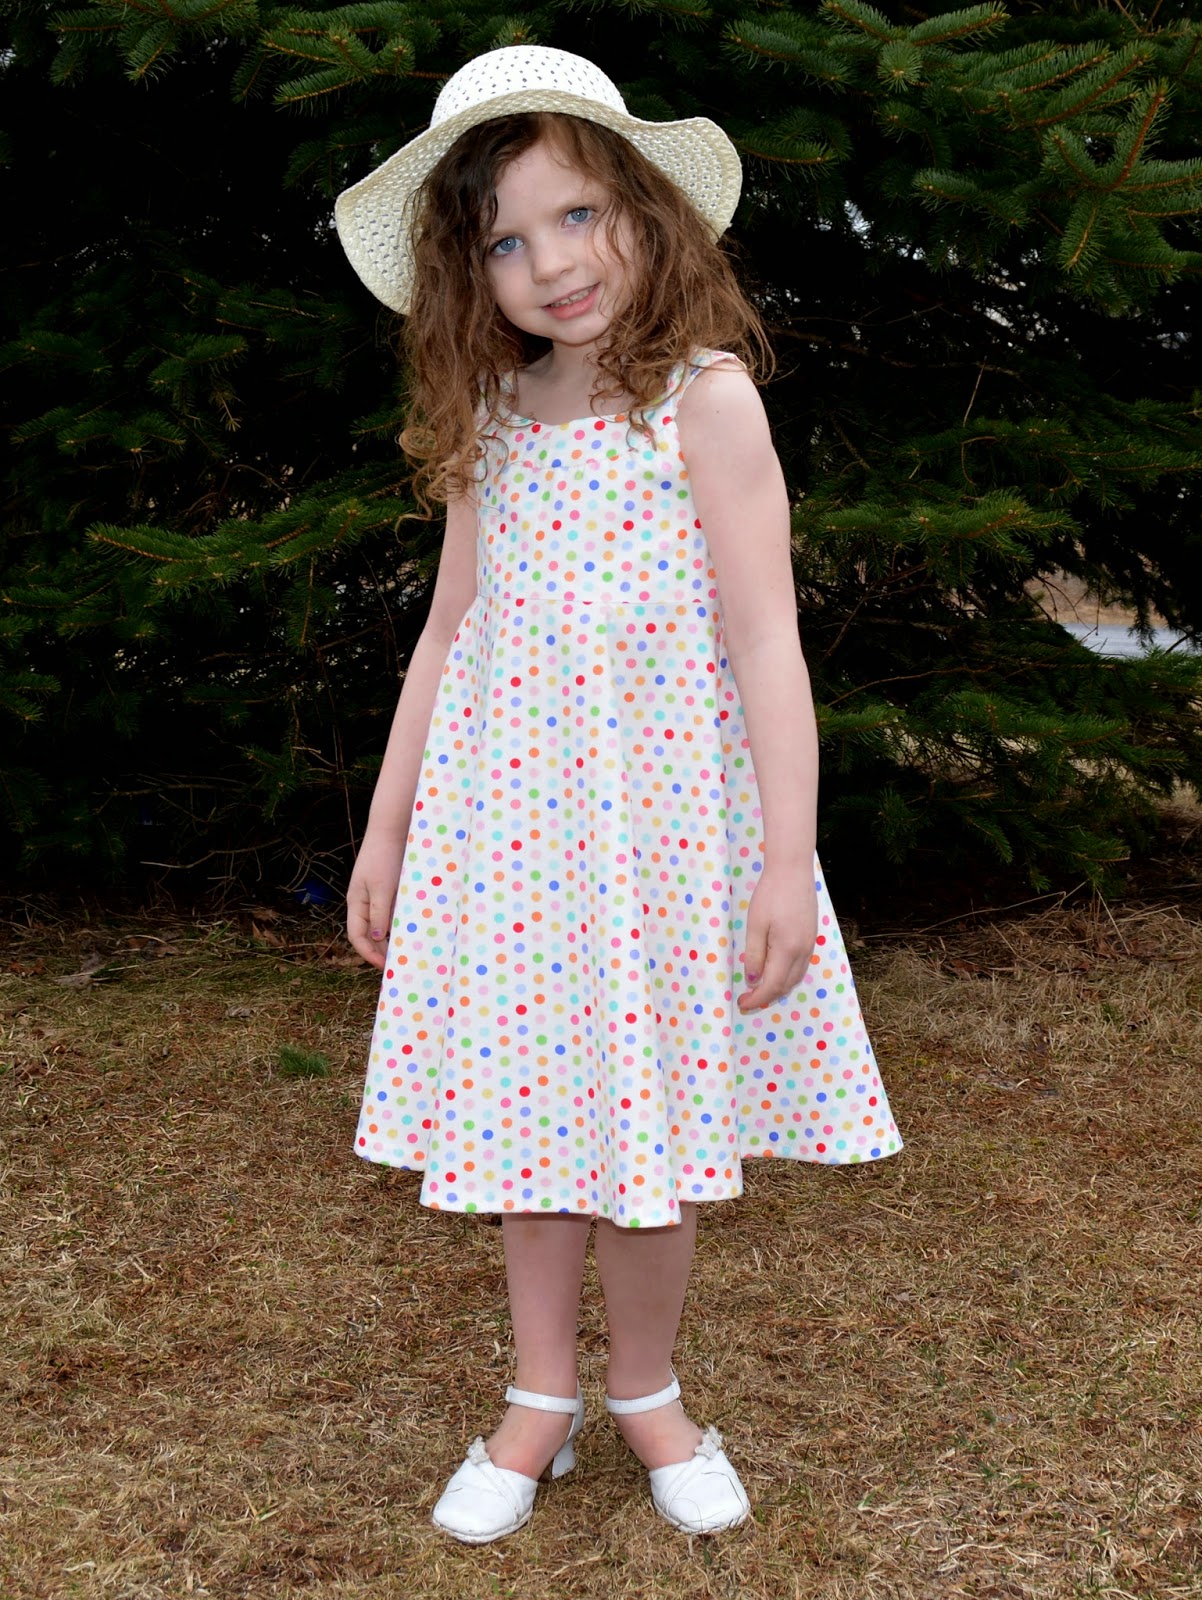
Meet Lorelei….

I have a tendency to gravitate towards patterns like this that are so versatile to different fabrics to allow for lots of different looks. For this one I went with just regular cotton but I think it would be gorgeous with something a bit fancier. I could totally see this as an adorable flower girl dress.

This dress features a completely lined interior, with a built in tulle layer for added fullness. I love that the tulle is sandwiched between the skirt layer and lining so there is no itchiness! I have a little tip on gathering the tulle that I’ll add at the end.
You can see the tulle peeking out a bit here -


The directions do a wonderful job of explaining both a standard zipper or invisible zipper. I really thought I had a matching zipper already so didn’t buy one when I was picking up a few other supplies, then realized when I got home I was wrong so we’re making a fashion statement with our coral zipper, haha!

I think this is a great beginner/intermediate pattern, with fantastic photos and directions. It took me about 2 hours to sew together (and that was with some seam ripping since I wasn’t fully paying attention when I got to the yoke portion, I suggest reading carefully! Haha!
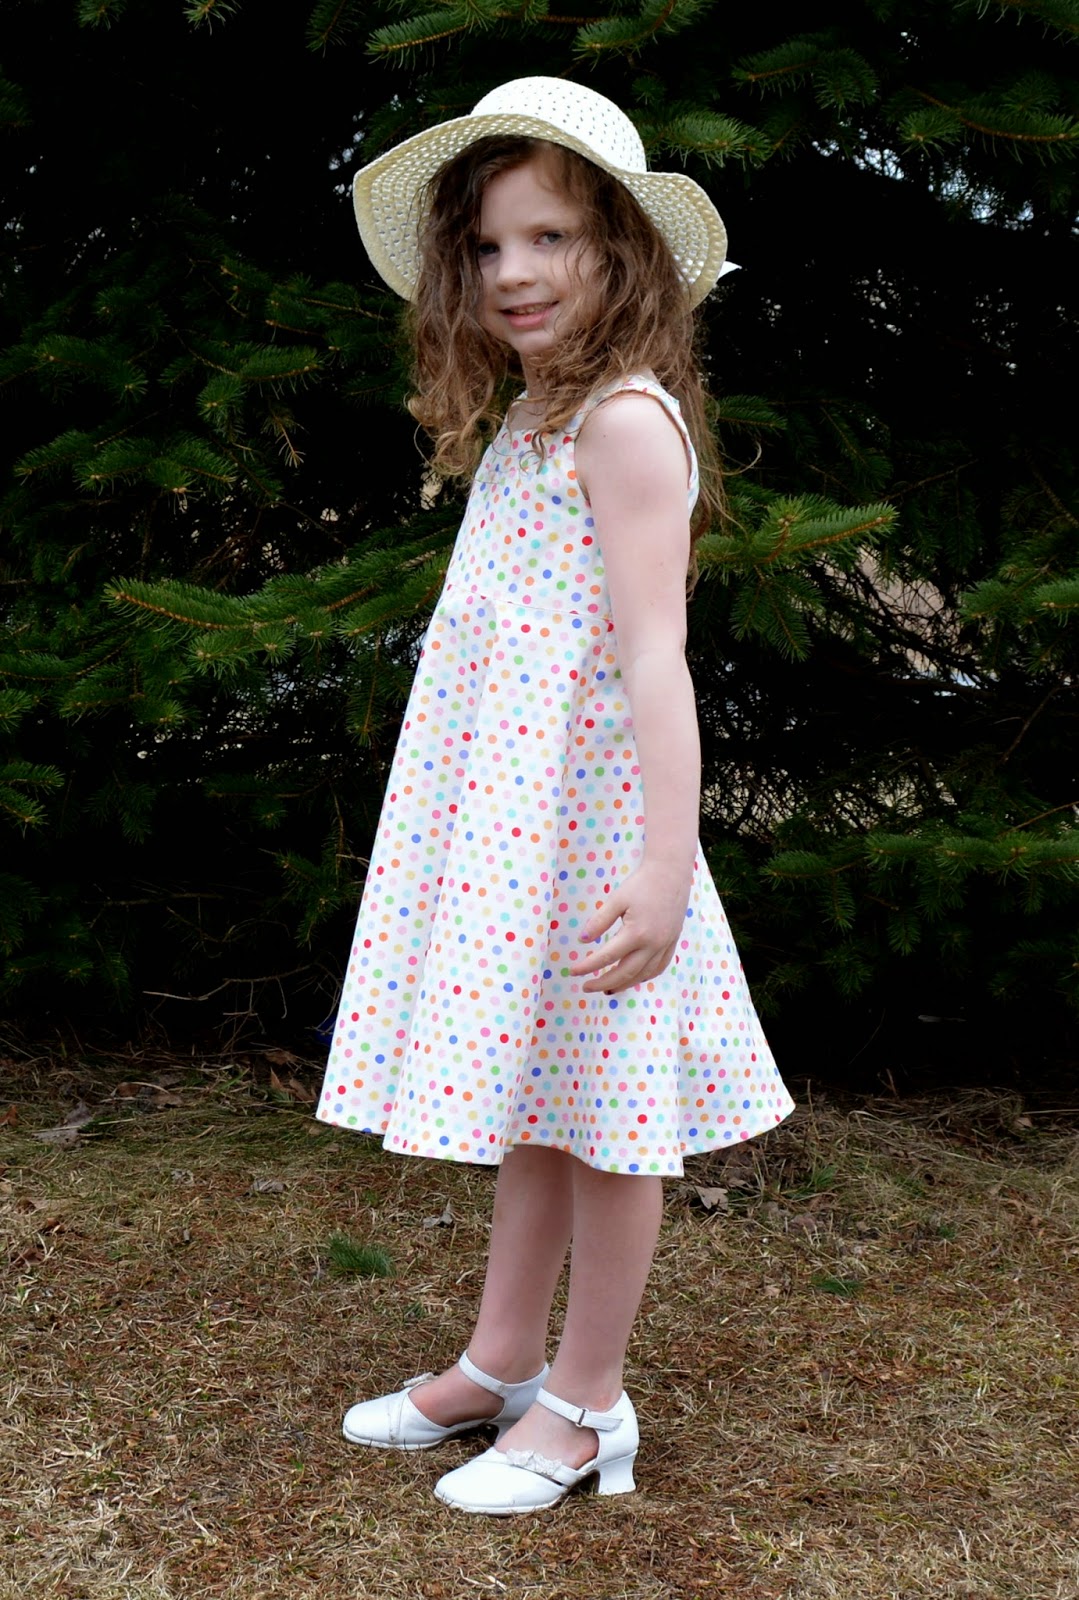
Clearly she was ready to be finished, this is the look I get when its time to be done ;)


As promised - a quick tip on the tulle, because it’s A LOT of tulle to gather!
You should have 4 pieces sewn together to make a really long strip. So there will be 3 seams joining the 4 pieces. (I’m sorry I forgot to get a picture of this as I was going so I hope you can stay with me here…) Match up the two outside tulle seams with the seams on the sides of the lining and the center seam of the tulle with the center of your lining piece (there won’t be a seam here). This will ensure you get a nice even gather. I also stitched it down as I went with each section; this helped prevent it from shifting too much.


