
Scrap Swap 2017: Scrap Fabric Headbands
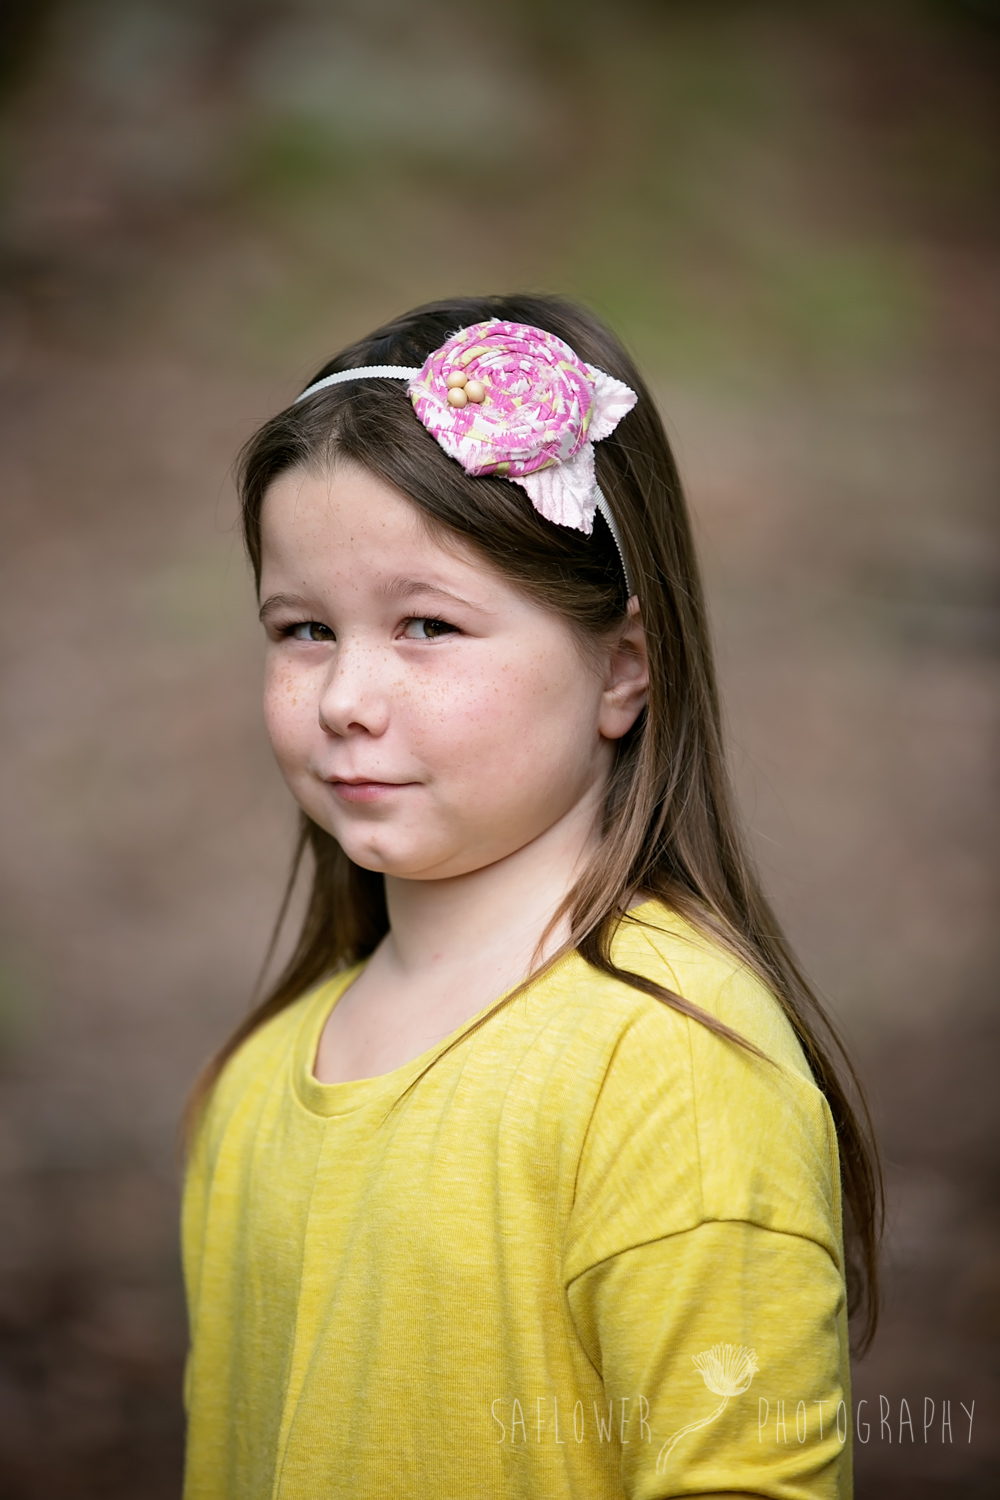
/Hey everyone!! Now that we all have our back to school wardrobes, it’s time to add some accesories. My daughter loves wearing headbands but they can really start adding up so I end up making a lot of them. I got a nice pile of scrap fabrics sent to me and they were the perfect selection for headbands. The first one is super quick and easy to make.
Rosette Headband:
Supplies:
Headband (you can buy them in lots on Etsy or just reuse your daughter’s old ones)
Scrap fabric
Buttons, beads, jewels, or other findings
Glue gun
Millinery leaves
Step 1:
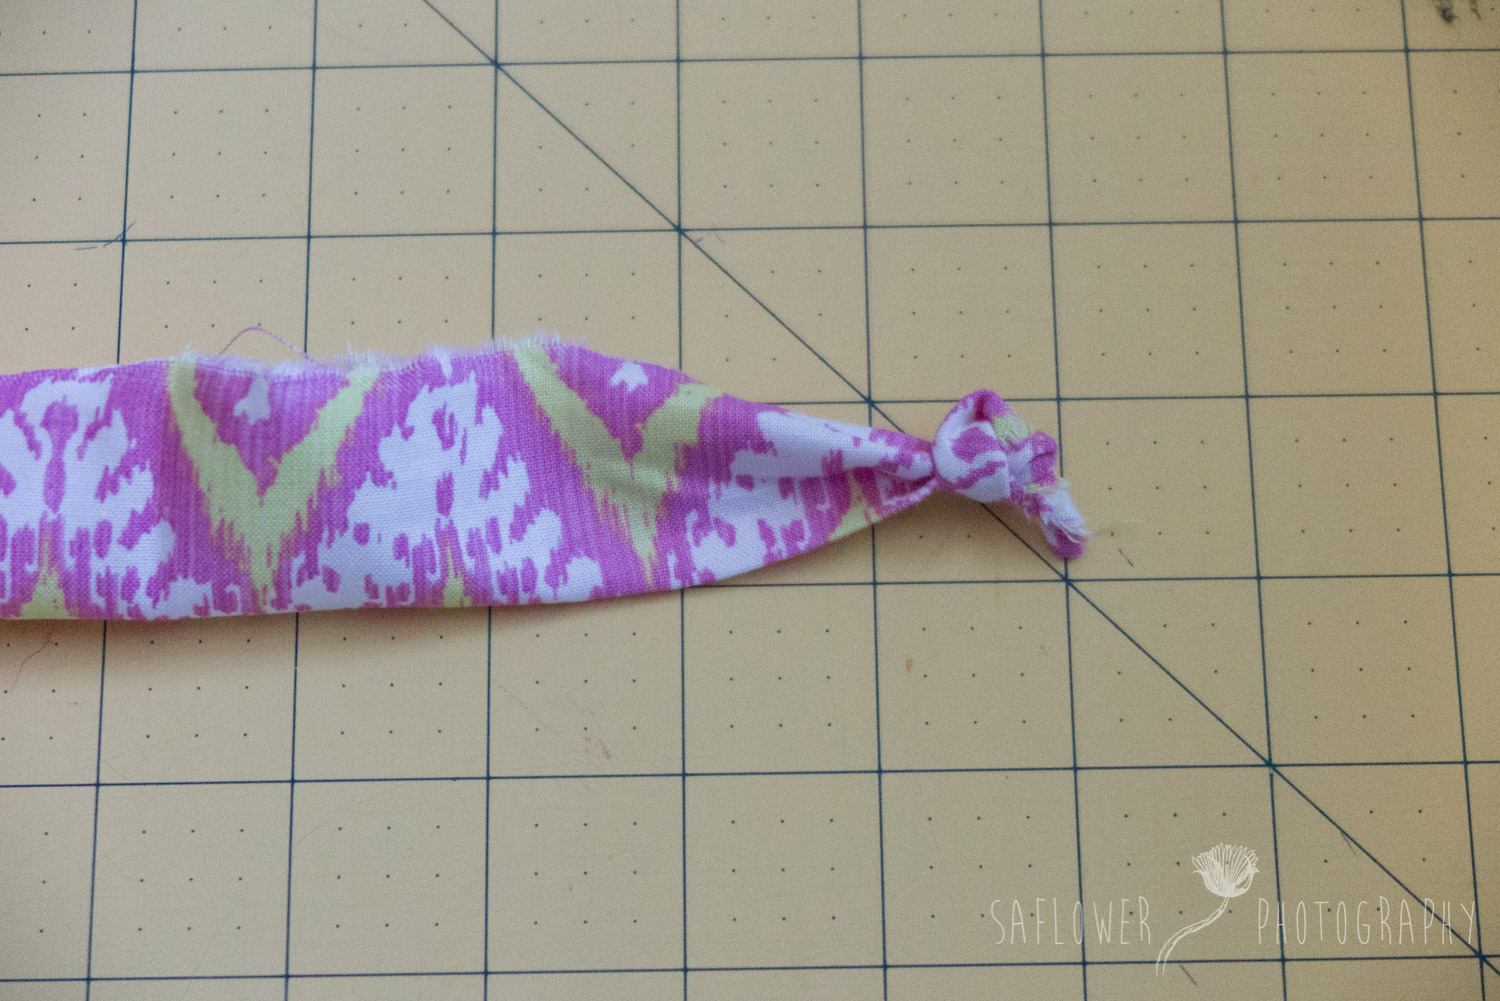
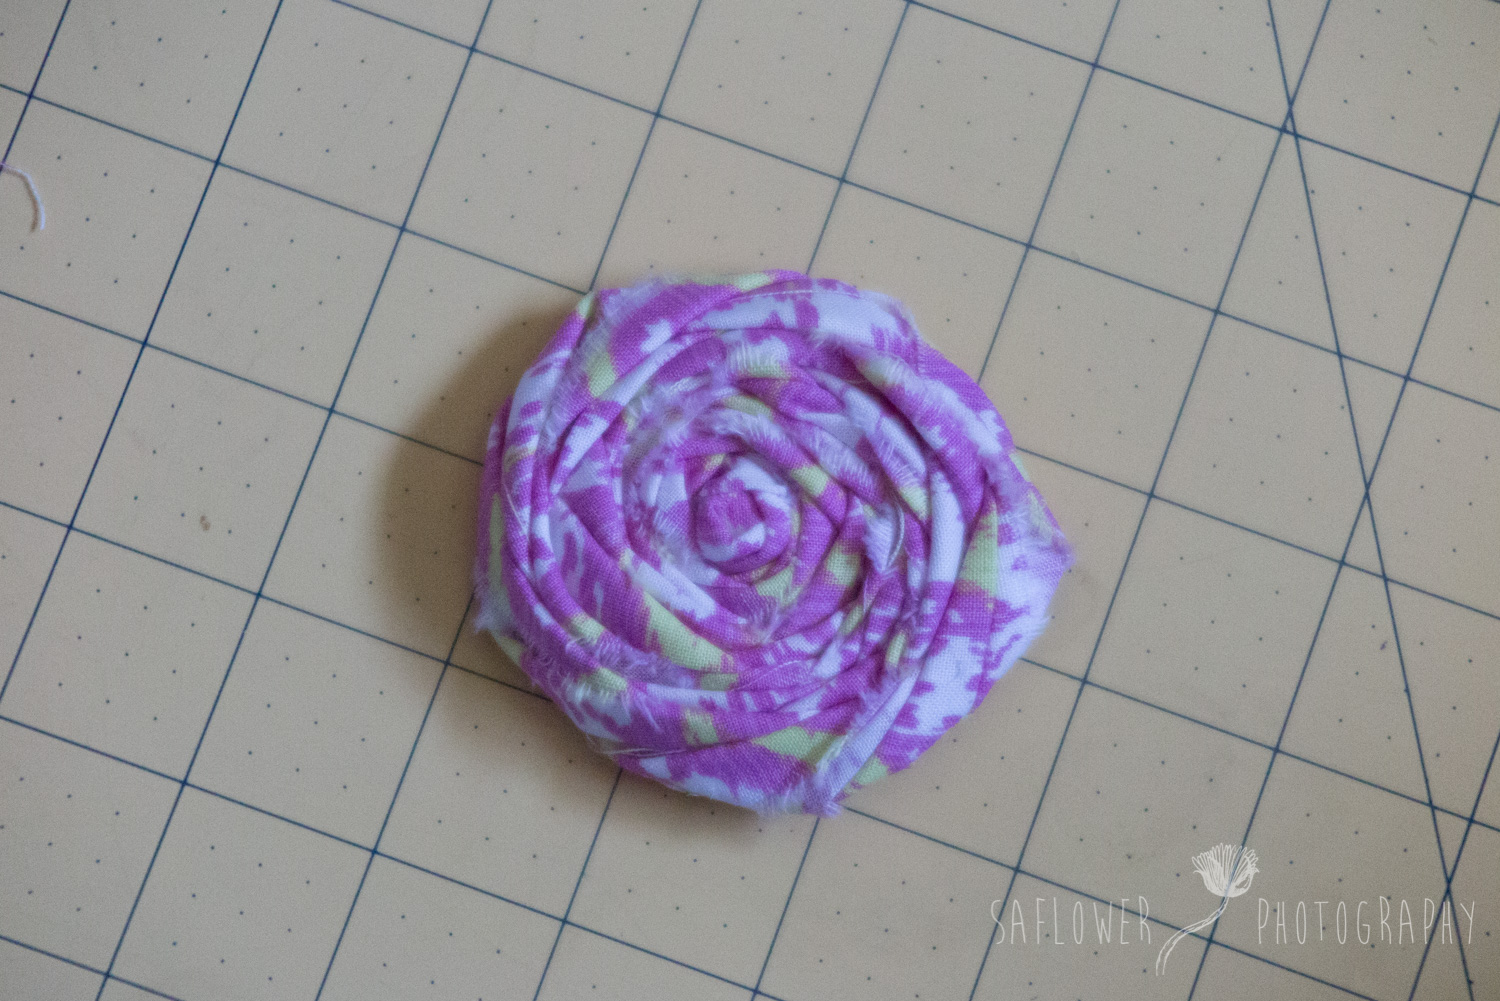
Tear a stip of fabric about 2-3 inches wide and tie a knot in the end.

Step 2:
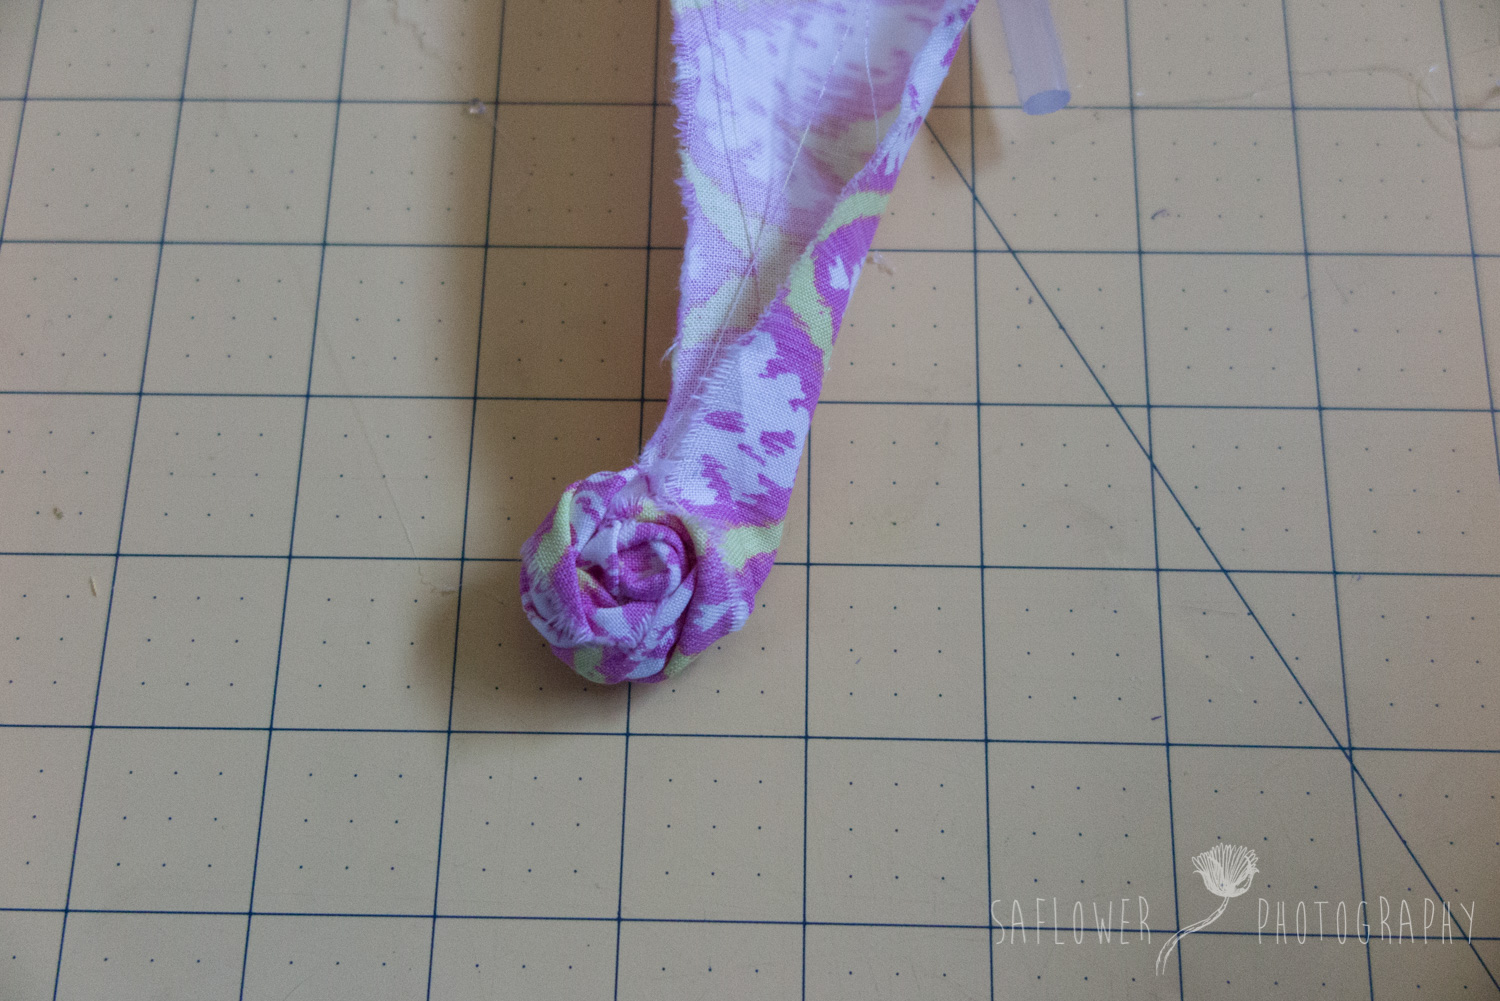
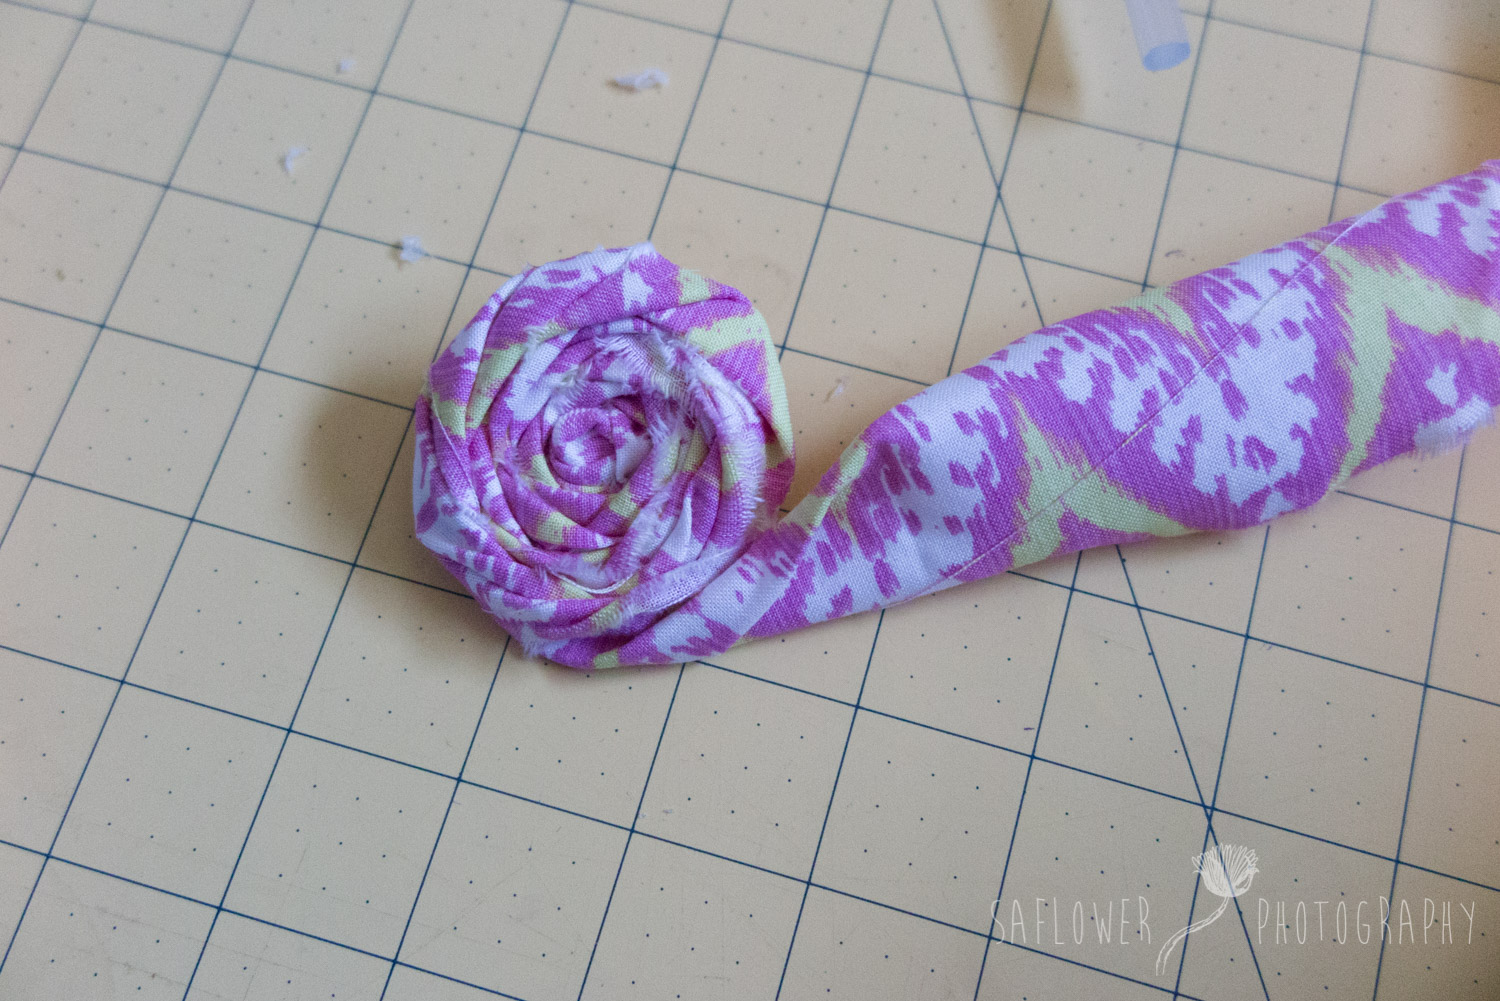
Fold the strip in half length wise and and start twisting and wrapping it around the knot to form the rosette, adding hot glue as you go. You can add as many twists as you want for different looks.
Step 3:
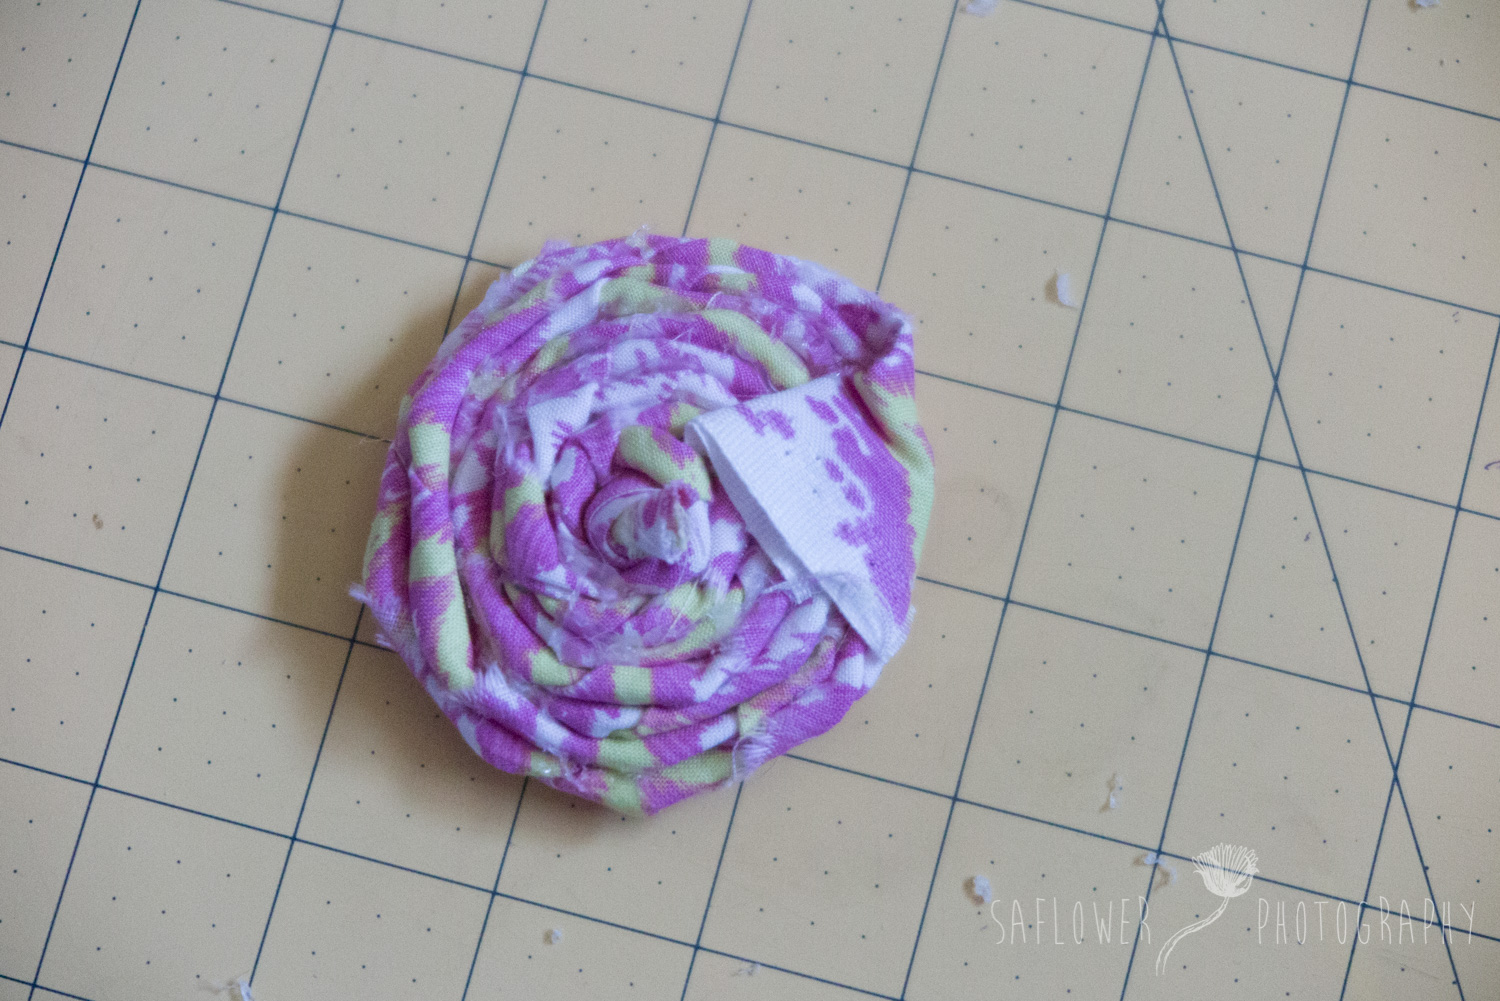
When you get to the end, just tuck it under the bottom and glue it. Turn it over and you have a nice rosette.

Step 4:
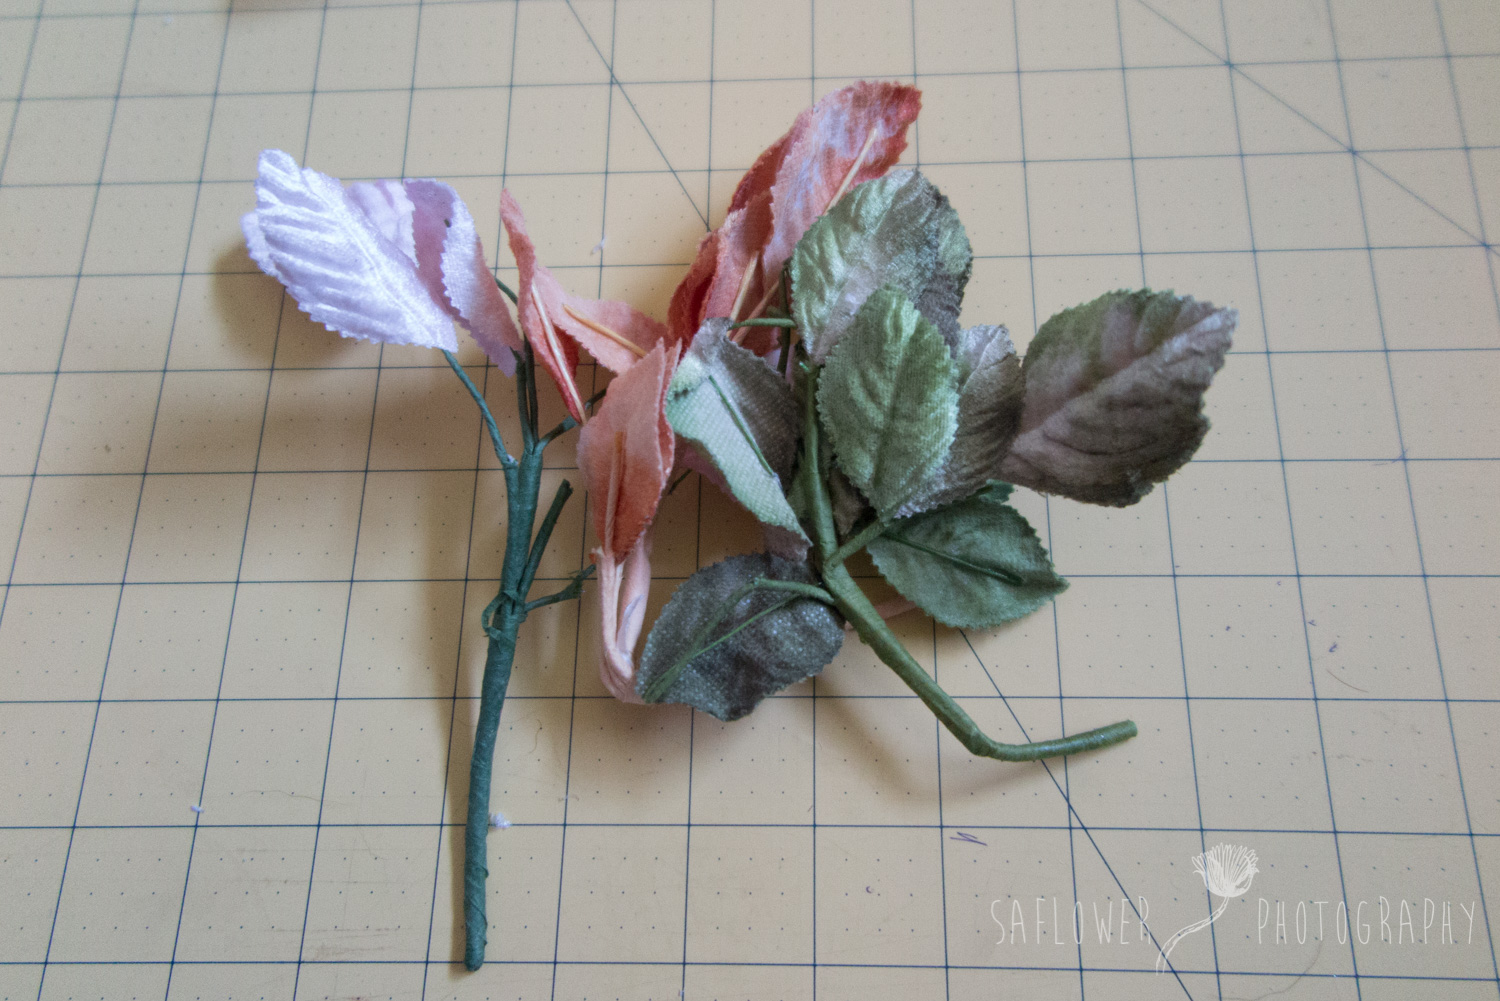
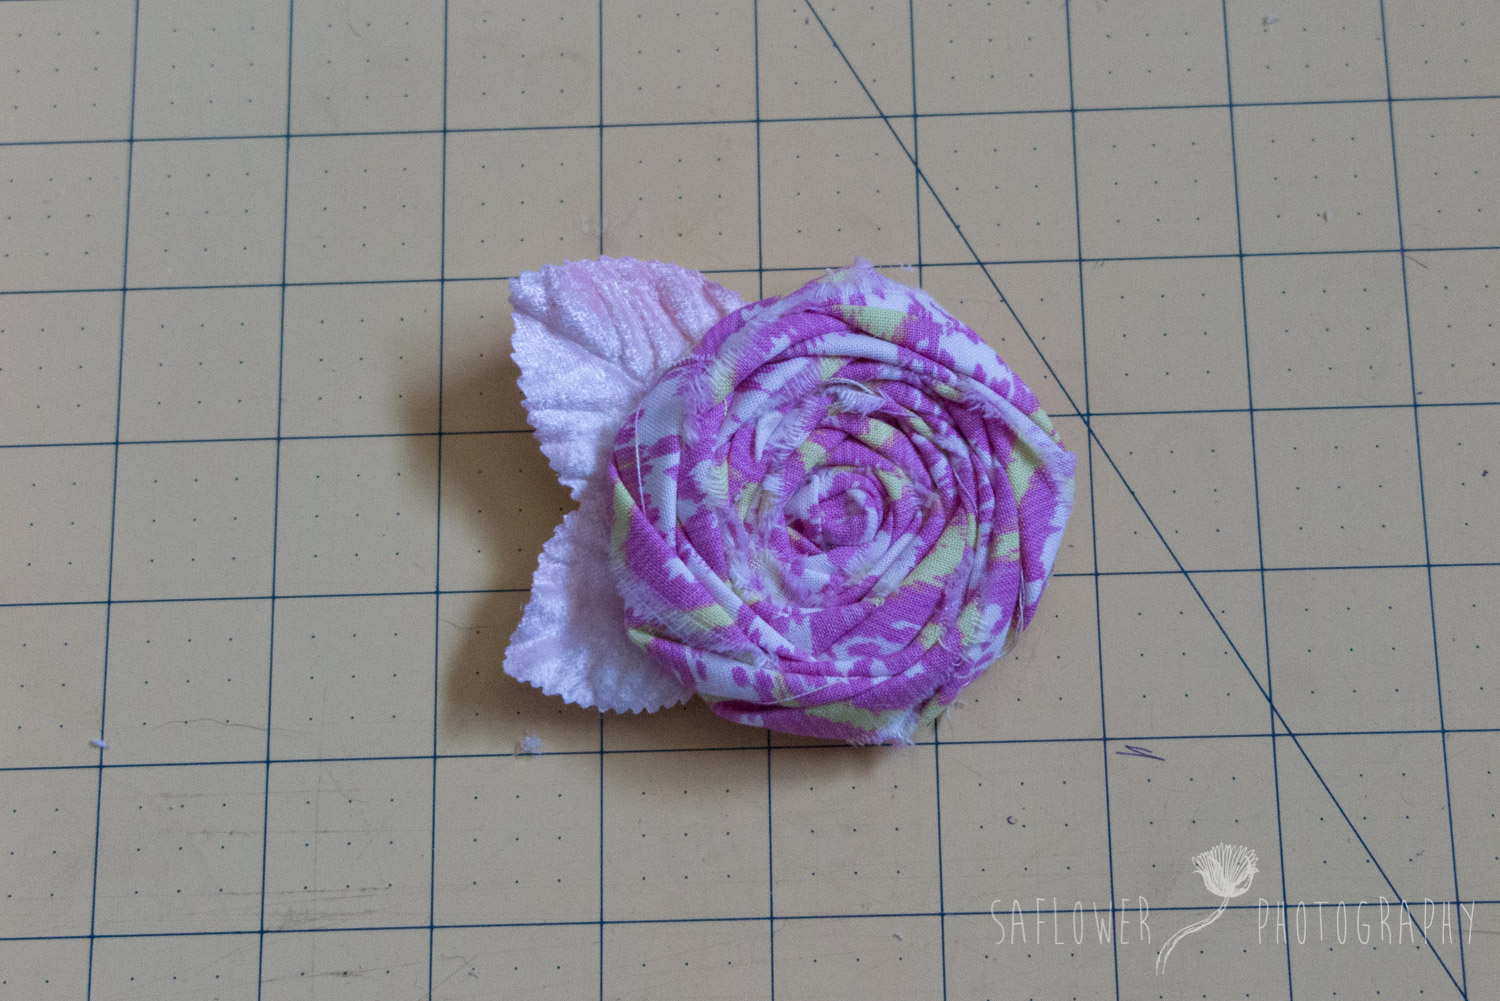
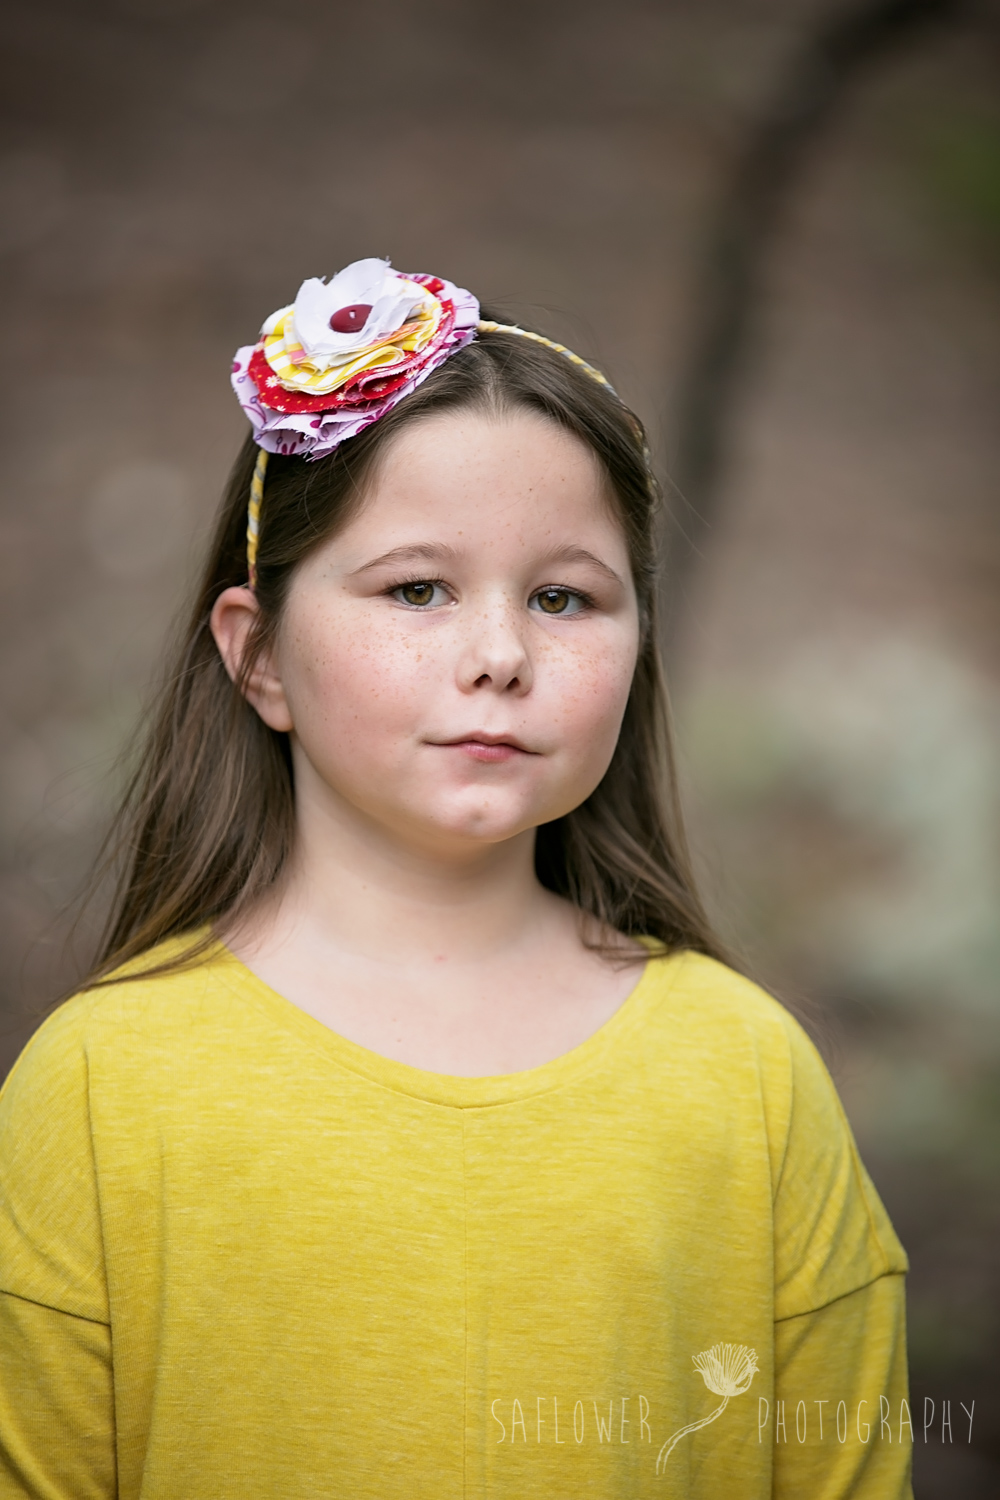
I Like adding Millinery leaves to all my rosettes. You can find them on Etsy. This is also the point where you can add a button or beads or some other little decoration. My daughter picked wooden beads for hers.

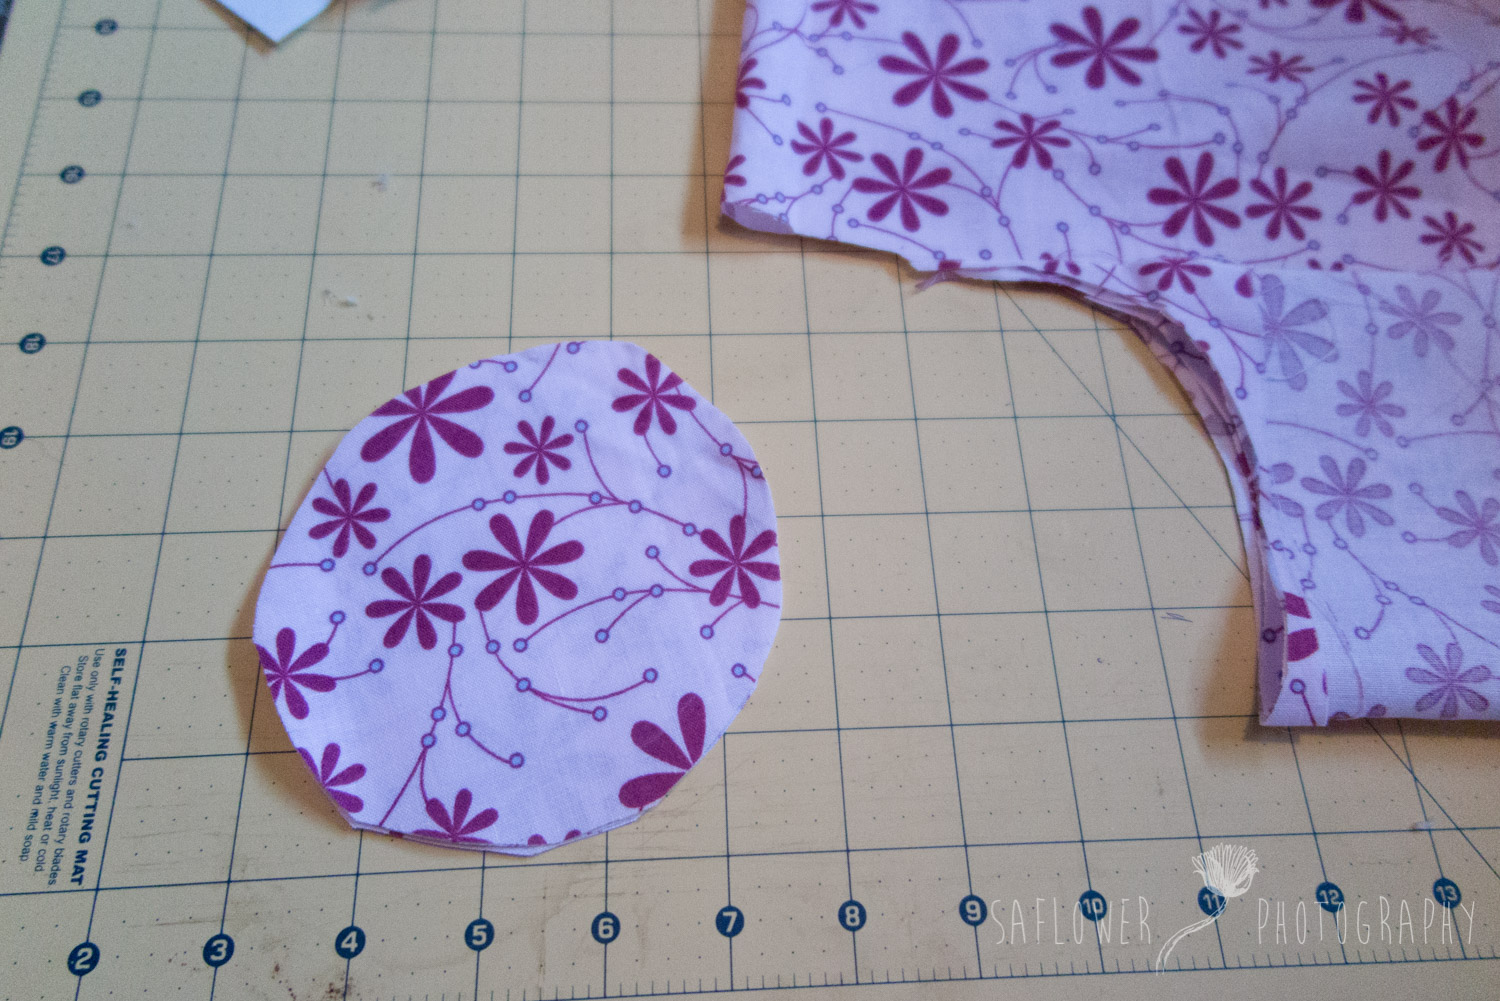
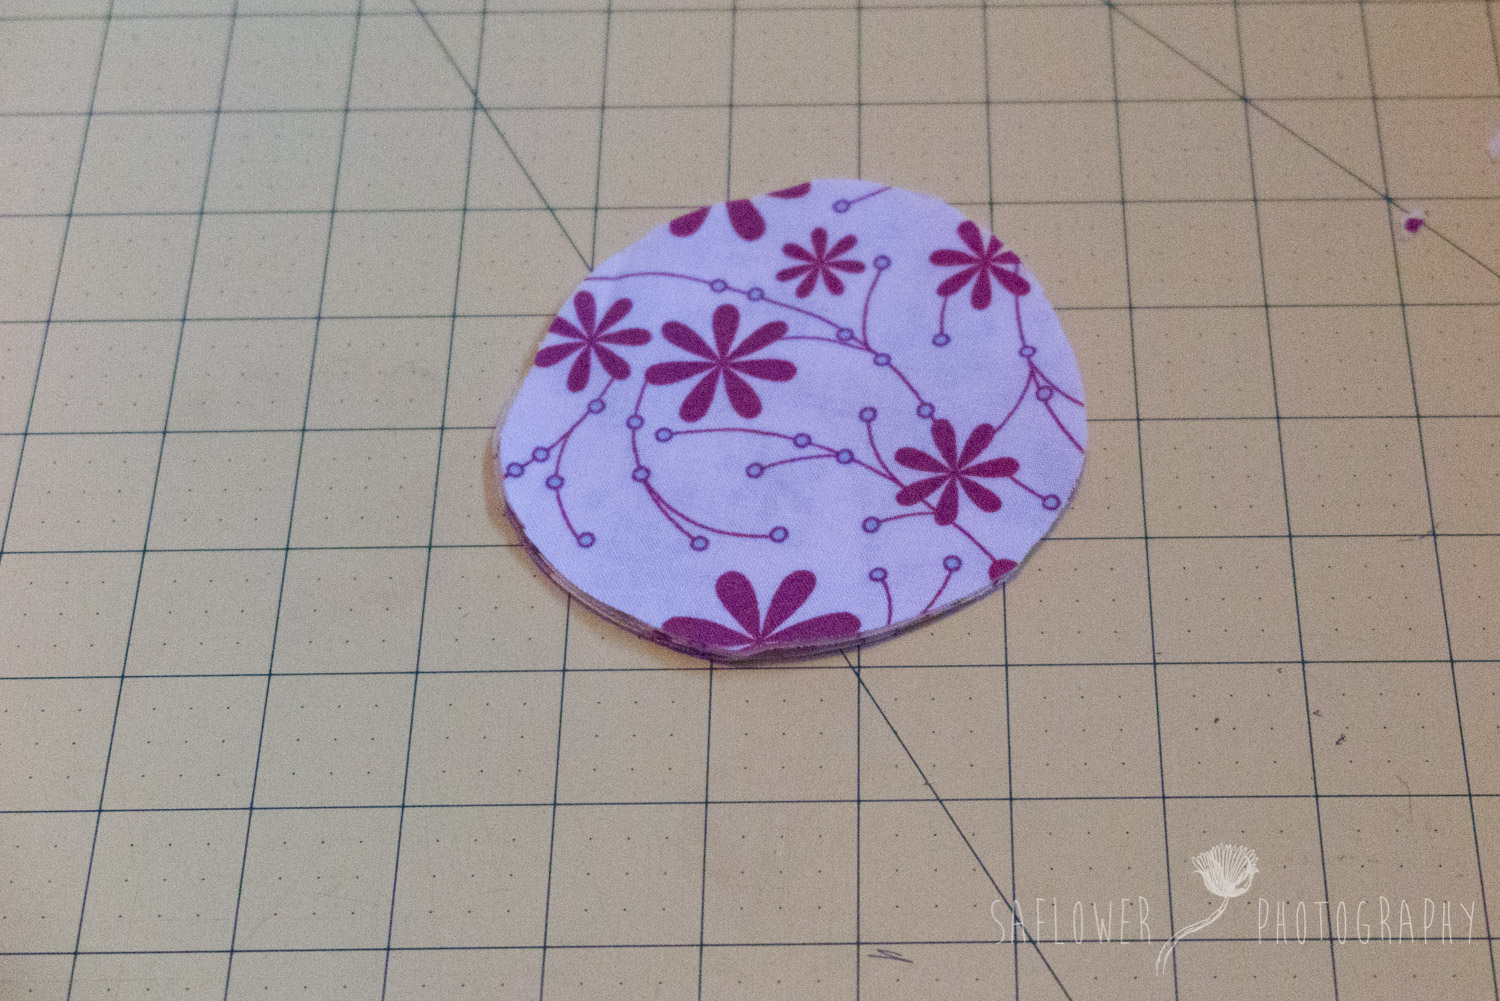
Step 5:
Cut a circle about the size of your rosette.
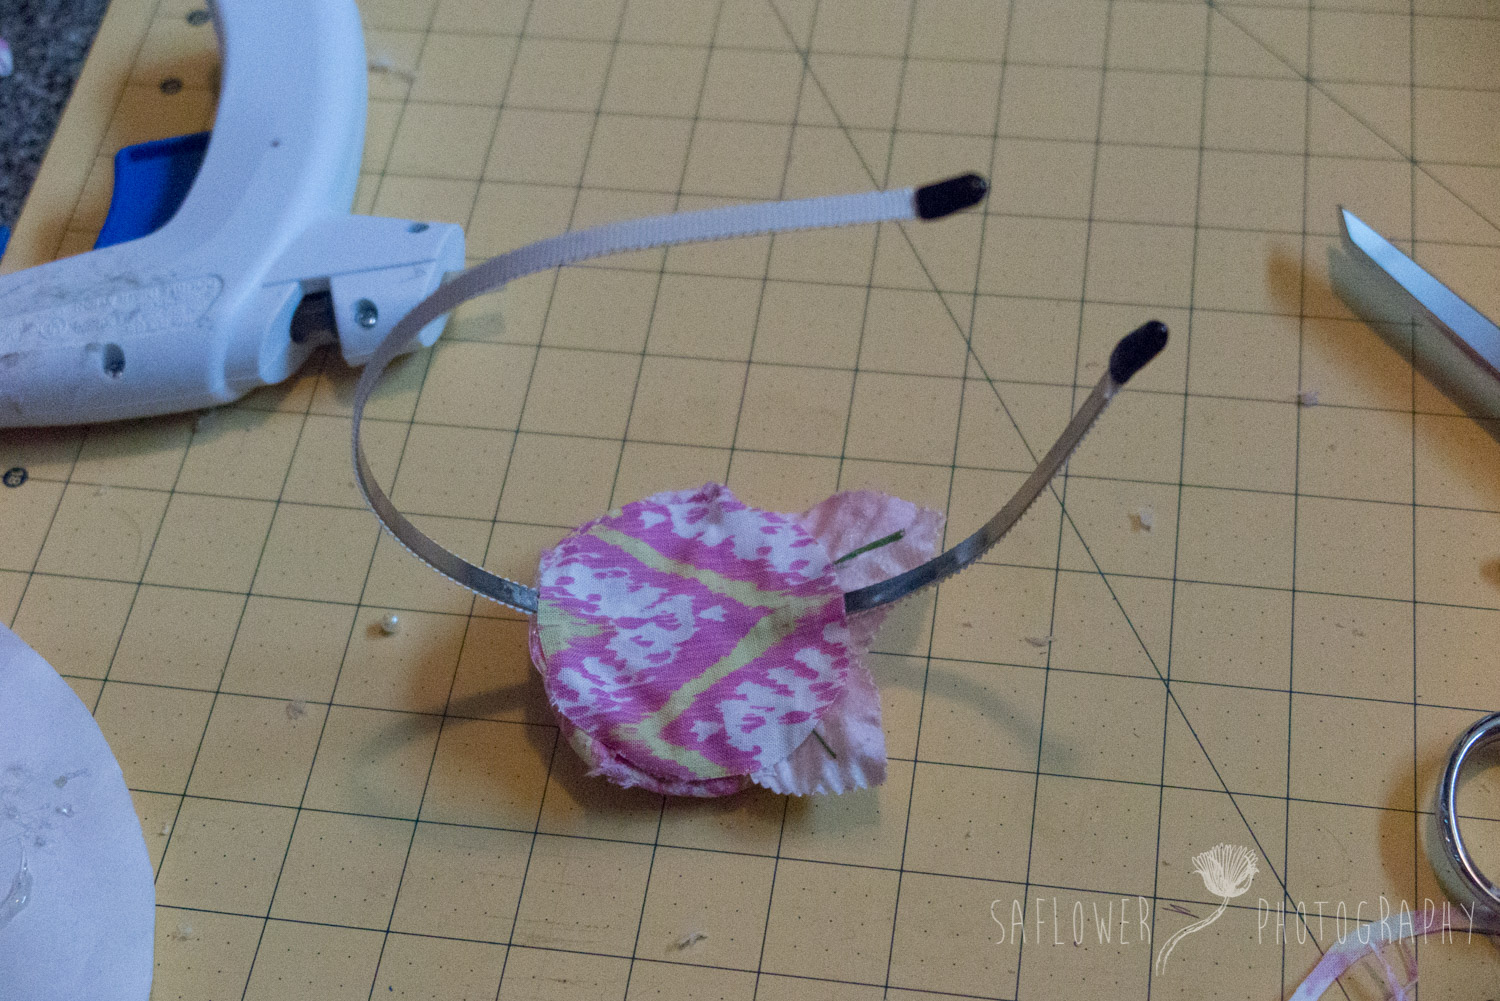
Step 6:
Glue your flower to the headband and then glue the circle to the back to make it nice and neat. Voila!!

Petal Flower Headband:
Supplies
Scrap fabrics
Tapestry needle and thread
Headband
Glue gun
Button
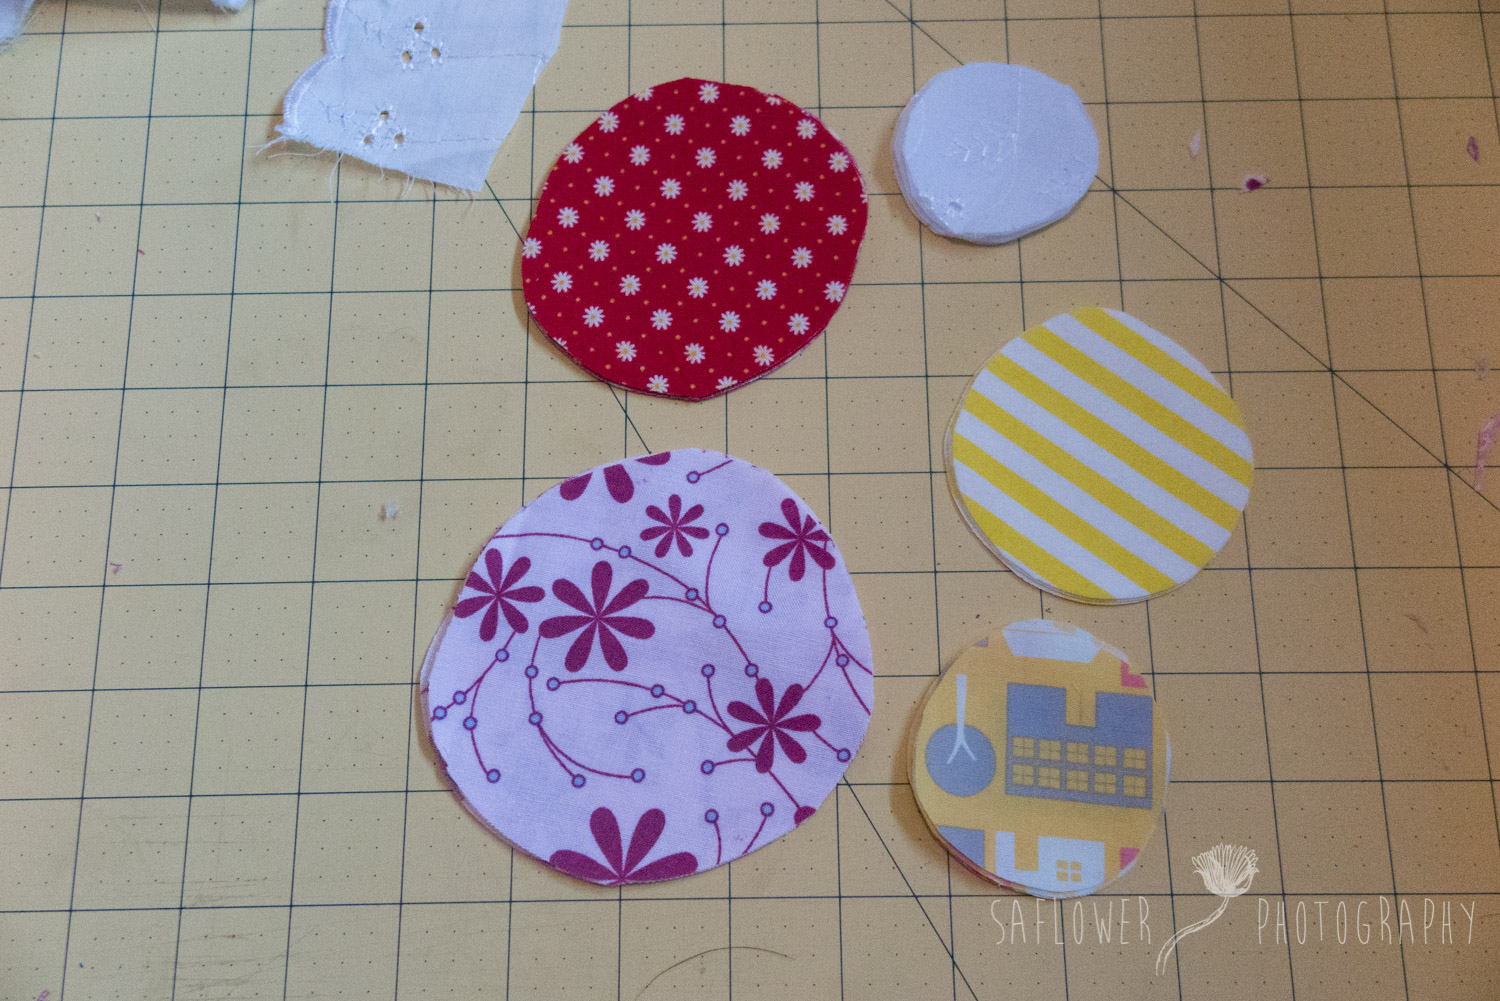
Step 1:
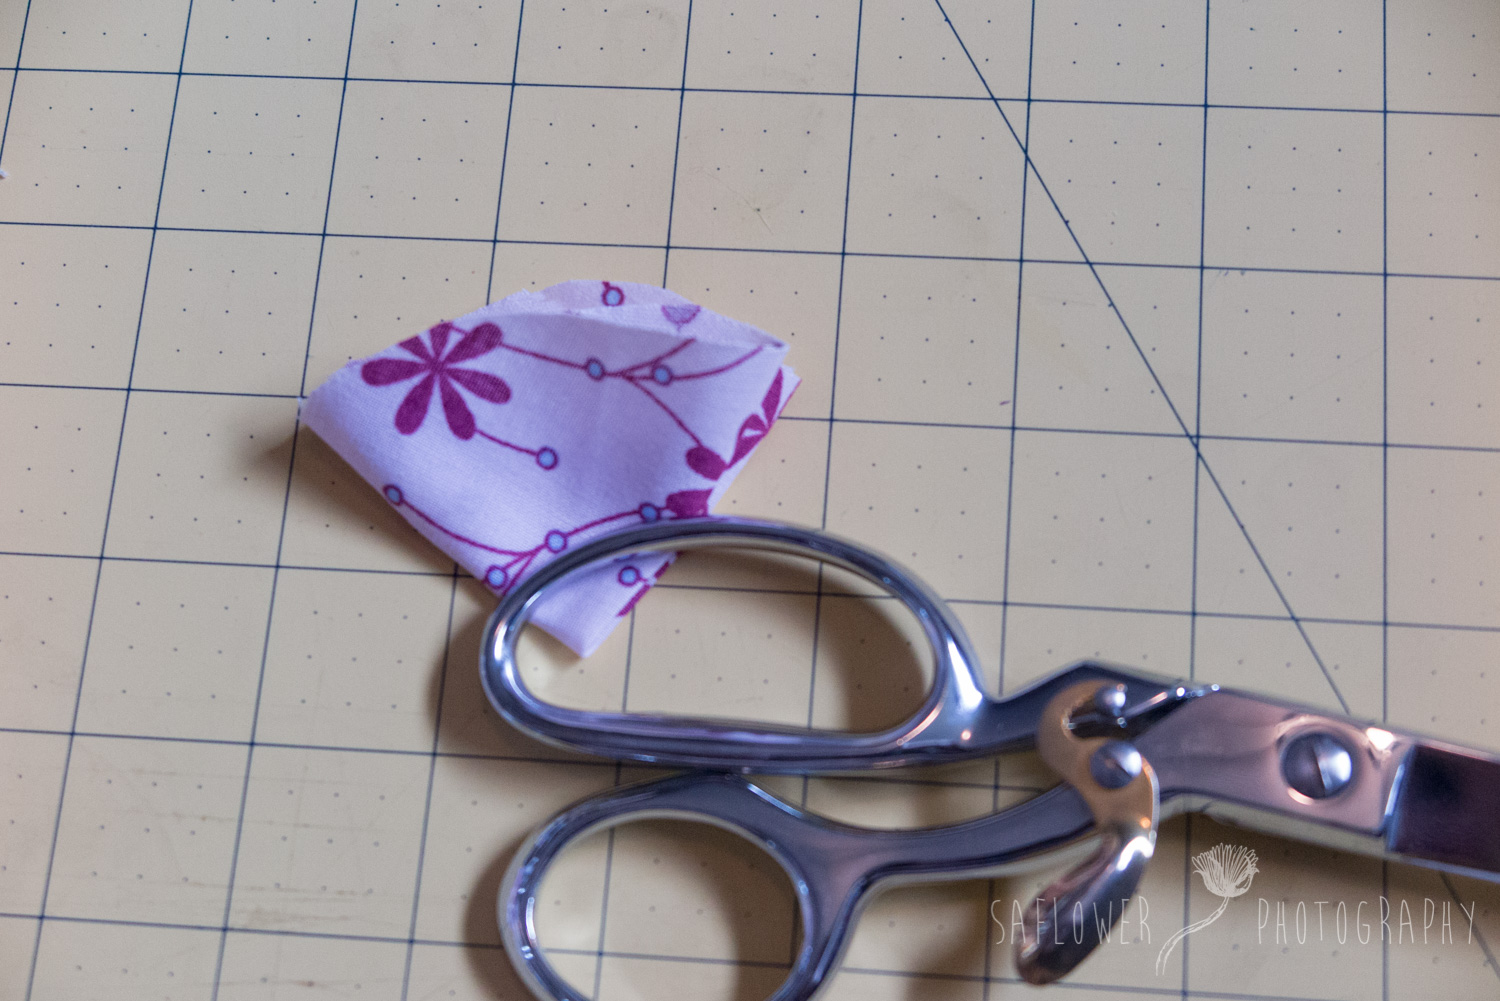
Take your scrap fabrics and cut circles. I like to fold in fourths so I have 4 circle the same size of each fabric. Your circles don’t need to be perfect. Imperfections make them even better! I use anywhere from 3-6 different fabrics. Cut each fabric slightly smaller.
Step 2:
Take the largest circles and fold them in quarter. Overlap the points and put in a few stitches so it resembles a circle.

Step 3:
Following the same steps, add layers of petals. The more you add, the tougher it will be to push the needle through so you may need to use a thimble.
Step 4:
Add a button to the center with the glue gun
Step 5:
I used an old headband that my daughter broke, so before I glue the flower on, I wrap it in coordinating fabric first.
Step 6:
Glue the flower to the headband and add a circle of fabric to the back to cover all the stitches. And there you have a fun little headband to add to your daughter’s wardrobe!


Today we continue our feature on Halloween with this super cute Candy Corn tutorial by Laura. Not only is this a cute holiday craft its also a great scrap buster!